How to Setup My Surveillance – DNS-340L
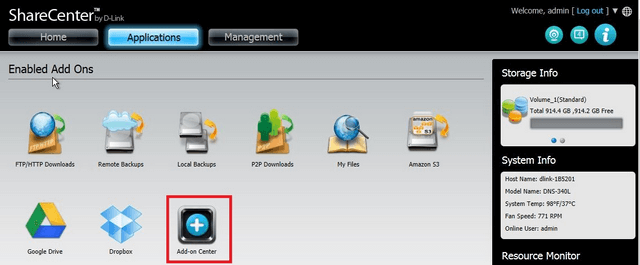
Step 1 – Login into the DNS-340L and click on “Applications” then “Add-on-Center”
Step 2 – Click on “All Apps” then search for “My Surveillance”
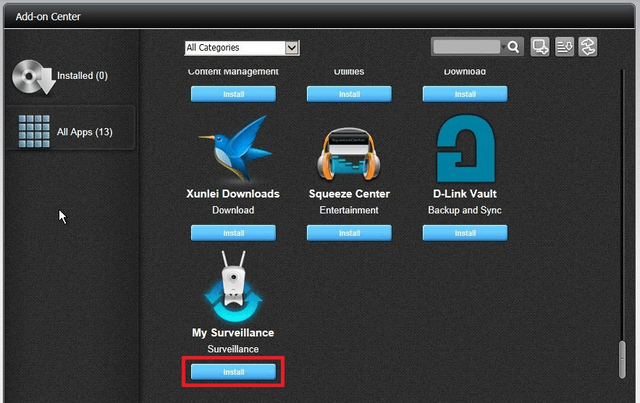
Click on “Install”
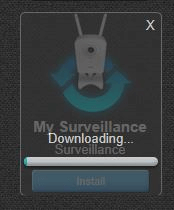
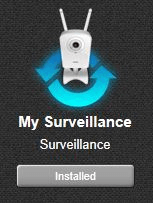
Step 3 – You should see the add-on is being “Downloading” followed by “Installed”
Step 4 – Once complete, click “Home” then right-click over “My Surveillance” and click “Enable”
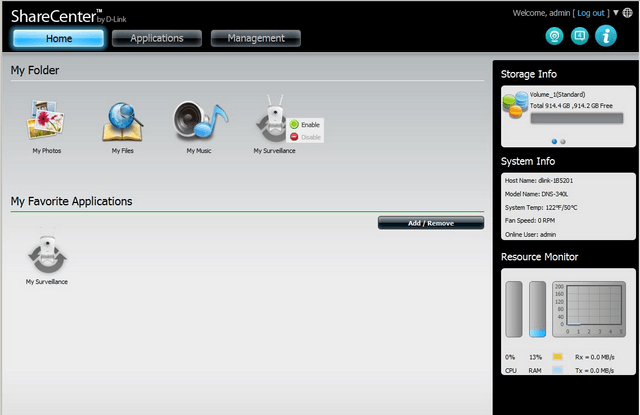
Once enabled, the “My Surveillance” icon will change from greyed out to coloured
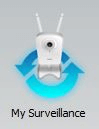
Step 5 – Once enabled, click on the “My Surveillance” icon to launch the add-on. You will notice it will launch another tab
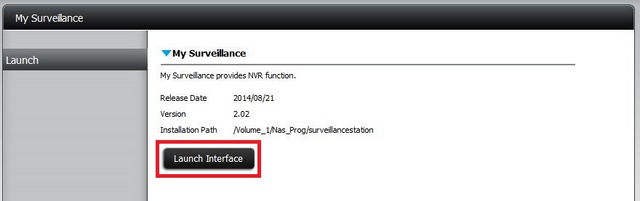
Click “Launch Interface” to be presented by the following prompts
Step 6 – Click on “Install”
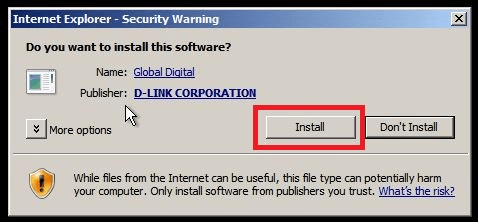
And then click on “Install” on the above prompt
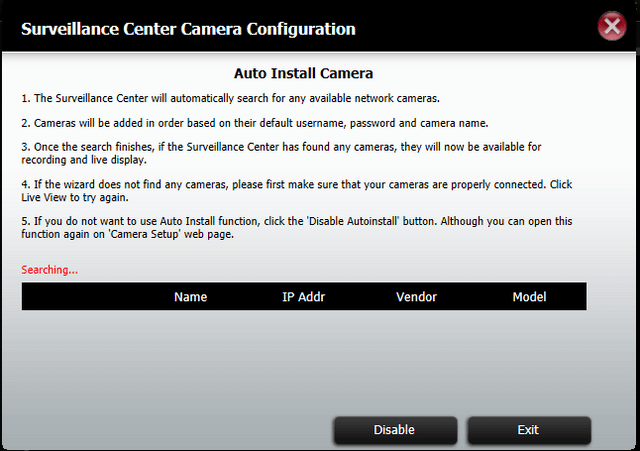
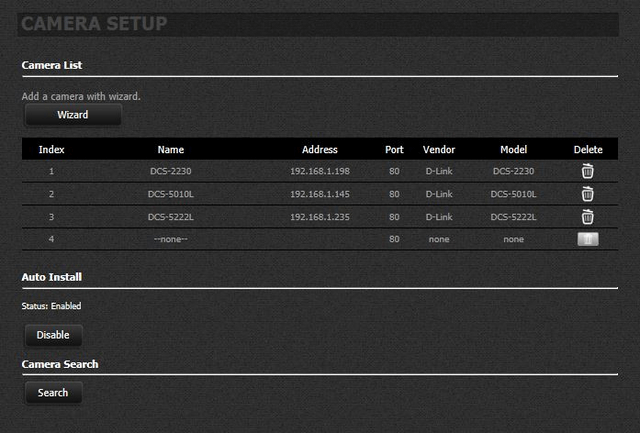
Step 7 – The first time “My Surveillance” add-on is run, it will begin to search for any supported cameras on your network
In our example, we have 3 cameras on-line within the network
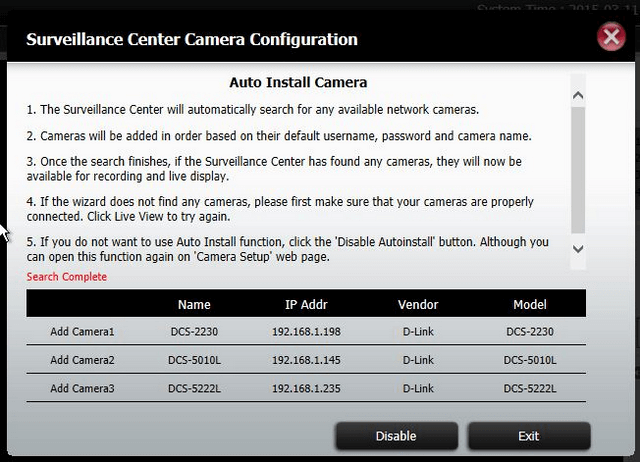
*Please take a note of the above explanation of the configuration before continuing
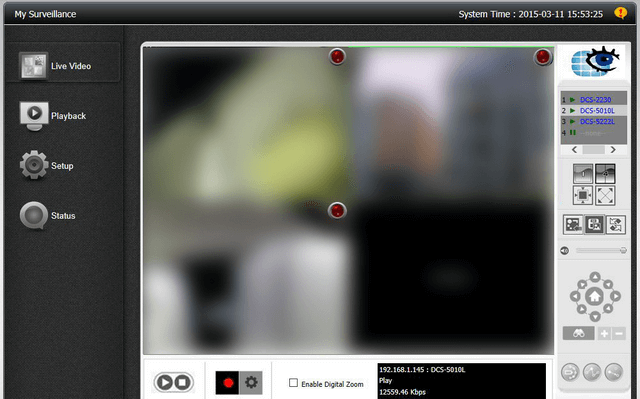
Step 8 – Once completed the search, you may click “Exit” to exit the search and view your cameras
Step 9 – If you have set any passwords on your cameras, you may get the following prompt
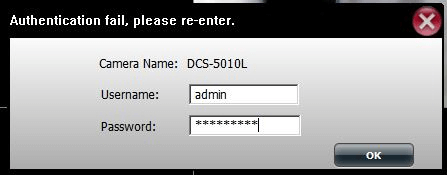
Enter the password that corresponds to the camera, then click “OK”
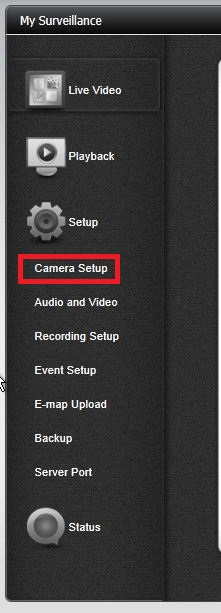
Step 10 – Click “Setup” on the left-hand side to access the various setup options
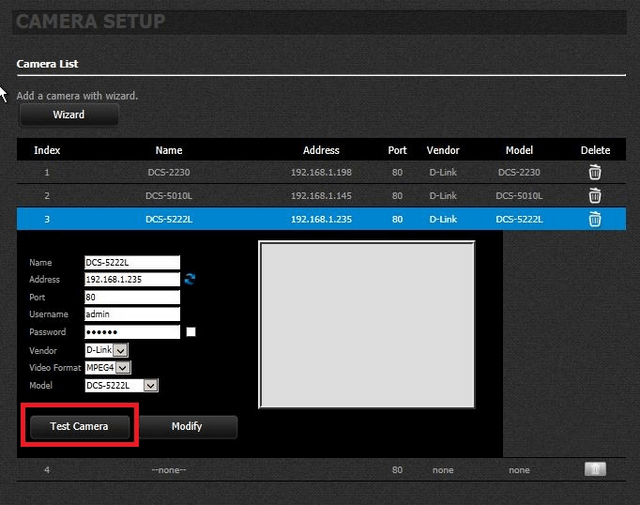
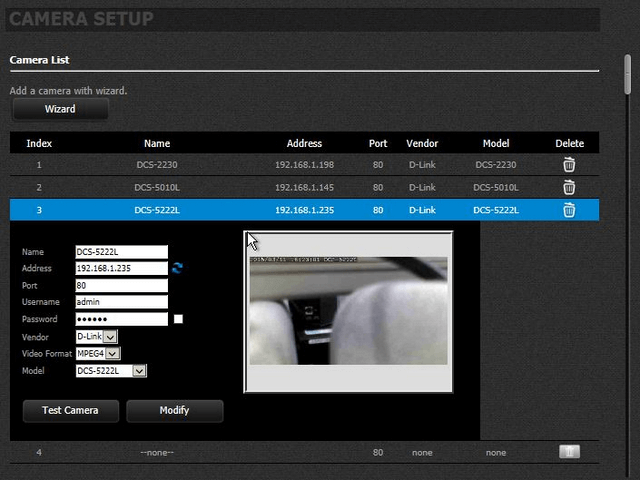
Step 11 – Click on any camera to alter information such as its display name, admin username and password. You may also click on “Test Camera” to confirm if the settings are correct. If they are, you should see the live view of the camera
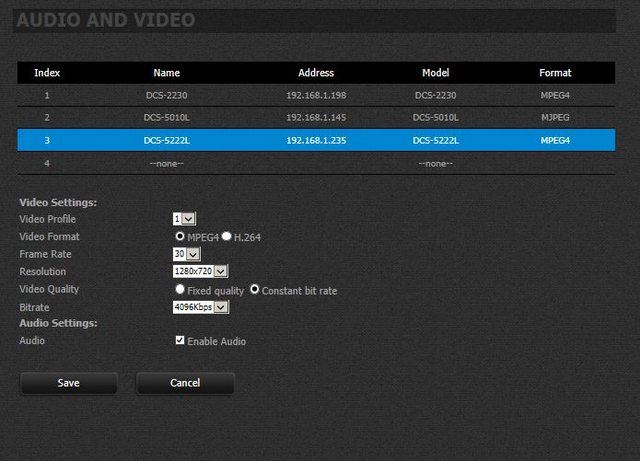
Step 12 – Click on “Audio and Video” then any of the cameras to alter the video streaming and audio settings
Step 13 – Click “Recording Setup”, then any camera to alter the recording Schedule
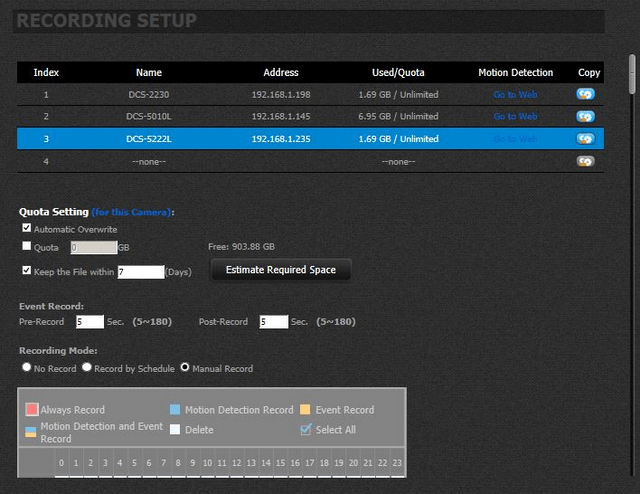
Here you are able to alter and or set a specific disk quota that the camera’s recordings should not exceed. It can also apply to how many days’ worth of recordings to keep.
If you scroll further downwards on this page, you will be able to set the recording mode. When setting “Record By Schedule”, you will notice you will be able to modify as before it was greyed out
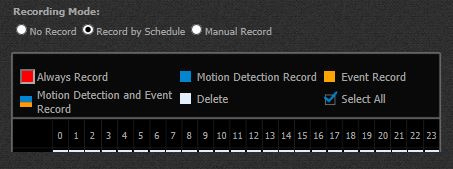
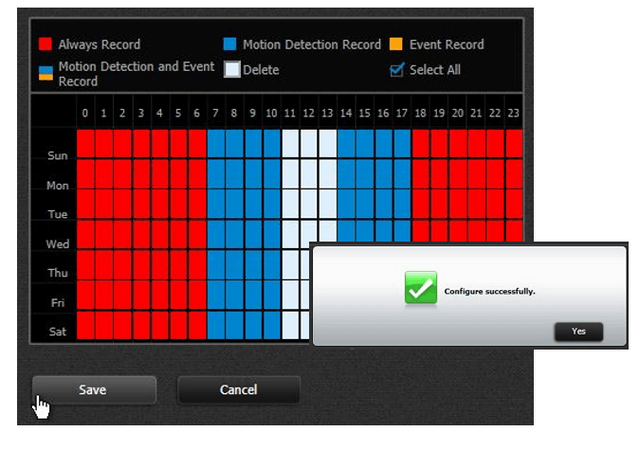
With “Recording Mode” you are able to set the time periods where it will or not record.
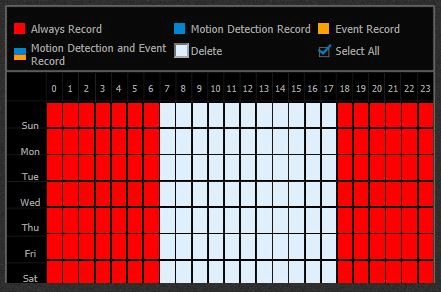
Step 14 – Click on the red “Always Record” and drag a time-line with the mouse. Here is where the recording will record always
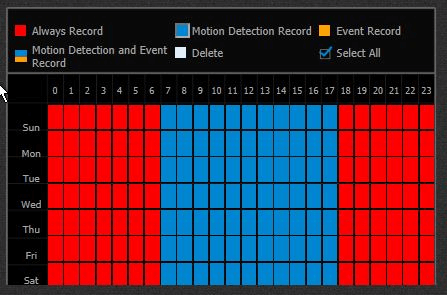
Step 15 – Click on the blue “Motion Detection Record” and drag a time-line with the mouse. Here is where the recording will be on motion detection
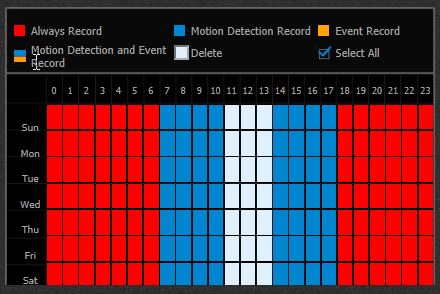
Step 16 – To stop it recording between at certain times, click the white “Delete” and drag a time-line with the mouse. Here you can see where you don’t want to record
Step 17 – Once you are satisfied with the setup, click on “Save” to finalise the Recording schedule and receive the “Configure Successfully” prompt
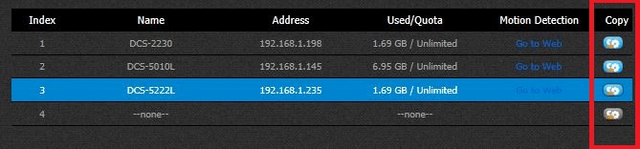
Step 18 – You may copy the recording setup to other cameras by simply clicking on “Copy” icon
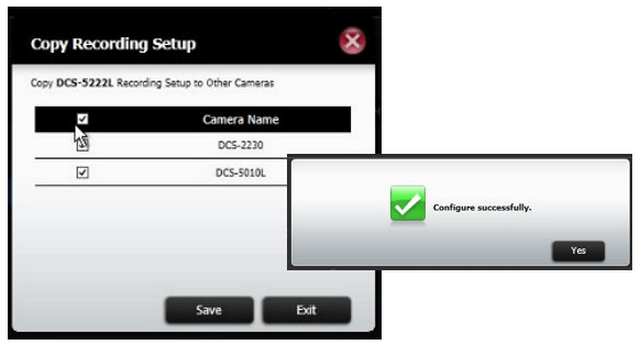
Step 19 – Select the cameras you want to apply the copied settings. In our example, we have selected ALL. Click “Save”
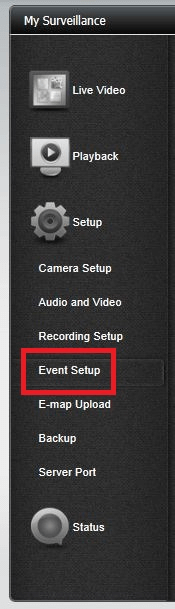
Step 20 – The first time you click on “Event Setup”, you should be prompted to fill in an email or SMS information. Once done, the DNS-340L will send an email and SMS alerts
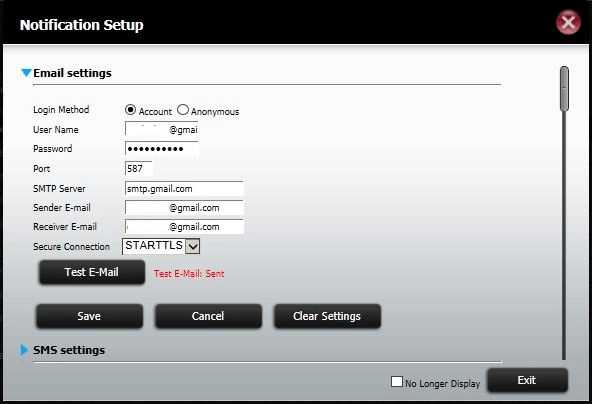
In our example we have used a gmail account. In order to setup with your email account, you will need to source the smtp server details using our example above. Once done, click on “Test E-Mail”. If correct, you should see “Test Email Sent”.
If not please check your connection details and the smtp and account settings. Click on “Save” to finalise the notification setup
Step 21 – On “Event Setup”, select the type of event notifications you would like to be alerted via Email or SMS
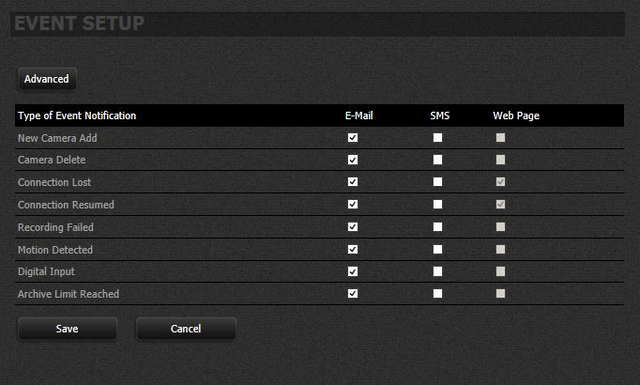
Click “Save”
These may also help:
- How to Setup Dropbox – DNS-340L Read Answer
- How to Setup iSCSI and Connect – DNS-340L Read Answer
- How to Setup My Surveillance – DNS-340L Read Answer
- How to Use the Setup Wizard – DNS-340L Read Answer
- How to Use the USB Drives and Map them – DNS-340L Read Answer