How to Setup iSCSI and Connect – DNS-340L
Step 1 – Open a web browser and enter the IP of your device

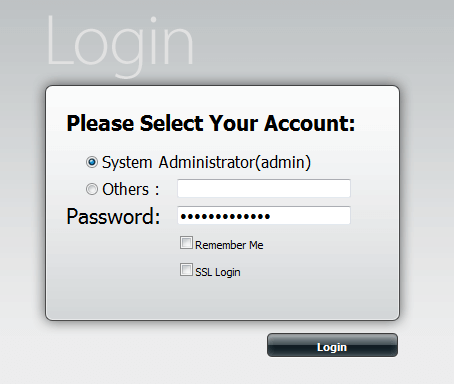
Step 2 – Login into the DNS using your credentials
Step 3 – Once logged into the web interface, go to iSCSI Target
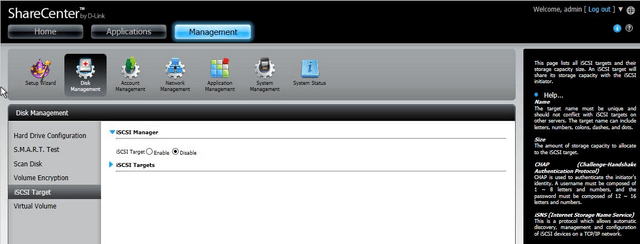
Click “Enable”
Step 4 – Click on “iSCSI Targets”
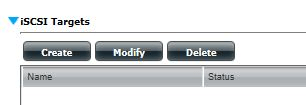
Then click “Create”
Step 5 – Enter the details to create an iSCSI Target. In our example, we have not chosen to use the CHAP Settings.
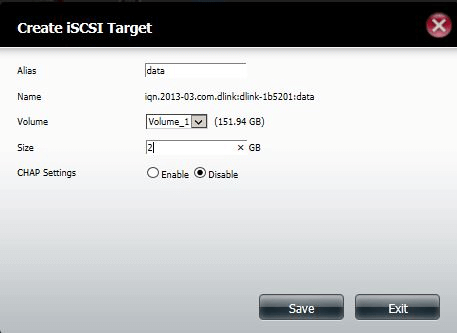
Click “Save”
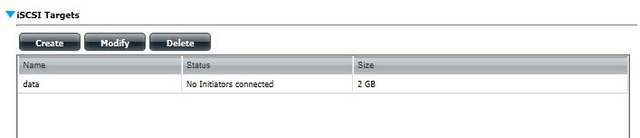
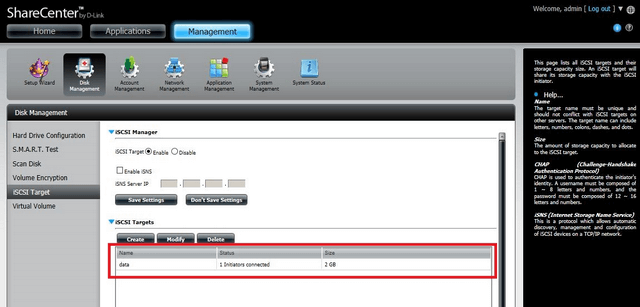
Step 6 – Once saved you see there will be one iSCSI Target added
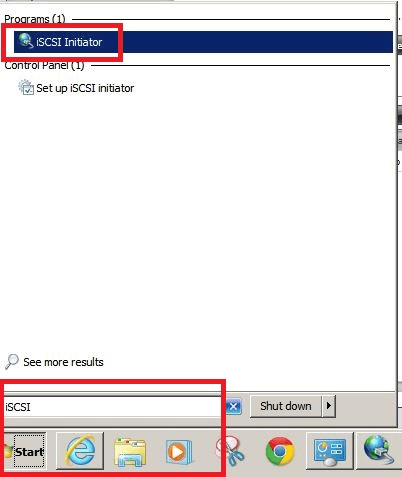
Step 7 – On your PC, open Control Panel > Administrative Tools > iSCSI Initiator then click “Targets” tab or click on Start > Run then type: iSCSI then click “iSCSI Initiator”
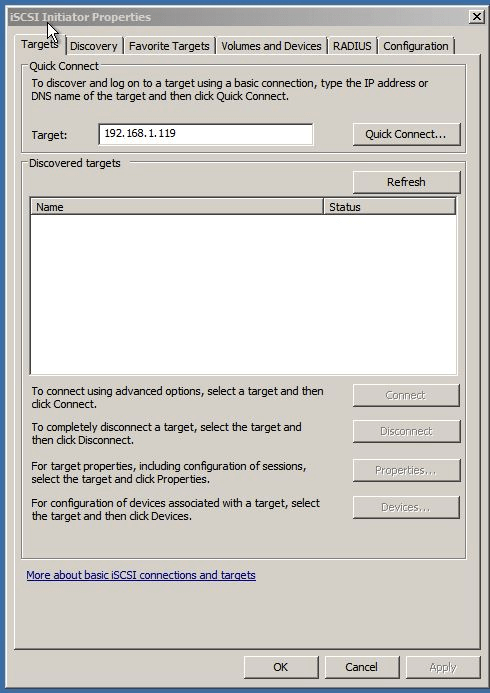
Enter the IP of the DNS-340L. In our example it is 192.168.1.119 then click “Quick Connect”
Step 8 – Once you see the status as “Connected”, click “Done”
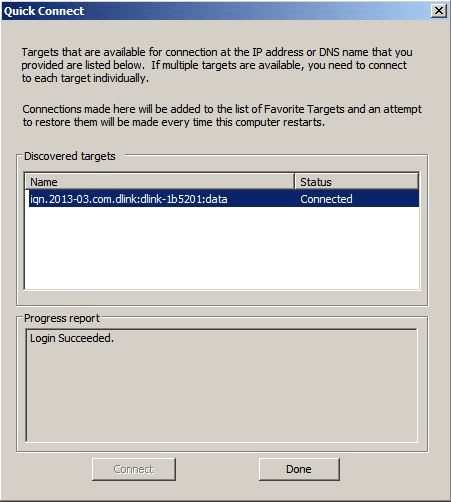
Step 9 – Return to the DNS-340L and should see the connection established
Step 10 – In the “Administrative Tools” window, open “Computer Management” then click “Disk Management” or right-click on “Computer”, click “Manage” then “Disk Management”
Step 11 – Once you have opened “Computer Management” you should get a prompt to “Initialize Disk”
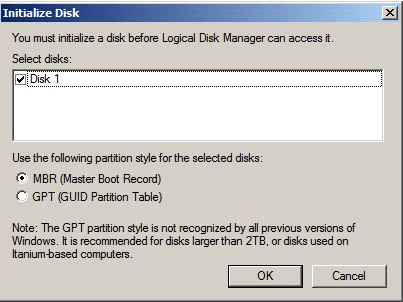
Click “OK”
Step 12 – In our example we are going to create a “New Simple Volume”

Step 13 – You should be presented with the wizard for the new simple volumen
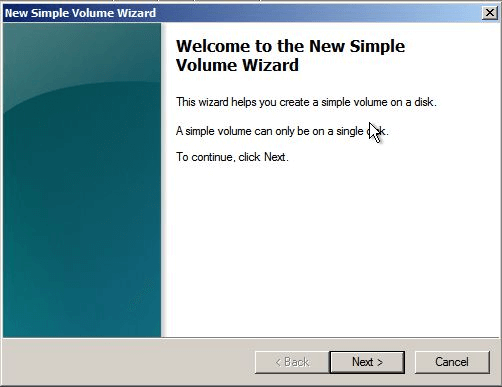
Click “Next”
Step 14 – Select the volume size required
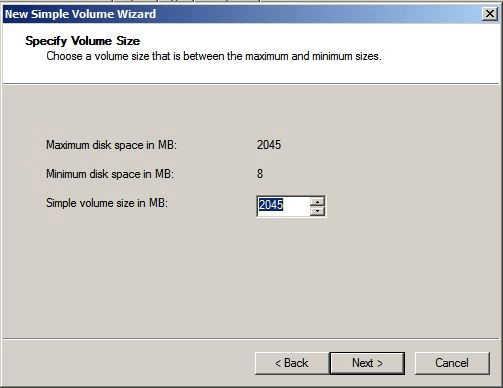
Click “Next”
Step 15 – Assign Drive Letter or Path. In our example we have assigned a letter
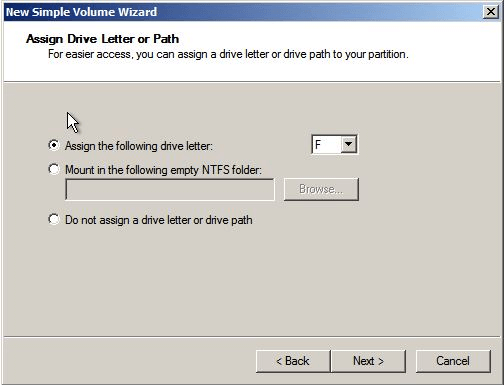
Click “Next”
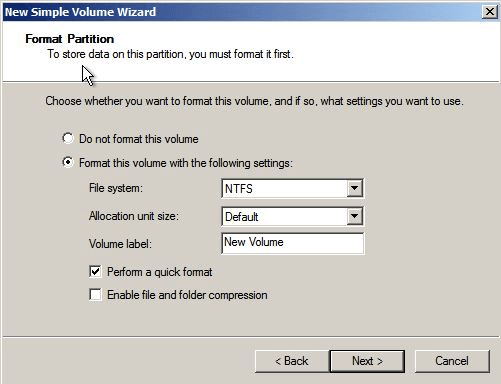
Step 16 – Format Partition
Step 17 – Completing the New Simple Volume Wizard
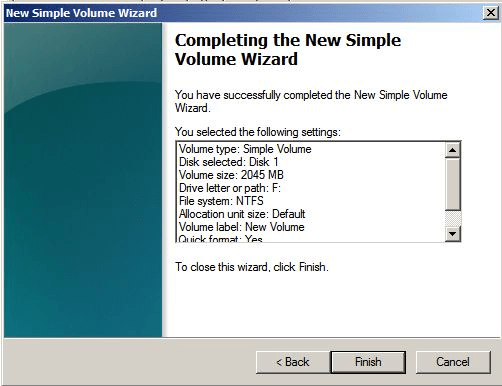
Click “Next”
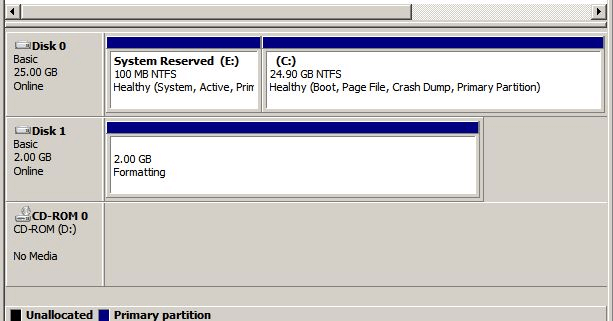
Step 18 – Formatting in-progress
Step 19 – Formatting complete
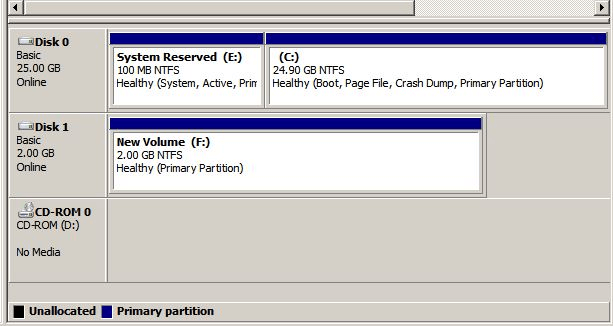
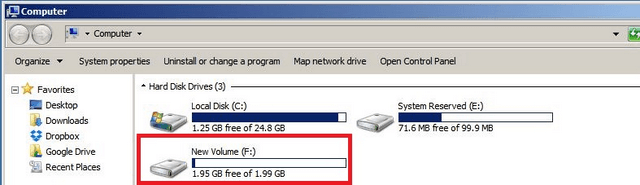
Step 20 – Open “My PC” or “Computer” to see the new volume mapped