How to Use the Setup Wizard – DNS-340L
Minimal Requirements:
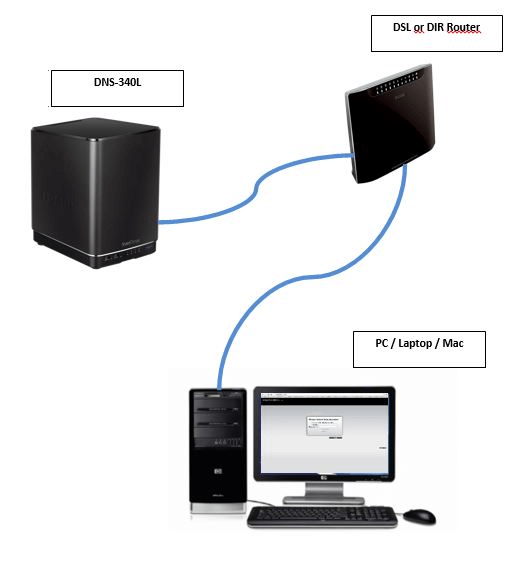
Step 1 – In order for a correct installation of the DNS-340L, you will need to have (at least) a similar setup as shown below.
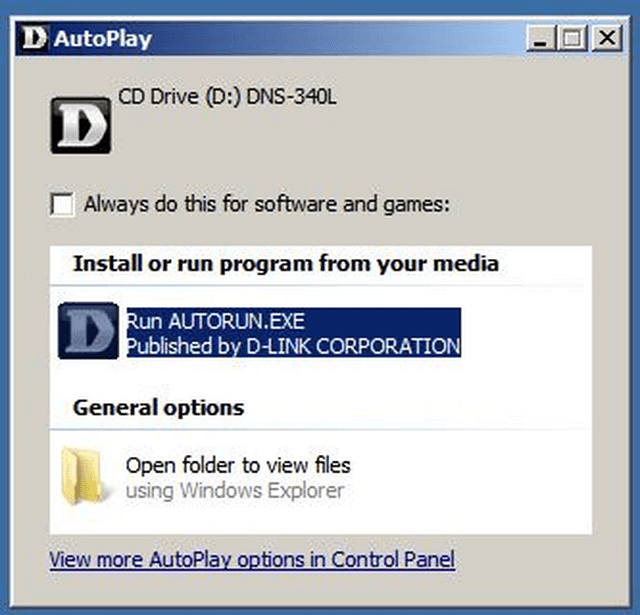
Step 2 – Insert the CD provided and click “Run AUTORUN.exe”
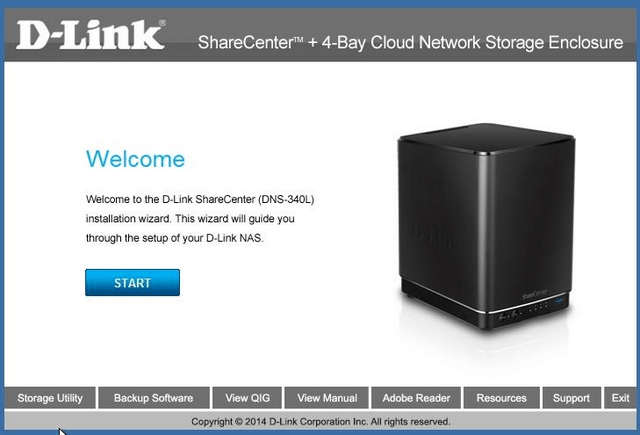
Step 3 – Click on “Start”
Step 4 – Select your language from the drop-down list
Click “Start”
Step 5 – Remove the top cover to reveal the inside of the NAS
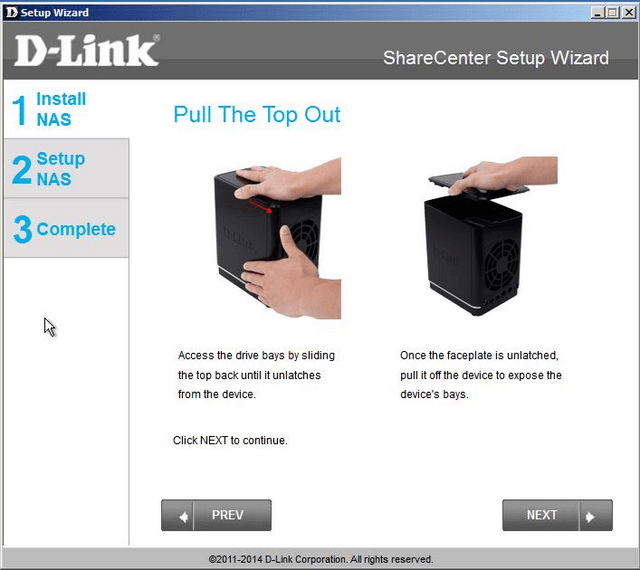
Once removed, click “Next”
Step 6 – Attach the hard drive brackets (Optional but if makes easy of removal of hard drives at a later stage)
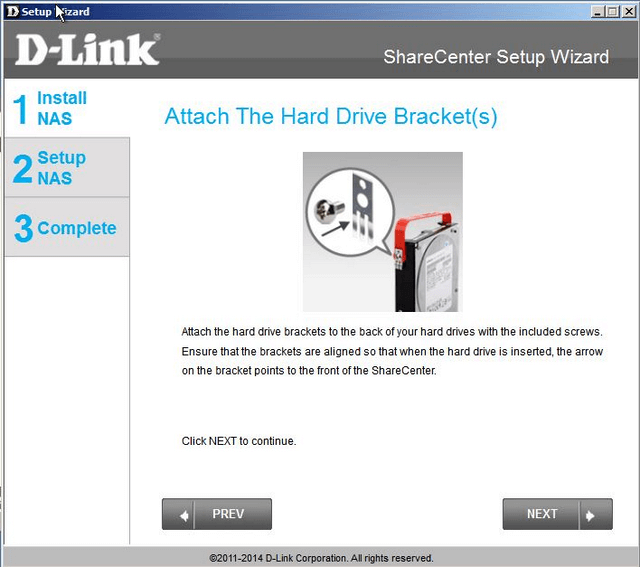
Click “Next”
Step 7 – Once you attached the brackets, insert the hard drive(s)
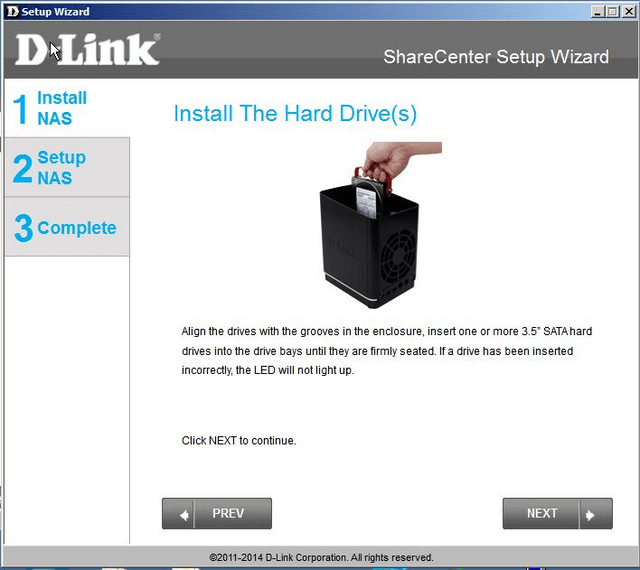
Click “Next”
Step 8 – When you have inserted the hard drive(s), re-attach the faceplate

Click “Next”
Step 9 – Connect the Ethernet cable to the port marked “LAN1”
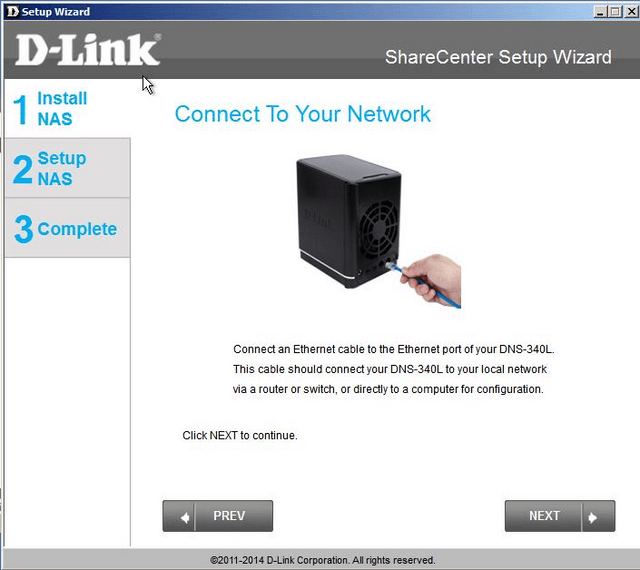
Click “Next”
Step 10 – Connect the power adapter to “DC IN”
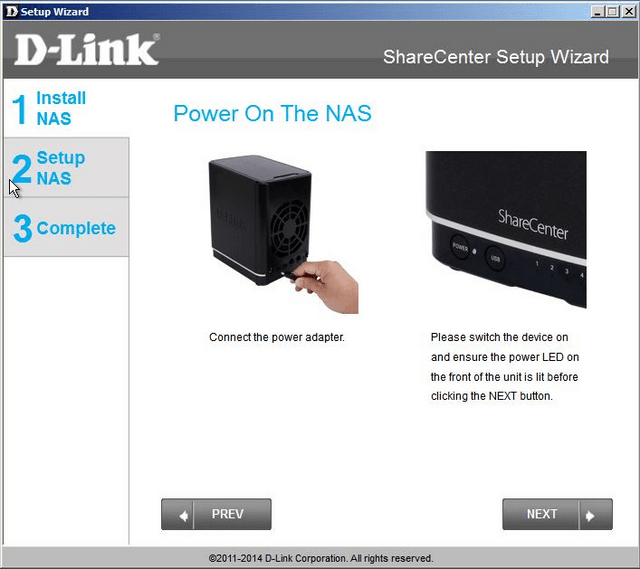
Click “Next”
Step 11 – You should be able to see the NAS showing within the next screen.
In our example:”dlink-1B5201 192.168.1.119”.
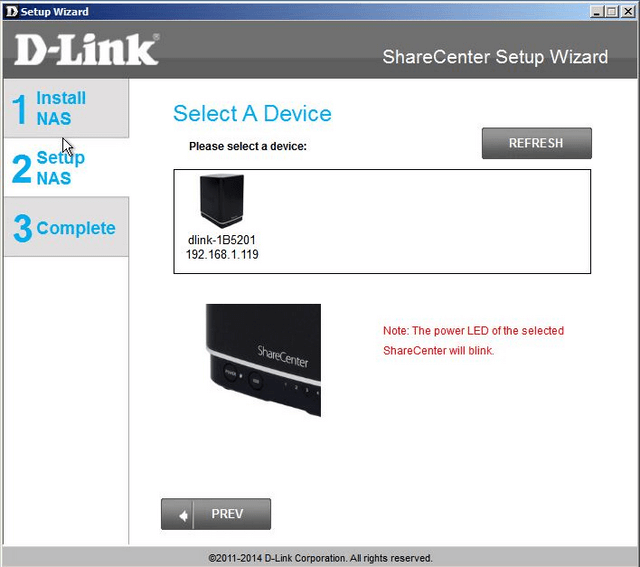
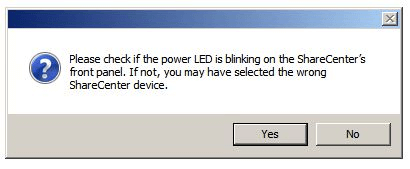
Once selected you should be presented with the above right dialog box. If correct click “Yes”
Step 12 – On default there will not be a password, leave this blank
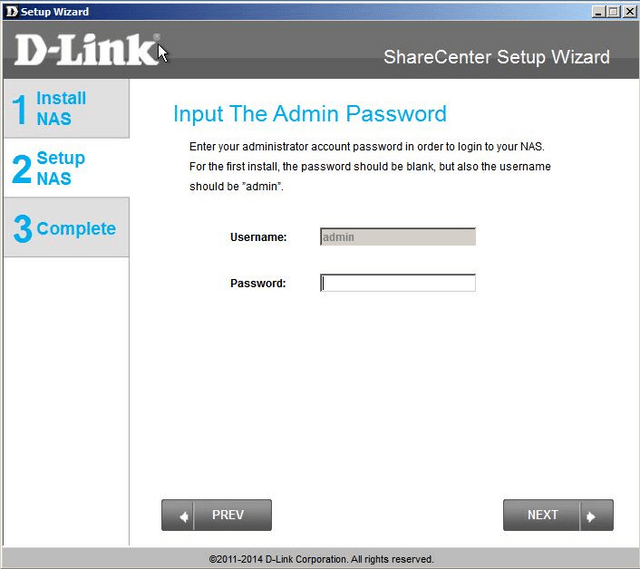
Click “Next”
Step 13 – Enter a password followed by confirming it
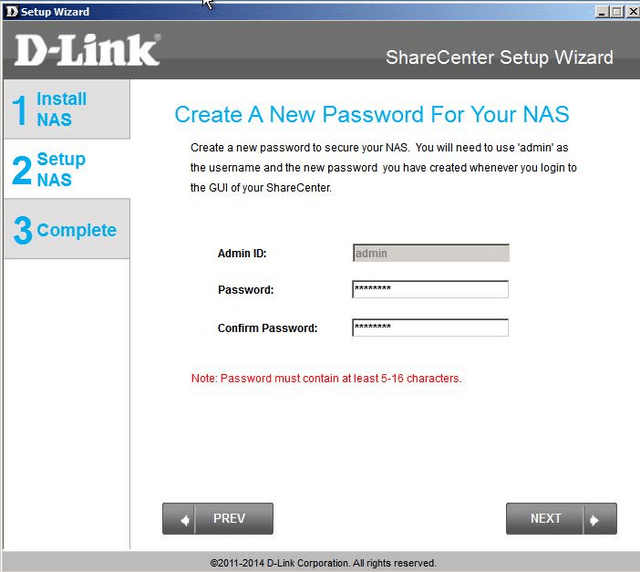
Click “Next”
Step 14 – In our example we will configure the LAN1 (only).
We recommend selecting “Static IP” enter the details that correspond with your network
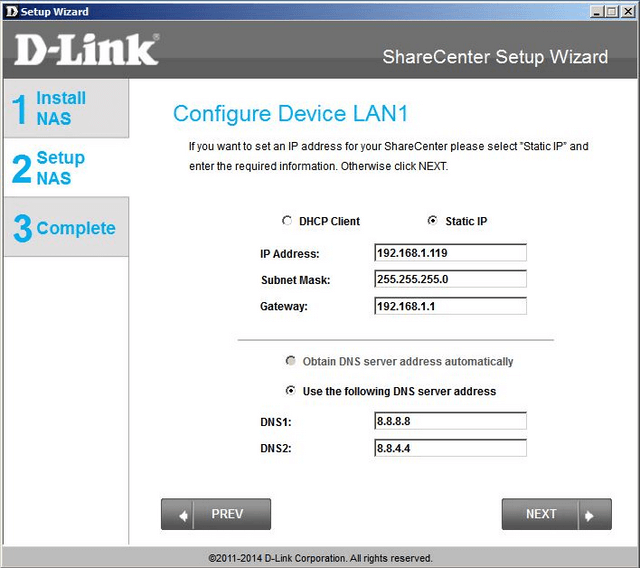
Click “Next”
Step 15 – For purposes of this setup, we will leave the LAN2 as default
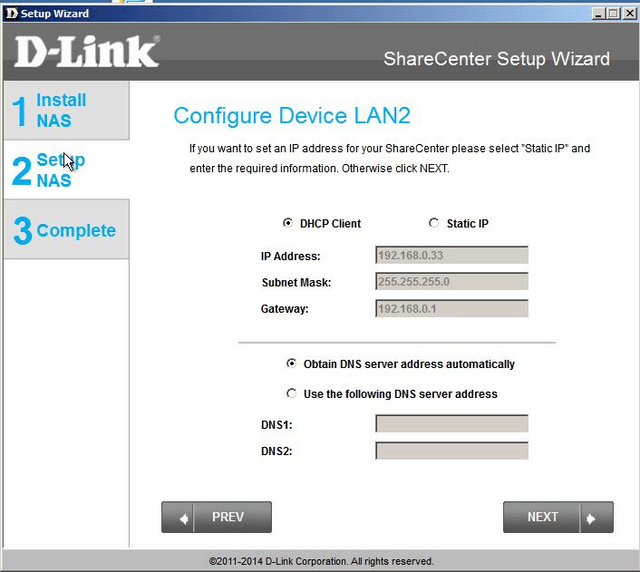
Click “Next”
Step 16 – Configure the default gateway the NAS will use. In our example we are using LAN1 (mydlink)
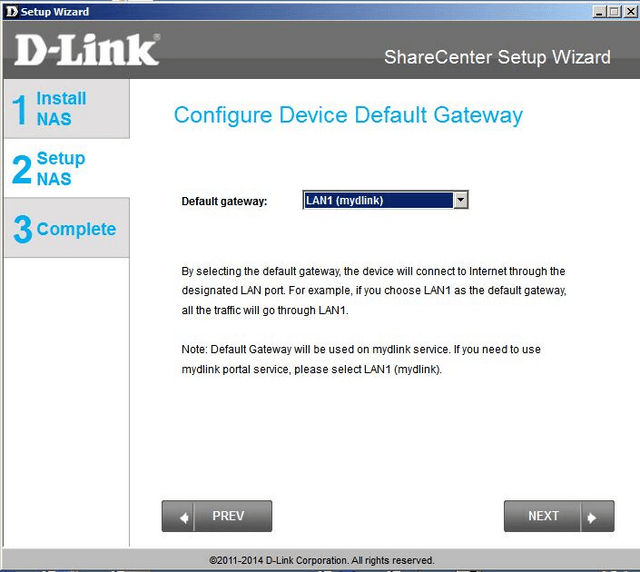
Click “Next”
Step 17 – In our example we have left this as default
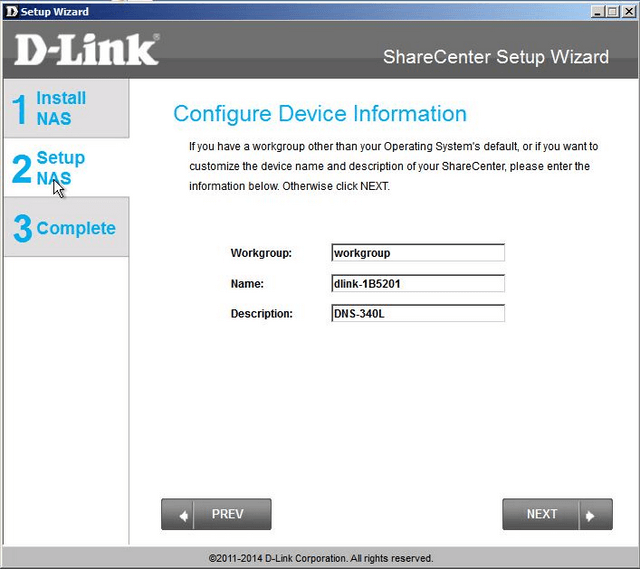
Click “Next”
Step 18 – Here you can configure the correct time zone and manually set the date and time based upon your computer settings by clicking on “Set time from my computer”. Alternatively, if you have a preferred ntp server you may use this feature by enabling this and entering this information. In our example we have not chosen an ntp server
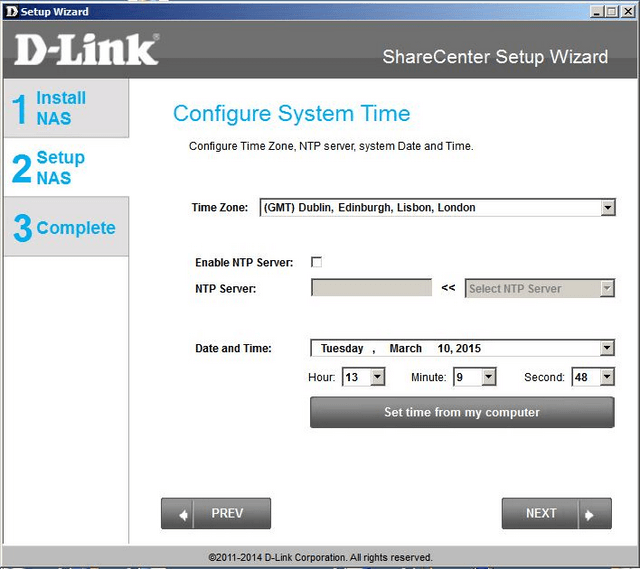
Click “Next”
Step 19 – We now need to setup the RAID type for the hard drives which had been installed in Step 7
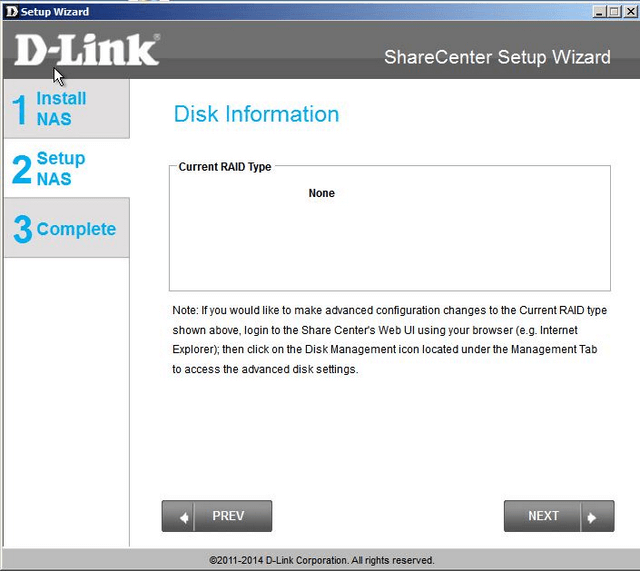
Click “Next”
Step 20 – We have only one hard drive installed and therefore the only option RAID type available is “Standard”
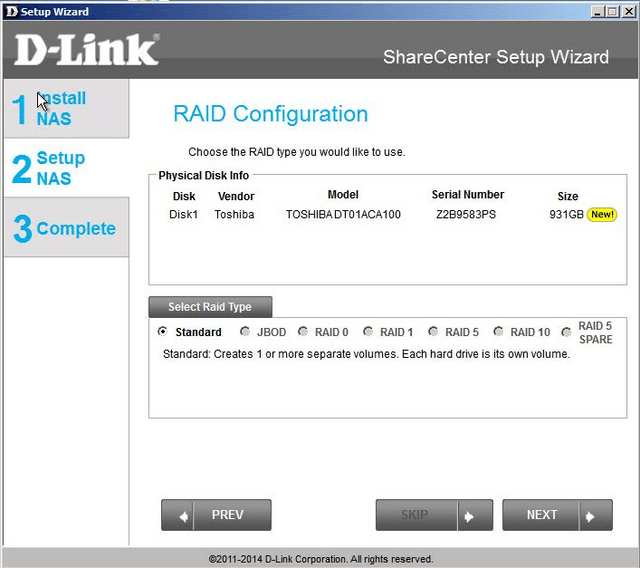
Click “Next”
Step 21 – Here you can choose to encrypt the volume simply by selecting “Encryption”. In our example, we have chosen not to.
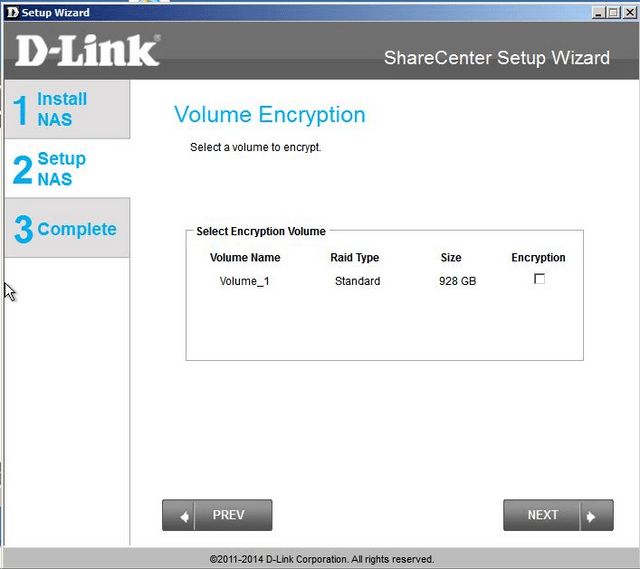
Click “Next”
Step 22 – We are now presented with the option to map our new volume to the network. If you click on the drop-down list, you will be presented with the available drive letters you may select. In our example, you can see that the letter “Z:” has been allocated and therefore unable to take and selected “Y:”

Click “Next”
Step 23 – You will now be presented with the full summary of your new volume. If you agree with the settings continue, if not click on “PREV” to modify
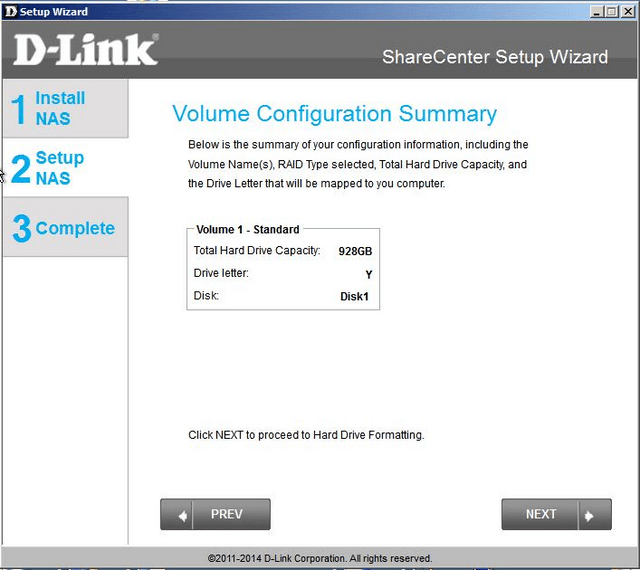
Click “Next”
Step 24 – You should now be presented with the option to continue to format the hard drives. Please note at this initial (first time) use there should not be any data on the drives. However if in the case you have used these hard drives on another device and there is data on them, you must understand that clicking “Yes” will perform a format of the disks and ALL data will be lost.
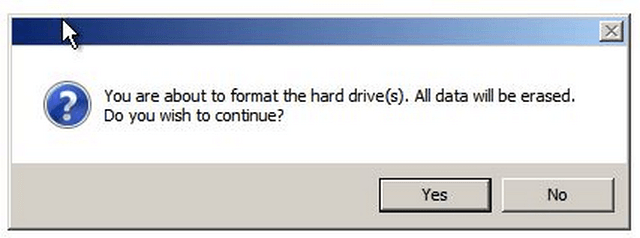
Click “Next”
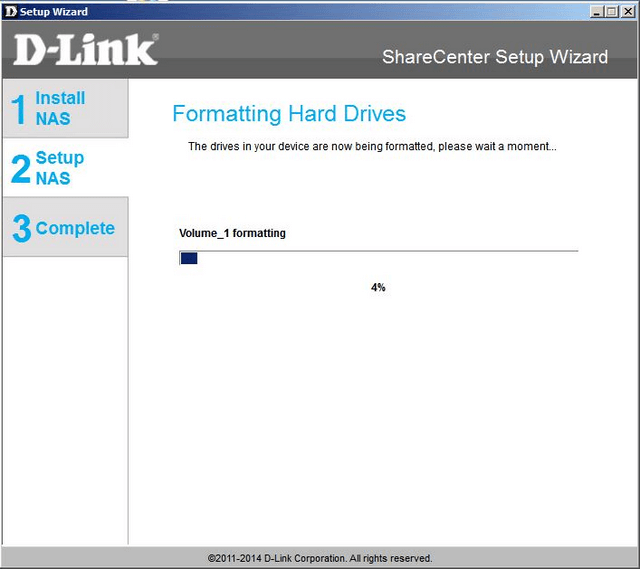
Step 25 – Once committed to formatting you may watch the percentage of this process
Step 26 – When you reach this screen, you are ensured that the format has completed with success
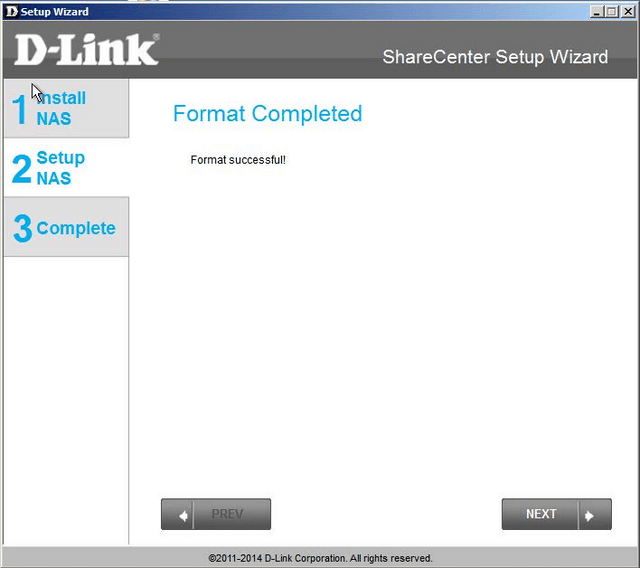
Click “Next”
Step 27 – You will now be presented with the options of adding the DNS-340L to your mydlink account. In our example, we have selected “Yes”
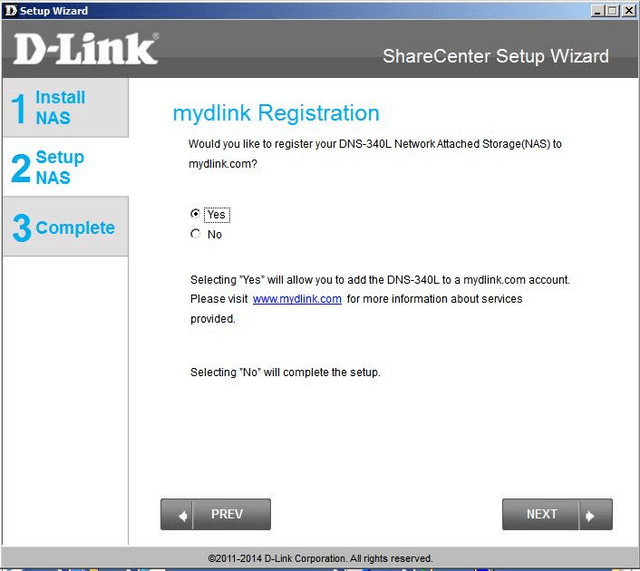
Click “Next”
Step 27– If you don’t have an account, click on “No, I need to sign up for a new account” and follow instructions. If you have an existing mydlink account, then click on “Yes, I already have a mydlink account”. Enter an email address and password to that account
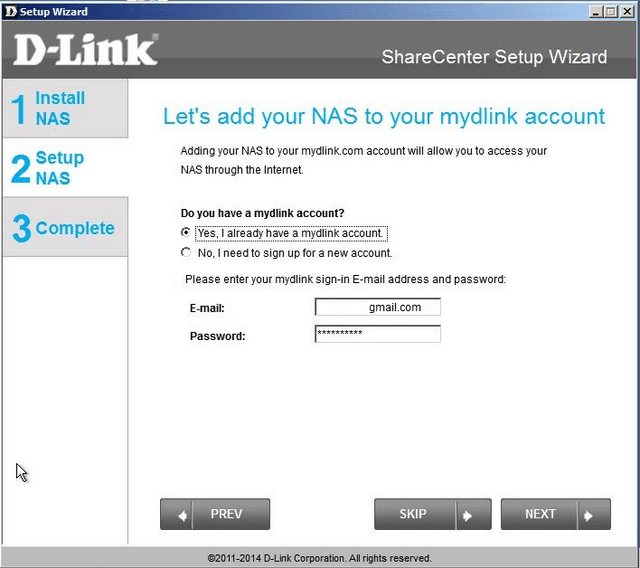
Click “Next”
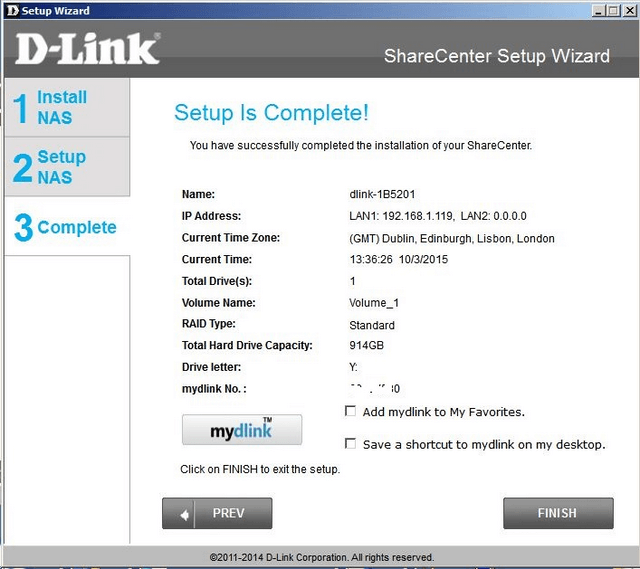
Step 27– When you have entered your email address and password, you should be presented with this final screen illustrating the setup is complete