How to Use the USB Drives and Map them – DNS-340L
Devices and Hardware Used:
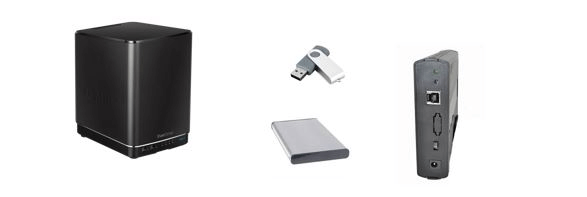
Our example includes using the above devices; External HDD, USB Stick and HDD Powered Disk Enclosure¹
Step 1 – Enter the Web Management of the DNS-340L

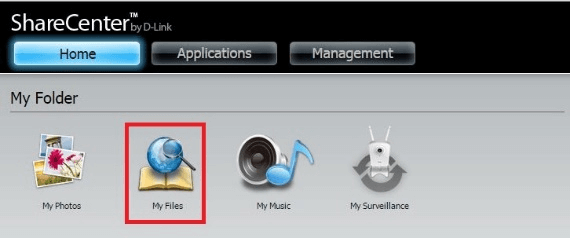
Step 2 – Click on “My Files”
Step 3 – You should notice (depending on your RAID setup) only showing
“Volume_1”

Step 4 – Insert your External HDD, USB Stick and HDD Powered Disk Enclosure¹
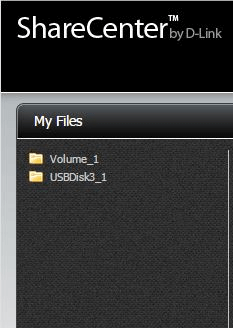
Once you have refreshed the above page, you should see your USB device. In our example it shows “USBDisk3_1”
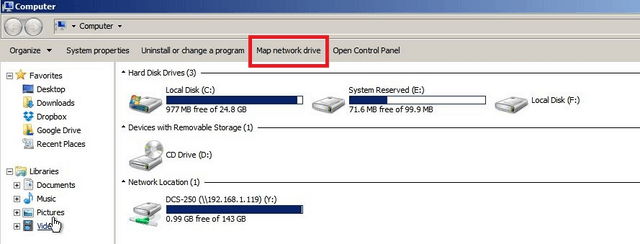
Step 5 – If you would like to map the USB Drive on a PC, note the name given to your device (Step 3). In our example it is; “USBDisk3_1” and go to “Computer” on your PC then click on “Map network drive”
Step 6 – Enter the following into to configure “Map Network Drive”
Drive: Z: (You may select from the available letters on your system)
Folder: \\192.168.1.119\USBDisk3_1
Reconnect at login: Selected
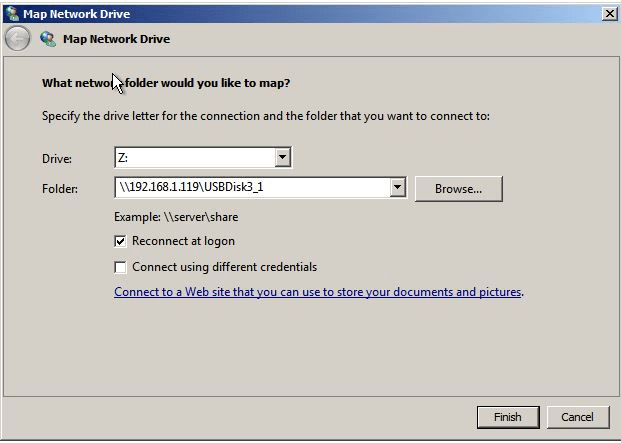
Click “Finish”
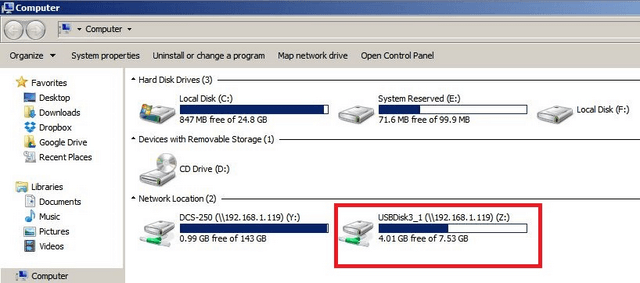
Step 7 – You should see the following mapped drive
(¹) this device will need its own power source before inserting the USB cable to the DNS-340L