Topology Used:
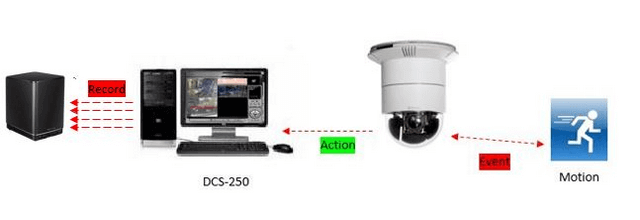
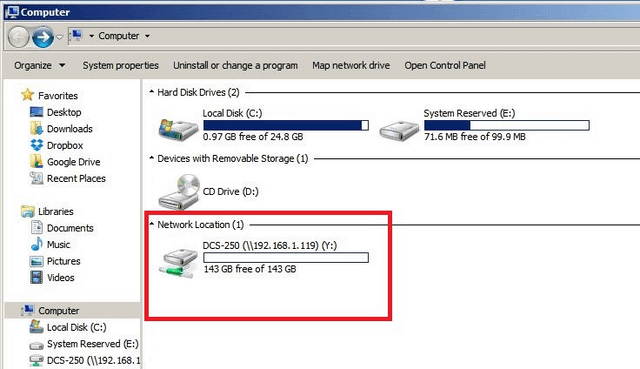
Note: This document assumes you have a NAS (Network Attached Storage) with a network share setup to record to. In our example, we have used a DNS-340L and we have mapped a drive on the PC where we have DCS-250 installed as below:
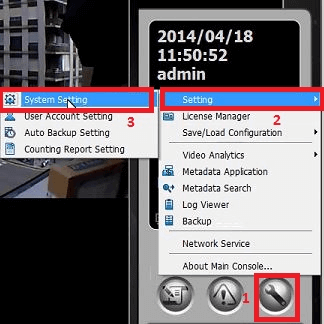
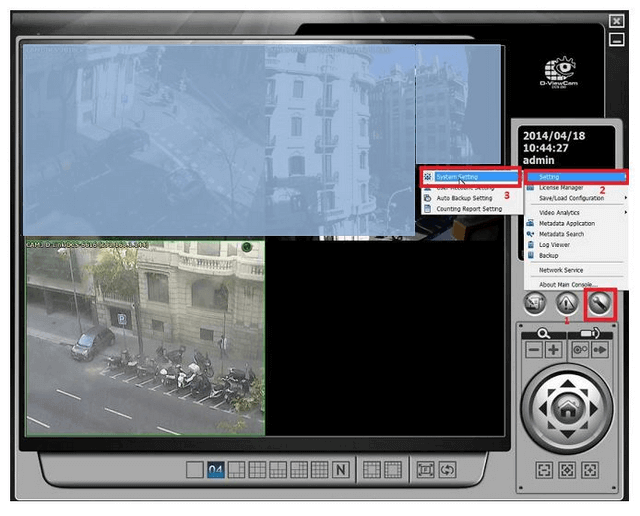
Step 1 – Once the above has been confirmed, then click on the following:
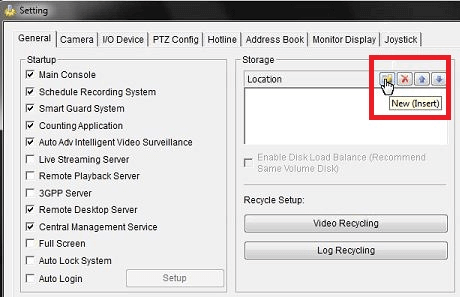
Spanner > Setting > System Setting
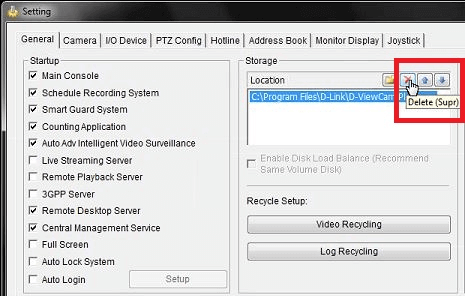
Step 2 – Select the current location then click “Delete (Supr)” (we are removing the default location for DCS-250)
Step 3 – If there is a recording schedule setup, you may get the following:
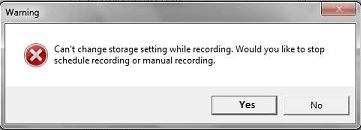
Click “Yes”
Step 4 – Click on “New (Insert)”
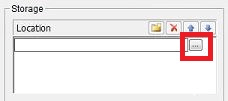
Then click to search for the mapped drive and select the mapped drive
Step 5 – Once selected you will see the new “Location” as now been set to our mapped drive
Z:\
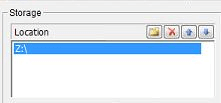
Click “OK”
Step 6 – Once you click “OK” you may see the following message to resume services
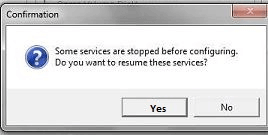
Click “Ok”
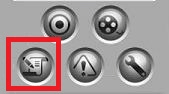
Step 7 – Enter “Schedule Configuration” by clicking on the icon illustrated below
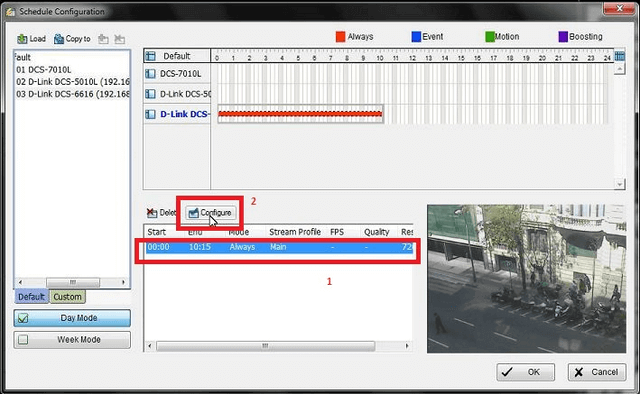
Step 8 – Select the camera you would like to setup motion detection. In our example, we have selected the DCS-6616.

Step 9 – Select from the time schedule bar a time you desire the “Motion” to be active. This can be done by simply dragging the mouse from either; left to right or right to left.

Step 10 – Select the schedule and click “Configure”
Step 11 – You will now need to configure the “Encoding Options”. Our example we have selected a time between 00:00 to 23:59
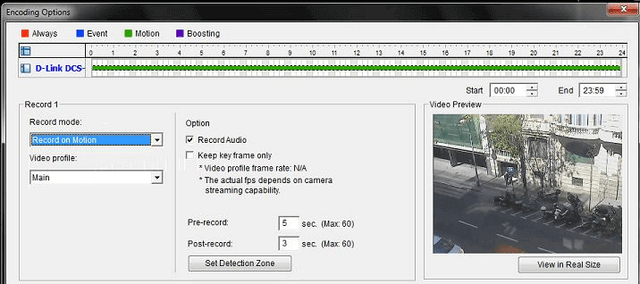
Encoding Settings:
Record Mode: Record on Motion
Video profile: Main
Record Audio: Selected (If applicable to the camera)
All other settings as per default (on our example)
Pre-record: 5 Sec
Post-record: 3
Click “Set Detection Zone”
Step 12 – Drag an area to be monitored with the mouse. We have increased the sensitivity slightly and ensure the event will trigger. All other settings as per default.
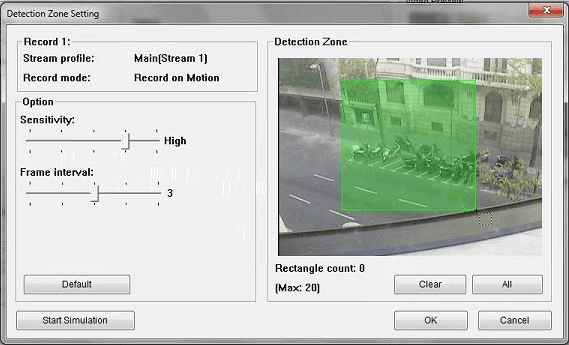
Don’t click “OK”, go to Step 13 for a simulation test
Step 13 – Click “Start Simulation” to test the motion detection is working correctly
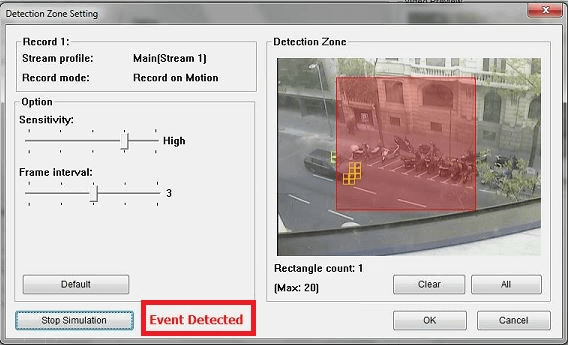
Click “OK”
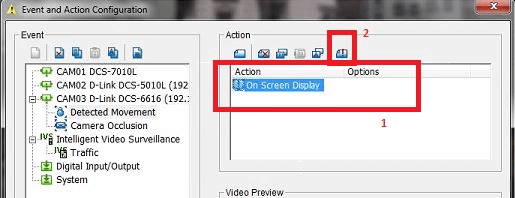
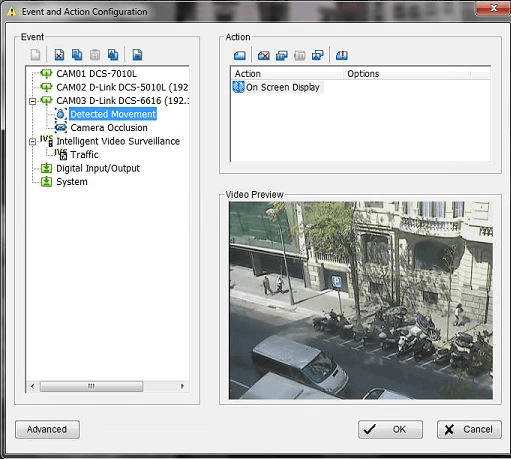
Step 14 – Once the above has been completed, you should see the following screen. Select “On Screen Display” and then click “Configure Action”
Step 15 – Select “N/A” from the drop-down box (This means you will see a message appear on the related camera in “Live View”. If you select “Monitor #” the message will show in one view only
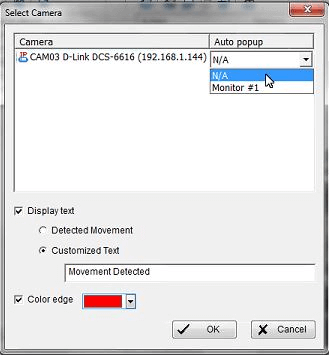
Display text: Selected
Customized Text: Movement Detected
Color edge: Selected and in our example we have chosen “Red”
Click “OK”
Click “OK”
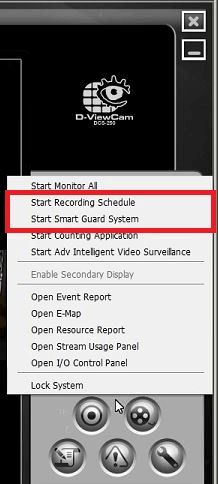
Step 16 – You must now “Start Recording Schedule” and “Start Smart Guard System” to make sure recording will commence on motion detected and the on screen alert will show
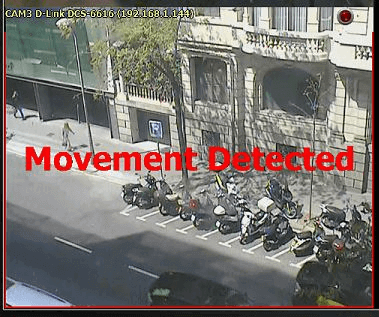
Step 17 – You should see the following alert popup when an event has been triggered by movement (message created with a red border in Step 15)
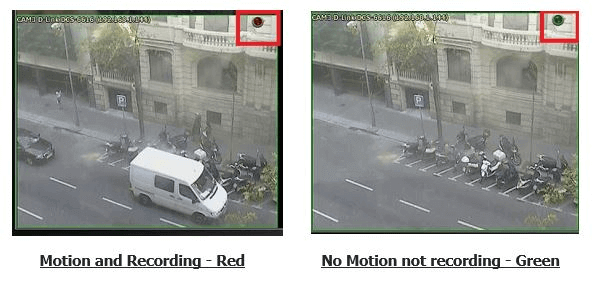
Step 18 – Also, in “Live View” you should see on the camera(s) an icon appear at the top right-hand corner
Step 19 – To enable the service to run when re-opening DCS-250, we need to enable by the following:
Spanner Icon > Setting > System Setting
Step 20 – In “Setting” select “Schedule Recording System” and “Smart Guard System”. Once these have been selected, every-time you close and re-open DCS-250 they will run at “Startup”.
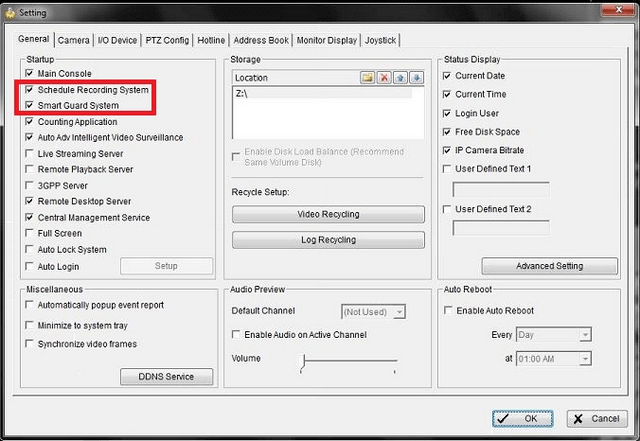
Click “OK”