How to Separate Networks with ACL DWL-8600AP
Example:
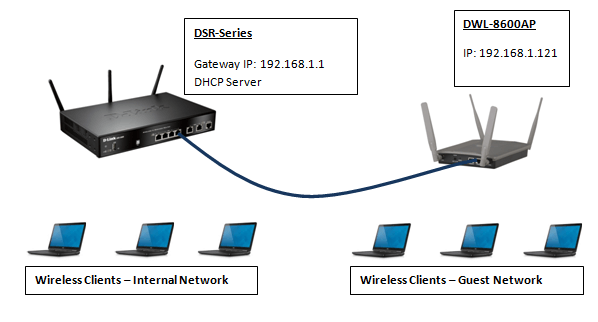
Step 1 – Enter the IP of the DWL-8600AP into a web browser. In our example we have used: 192.168.1.121
![]()
Step 2 – You will be presented with a login screen and will be required to enter the following: (by default)
Username: admin
Password: admin
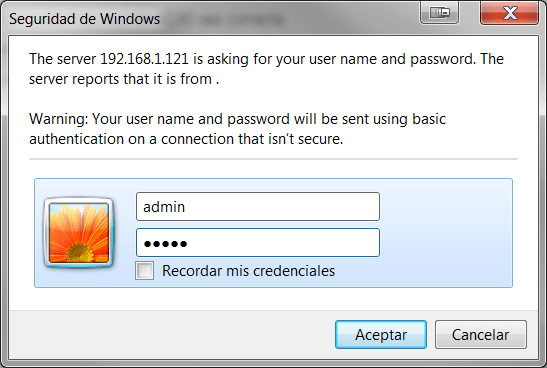
Click on “Aceptar”
Step 3 – Once you have established access to the web interface go to “Configure Client QoS ACL Settings” Client QoS > Client QoS ACL
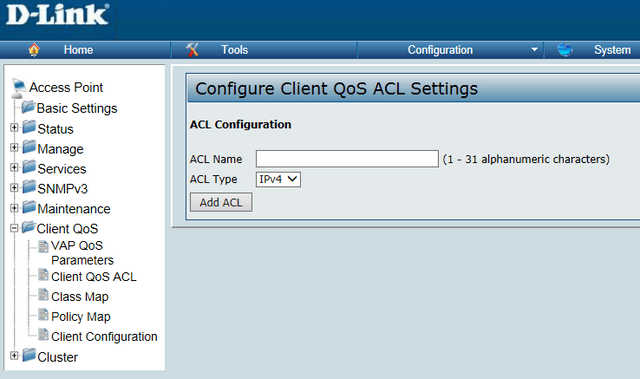
In the box allocated for “ACL name” type “ACL-TEST”
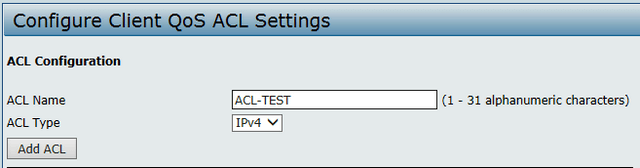
Click on “Add ACL”
Step 4 – To configure the ACL, allow DHCP and block ALL traffic crossing the network by selecting the ACL created in ACL Rule Configuration and selecting “New Rule”

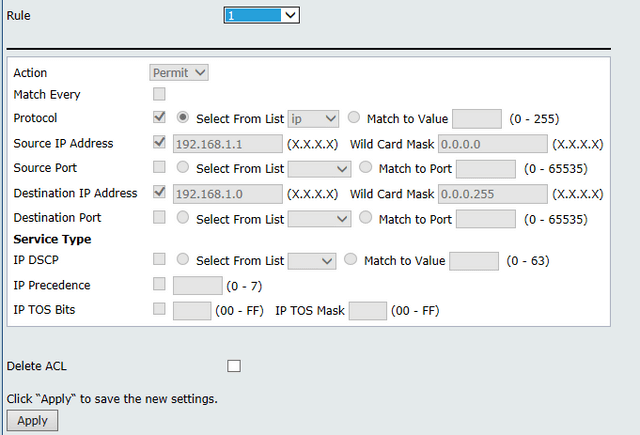
Step 5 – We will now proceed to “ALLOW” traffic from the DHCP server (192.168.1.1) via two rules
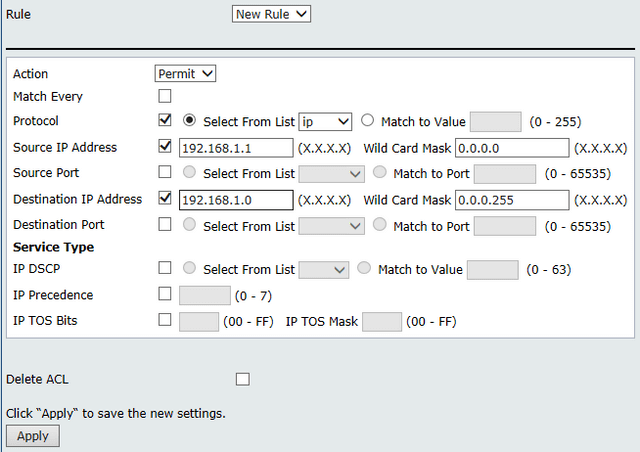
Click “Apply” to save the rule created
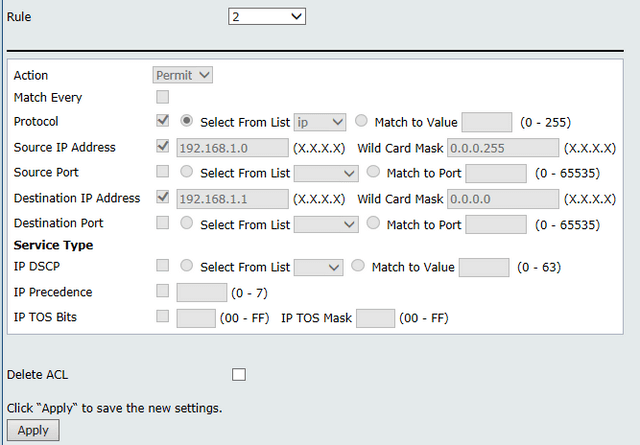
Step 6 – The second rule we need to create will be setup to “ALLOW” traffic from the DHCP Server but in the opposite direction to rule 1
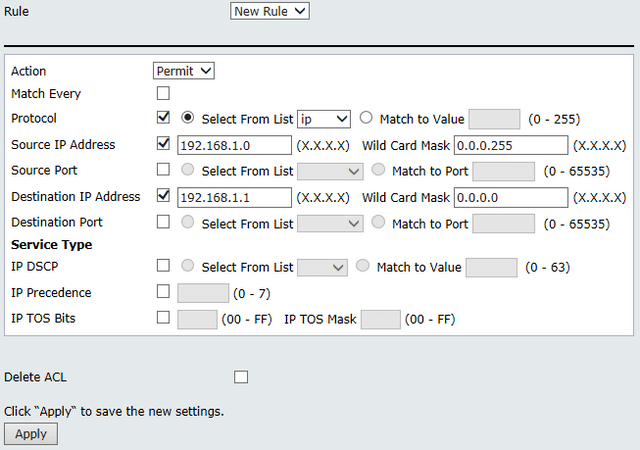
Click “Apply” to save the rule created
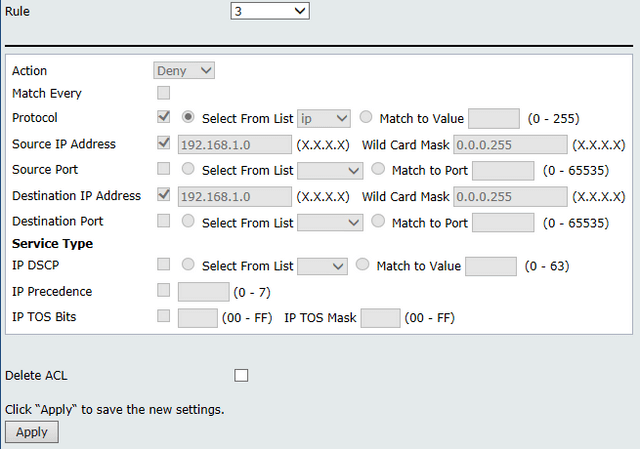
Step 7 – The next rule we will need to create is to “BLOCK” ALL traffic both for “Source” and “Destination” for the network 192.168.1.0 /24
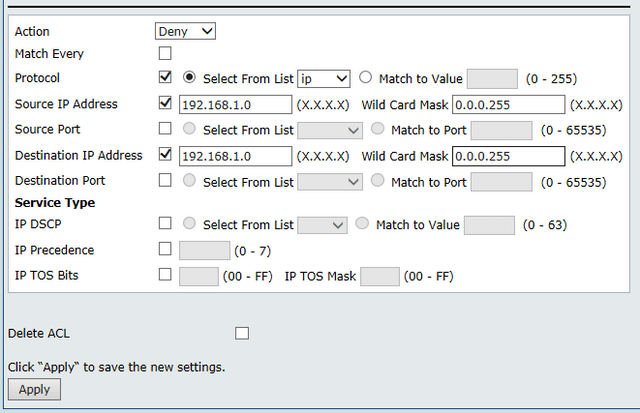
Click “Apply” to save the rule created
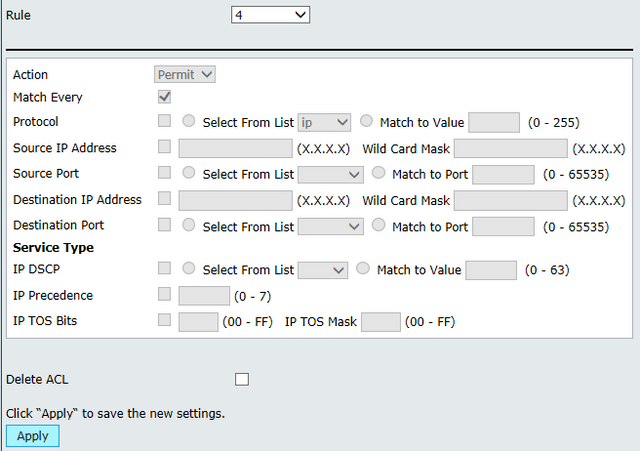
Step 8 – To finalise the ACL rules, we will need to create a fourth to “ALLOW” for remaining traffic communications
Click “Apply” to save the rule created
Step 9 – Once ALL ACLs have been created, we will need to apply them to the corresponding wireless SSID. In this example we have two SSIDs and allocated to both 2.4GHz and 5GHz bands, thus using one SSID for all other connections and the other SSID we will apply the ACL rule so only permitting access to the internet and denying access to the local network

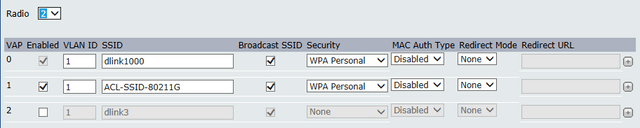
If in the case you have not created the wireless networks then go to
Manage > VAP
Select both 1 and 2 Radios > Edit the SSID
*If you require security then click on “Security” and apply a password WPA or WPA2 and click “Apply” to finalise and save the settings
Step 10 – To apply the ACLs within the DWL-8600AP interface, go to “Configure Client QoS VAP Settings”
Client QoS > VAP QoS
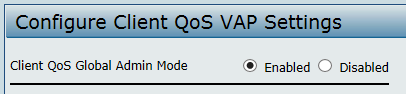
Select “Enabled”
Step 11 – Within “VAP QoS Default Parameters”, select the radio that will apply the ACL filter.
Radio 1: 5GHz
Radio 2: 2.4GHz
The VAP refers to the order the SSID configured before within the menú
Manage > VAP
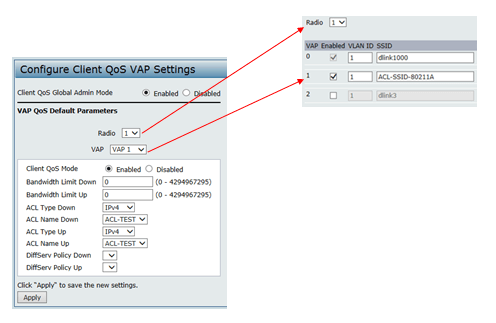
Click “Apply”
Step 12 – To finalise this example, repeat the above for SSID for Radio 2
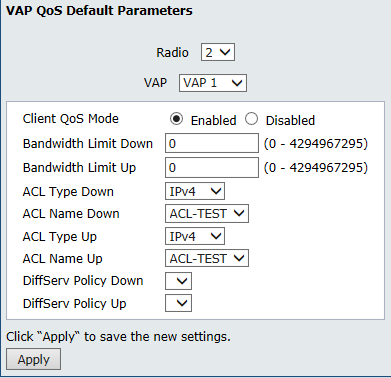
Click “Apply”