How to Upgrade Firmware to DAP-2690 and DAP-2695 via CLI
Requirements:
– Console cable
– PuTTy
– Tftp Server
Step 1 – Download PuTTy software from the following link:
http://www.chiark.greenend.org.uk/~sgtatham/putty/download.html
Download the putty.exe
Step 2 – Download a tftp server (you could use the following links):
32bit:
http://tftpd32.jounin.net/download/Tftpd32-4.50-setup.exe
64bit:
http://tftpd32.jounin.net/download/Tftpd64-4.50-setup.exe
Step 3 – Install PuTTY then configure as follows:

Serial line to connect to: COM3 (The above will be present in device manager)
Speed (Baud rate): 115200
Data bits: 8
Stop bits: 1
Parity: None
Flow Control: None
Step 4 – Install tftp Server then configure as follows:
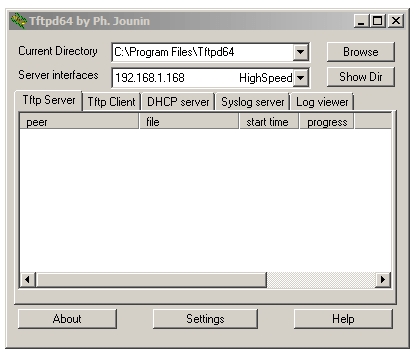
Current Directory: C:\Program Files\Tftpd64
Server interfaces: 192.168.1.168 (IP where the tftp server resides)
Step 5 – Click on “Open” on PuTTY to start the connection via console

Step 6 – Hit enter key and you should be presented with the Login screen
login: admin {Enter}
Password: nothing here unless password has been set {Enter}
Step 7 – Download the firmware for the AP, unzip and place into the directory specified in step 4
Step 8 – To upgrade the firmware from tftp, use the following command:
WAP-> tftp getfirmware DAP2695-firmware-v110-rc035.bin 192.168.1.168 {Enter}
Tftp getfirmware = is the command
DAP2695-firmware-v110-rc035.bin = is the full name and extension of the firmware
192.168.1.168 = is the IP of where the tftp server resides
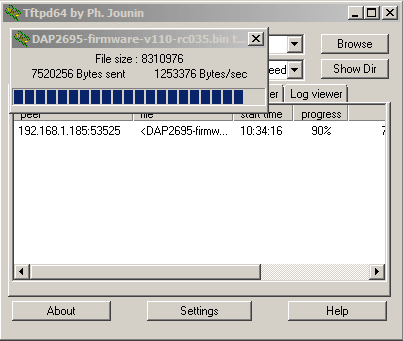
You should notice the tftp server will be transferring the code to the AP
Step 9 – On CLI interface you should see the following status
![]()
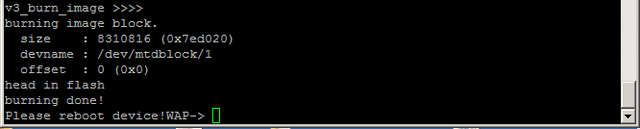
Once you see the above screen shots, please enter the following command to reboot the AP and finalise the process
![]()
Step 10 – To check the firmware has been upgrade, enter the following command
