Products
ProductsSolutionsApplications
Resources
NOTE – Make sure you are using the latest firmware for the switch
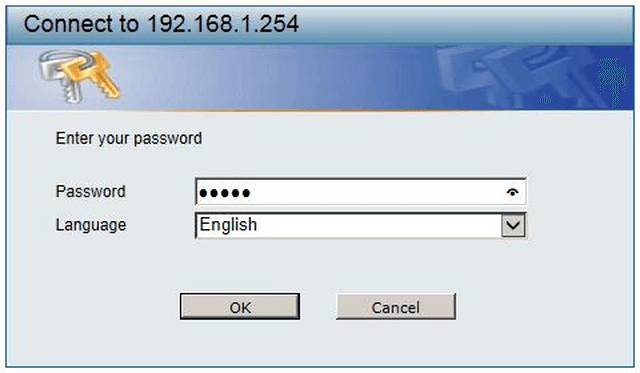
Step 1 – Enter the Web GUI of the switch – In this example, we have used 192.168.1.254
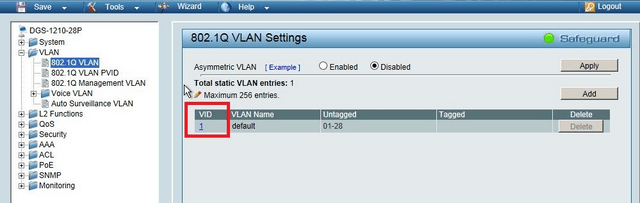
Step 2 – DGS-1210 > VLAN > 802.1Q VLAN
Note: You will notice here by default there is a VLAN created, “VLAN 1 default”. This VLAN will have ALL ports selected to be a “Member”
Before you continue with creating your VLAN, it is recommended to “Remove” the ports which will designated to your new VLAN from the default VLAN.
In this example, we will use a new VLAN named “Data” with a VID of 100 and “Member” of ports 6 to 10.
Step 3 – Click “VID 1”
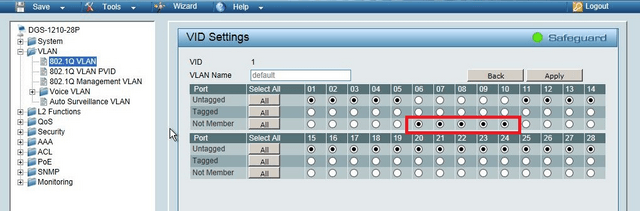
Step 4 – Select ports 6, 7, 8, 9 and 10 as “Not Member” then click “Apply”.
Important:
By default you will only be able to access the Switch when you are connected to VLAN 1 default. If you delete the port to which your machine is connected to for the VLAN then you will lose the connectivivty to the Switch. In this example, make sure that your machine is not connected to ports 6, 7, 8, 9 or 10.
Step 5 – Return to DGS-1210 > VLAN > 802.1Q VLAN
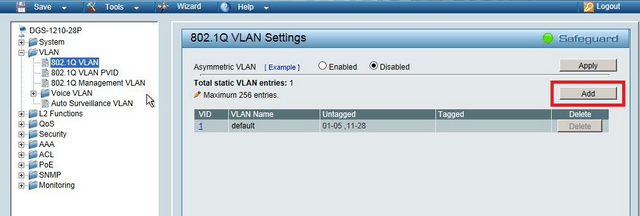
Click on “Add”
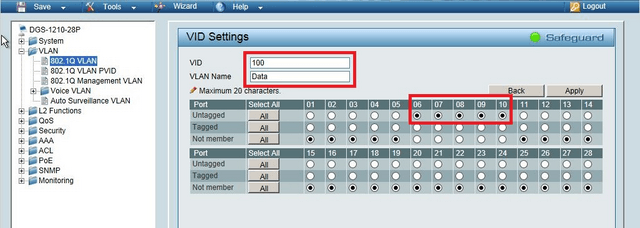
Step 6 – Enter the VID Settings. In this example we used the following:
VID: 100
VLAN Name: Data
Untagged: 6, 7, 8, 9, 10
Click “Apply”