Products
ProductsSolutionsApplications
Resources
NOTE – Make sure you are using the latest firmware for the switch
Important:
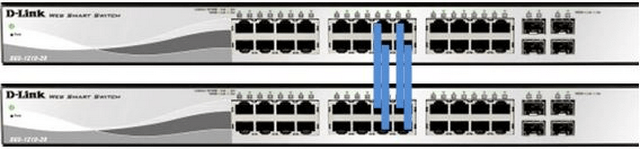
To prevent problems during this setup, don’t connect all cables that will use the Link Aggregation until you have finally completed this setup on ALL switches.
If the Switches are connected between them, make sure there is only one link
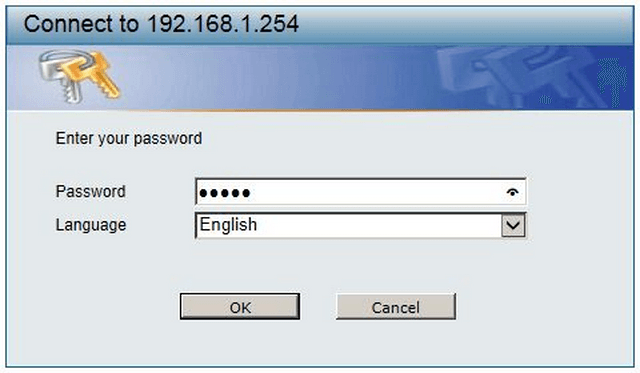
Step 1 – Enter the Web GUI of the switch – In this example, we have used 192.168.1.254
Step 2 – DGS-1210 > L2 Functions > Link Aggregation > Port Trunking
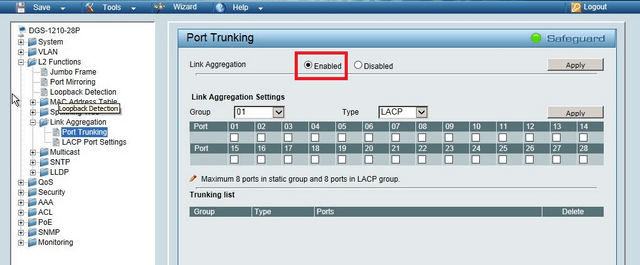
Step 3 – Here you will need to “Enable” Link Aggregation then click “Apply”
Step 4 – Configure the Trunking Information as follows:
ID: Specify the ID of the Group (1 to 8 are permitted)
Type: LACP or Static (We recommend LACP)
Port: Specify the ports that will be added to the Link Aggregation Group – Here we have selected 13, 14, 15 and 16
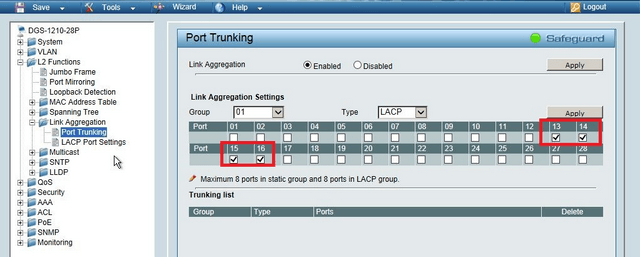
Click on “Apply”
Step 5 – When the Link Aggregation Group has been created, you will see the following “Trunking List”

Step 6 – Repeat Steps 2 to 5 for the second Switch then you may connect the Switch as follows: