How do I Setup DCS-935L with an iPad?
Requirements:
• iPad
• Quick Install Card
• QR Code Reader
Step 1 – Insert power cable into the DCS-935L, wait until a solid “Green” LED is present then insert a pin into the reset button then press and hold the reset button for 10 seconds until “Power” LED shows “Red”
Step 2 – Open the iPad and go to App Store and download the mydlink Home App
Step 3 – Once installed, tap the on the mydlink Home icon on your iPad and enter your mydlink account details to login
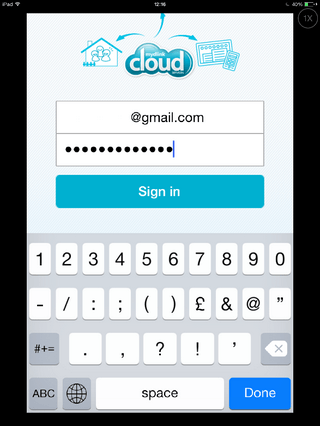
Tap “Done” then “Sign in”
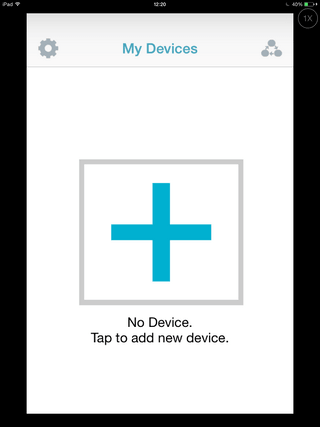
Step 4 – Tap on the “+” to add new device
Step 5 – You will be presented with the “QR Code Setup”
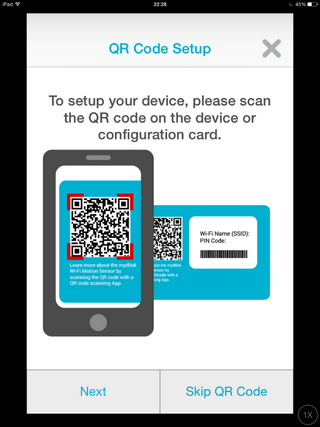
Here you have 2 options:
1. Tap “Next” to scan the QR Code
2. Tap “Skip QR Code”
Step 5a – Tap “Next” to scan the QR Code
Pass the “QR Code” located on the reverse side of the “Quick Install Card” in front of the QR Code Reader
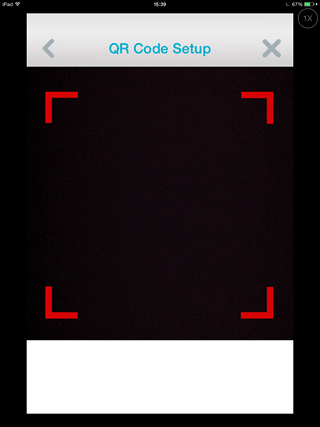
Then go to Step 6
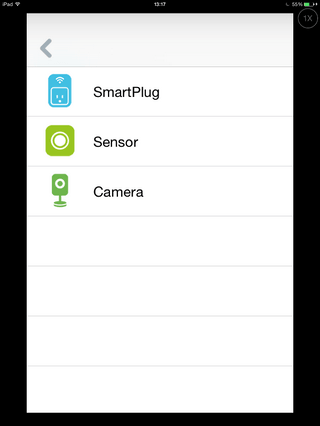
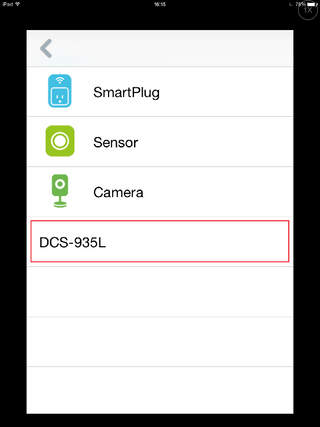
Step 5b – Tap Skip QR Code then Tap Camera and finally tap DCS-935L
Step 6 – Ensure the DCS-935L is plugged into a power socket
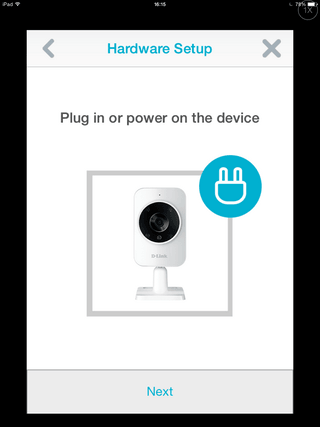
Tap “Next”
Step 7 – Ensure there is a flashing “Green” LED
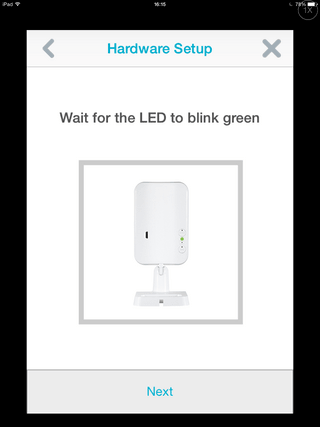
Tap “Next”
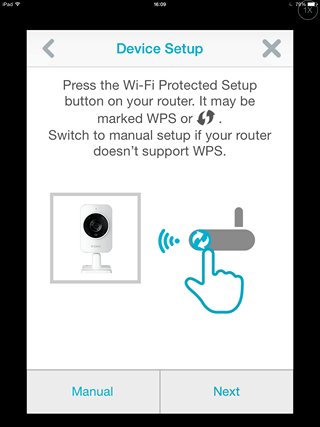
Step 8 – Here you will be presented with 2 options:
1. Configure Manually – Tap “Manual” and go to Step 8a
2. Configure with WPS (if your Router or Wireless device supports this) – Tap “Next” and go to Step 8b
Step 8a – Tap “Manual”
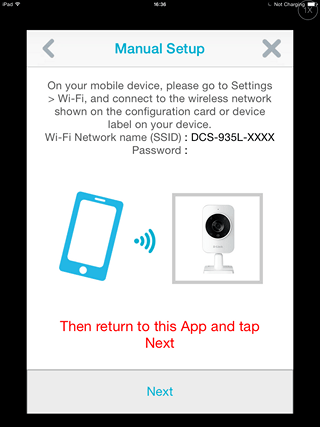
Don’t tap next, go to Step 9
Step 8b – If your router supports WPS, press the button marked  or WPS and the same button on the DCS-935L then tap “Next”
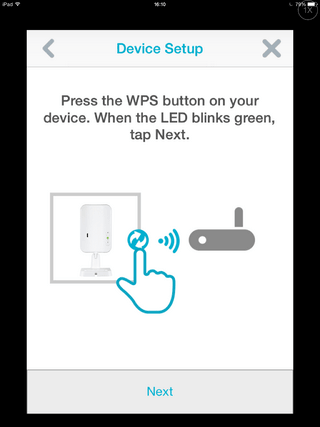
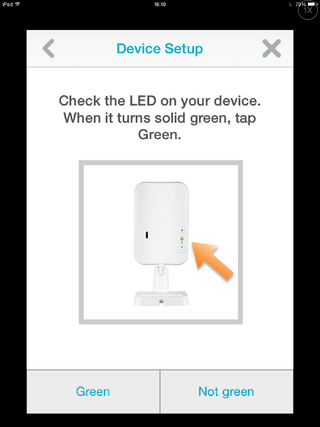
When the LED blinks “Green” then tap “Next”. When the LED is solid green, tap “Green” then go to Step 11
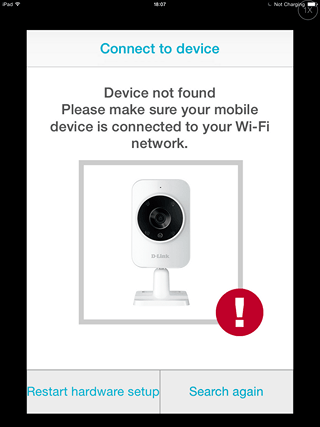
If you get the following message. Please check connection and select either of the following: Tap to “Restart hardware setup” to go back to Step 5 or tap “Search again” to go back to Step 11
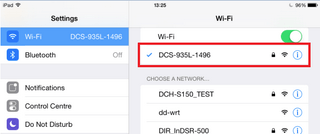
Step 9 – Tap “Home” button on the iPad > Settings > Wi-Fi
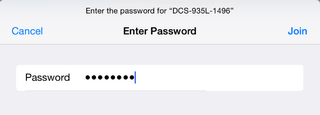
Then connect to the Wi-Fi of the DCS-935L-XXXX.
In our example it was “DCS-935L-1496”, enter the Wi-F
i password (located on reverse side of the “Quick Install Card” and tap “Join”
Step 10 – Once connected to the Wi-Fi of the DCS-935L, return to the mydlink Home
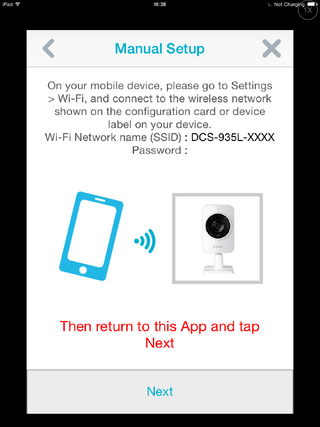
Tap “Next”
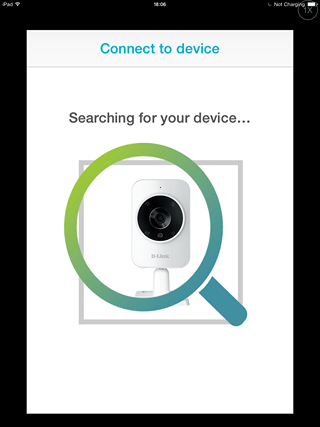
Step 11 – The wizard will now be “Searching for your device…”
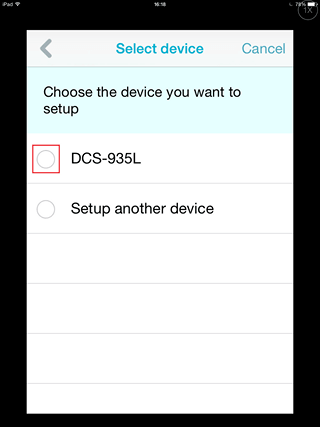
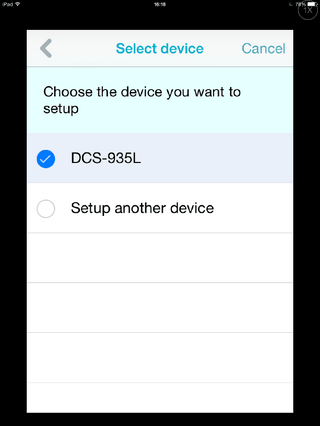
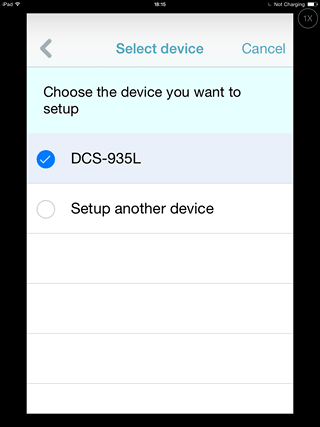
Step 12 – Tap to select the device then go to Step 17
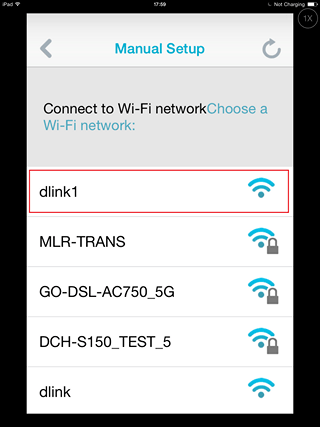
Step 13 – Tap to choose the Wi-Fi network you wish to connect to
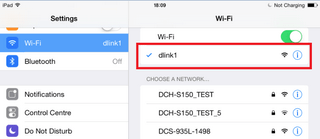
Step 14 – Tap “Home” button on the iPad > Settings > Wi-Fi
Then connect to the Wi-Fi of what was selected in Step 13
In our example it was “dlink1”
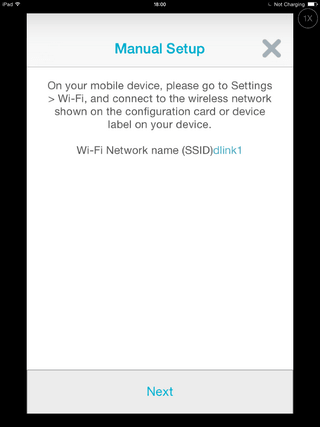
Tap “Next”
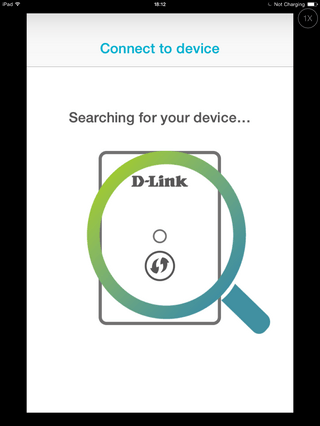
Step 15 – The wizard will now be “Searching for your device…”
Step 16 – Tap to select device
Step 17 – Select the “Time Zone” by tapping
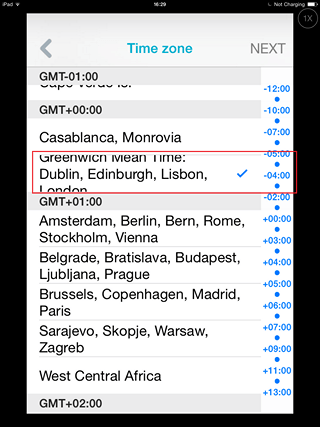
Tap “Next”
Step 18 – Choose a password for the DCS-935L and also a name (In our example we have given “admin” as the password and given the name as default)
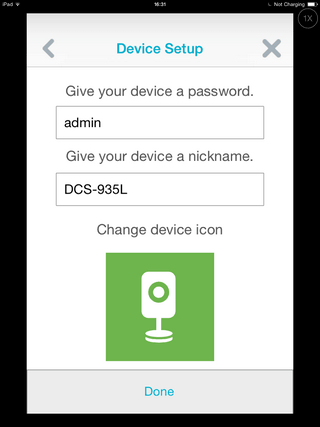
Tap “Done”
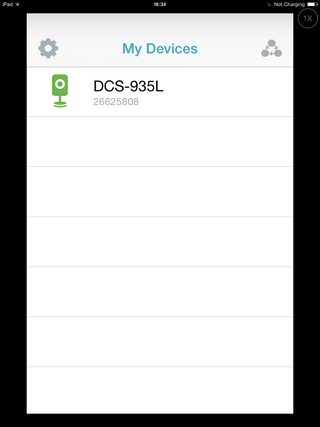
Step 19 – You will now see the camera is now added to “My Devices”
These may also help:
- How do I upgrade the firmware on my DCS-935L? Read Answer
- How do I see information about my DCS-935L using my Android device? Read Answer
- How do I configure sound detection on my DCS-935L using my Android device? Read Answer
- How do I setup my DCS-935L on my Android device? Read Answer
- How to configure motion detection in DCS-935L using an Android device Read Answer