Products
ProductsSolutionsApplications
Resources
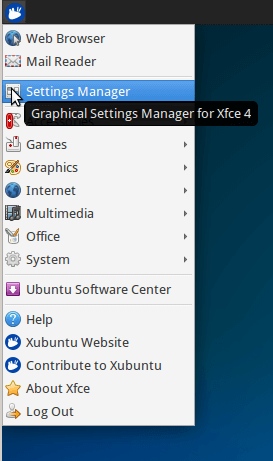
Step 1 – Login to your Xubunto machine and go to “Settings Manager”
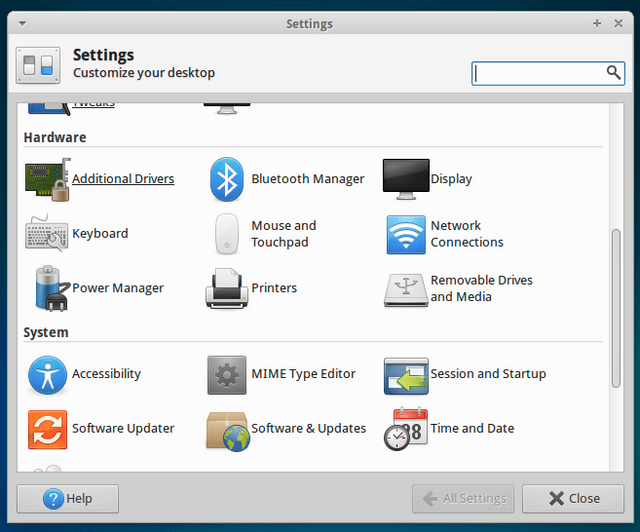
Step 2 – Click on “Printers”
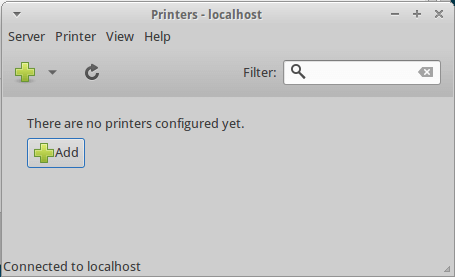
Step 3 – Click on “Add”
Step 4 – Select “Network Printer”
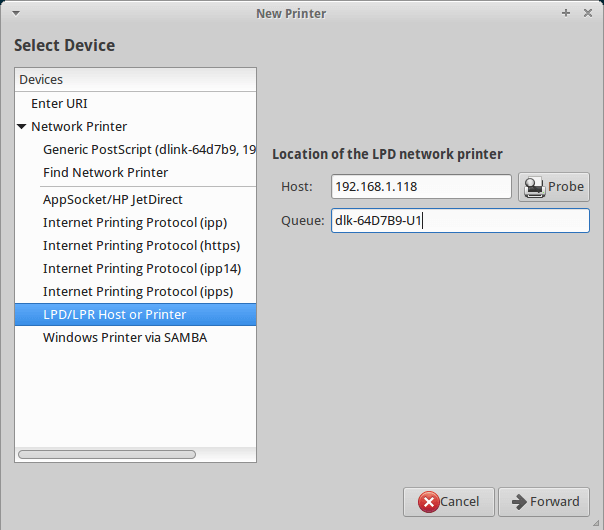
Devices: LPD/LPR Host or Printer
Host: 192.168.1.118 (This is the printer server’s IP)
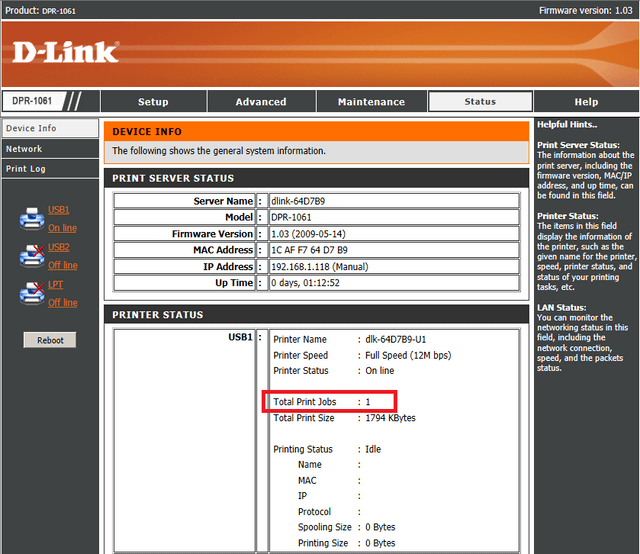
Queue: dlk-64D7B9-U1 (This can be found on the DPR-1061)
Status > Device Info > Server Name
Click “Forward”
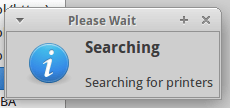
Step 5 – You will see the following screen and a process of searching for the printer will begin
Step 6 – Click “Select printer from database” then select the printer model
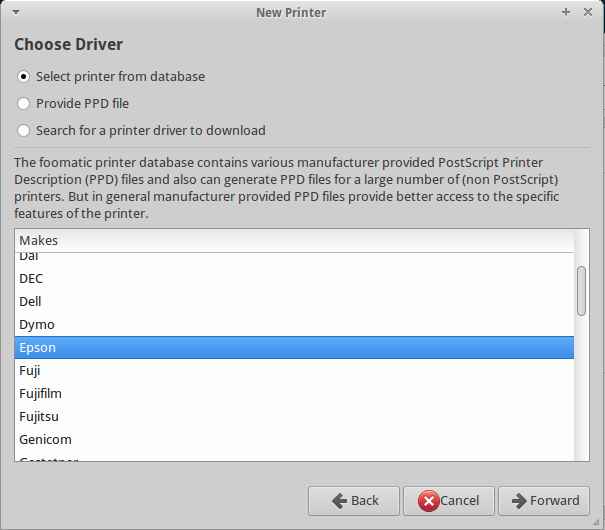
Click “Forward”
Step 7 – Select the printer model from the list to install the appropriate driver
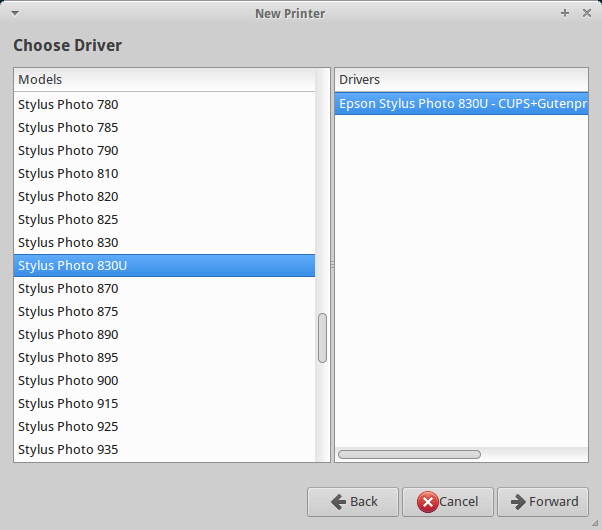
Click “Forward”
Step 8 – Select a location. In our example we have given “D-Link Lab”
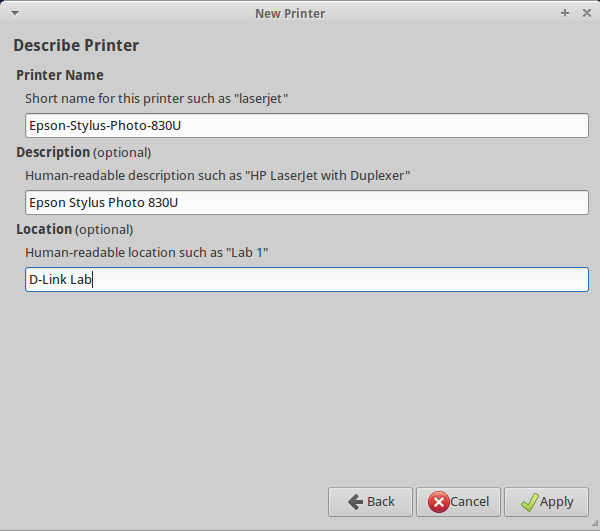
Click “Apply”
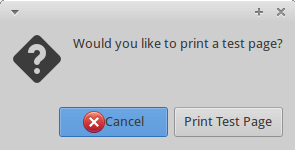
Step 9 – Click on “Print Test Page”
Step 10 – You should receive the following screen
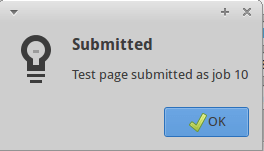
Step 11 – Once the page has been sent, you should see in “Print Status” the following message: “Idle – Data file sent successfully”
Click “Ok”
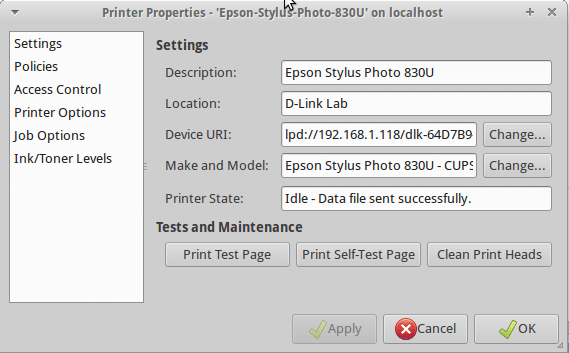
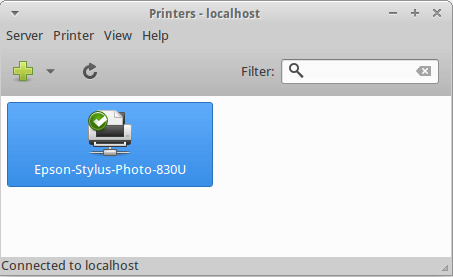
Step 12 – You should also have the following showing the new printer added and set as “default”
Step 13 – To confirm there has been a printed document you may look on the web GUI of the DPR-1061 – Status > Device Info