
How do I setup my DNR-312L using the wizard?
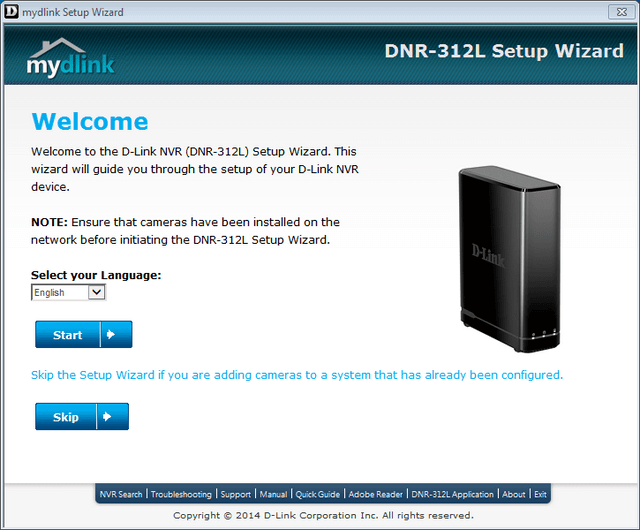
Step 1 – Start the wizard on the CD that comes with the DNR-312L. Click “Start” accept the terms & conditions.
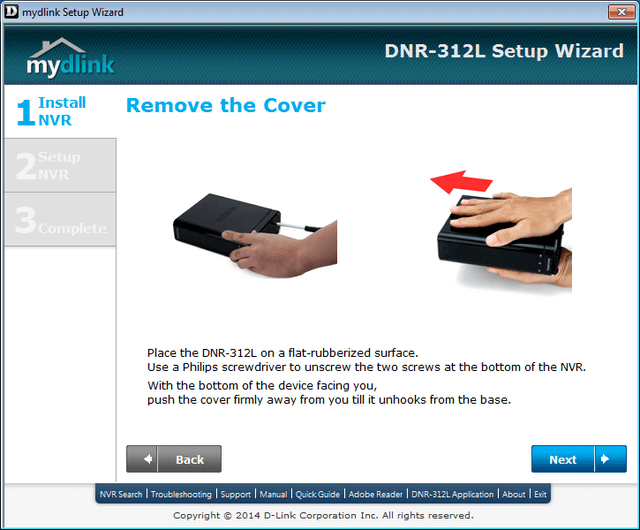
Step 2 – Follow the steps to add the hard disk. Please refer to the hard drive compatibility list to ensure the disk you have purchased will work with the DNR.
Step 3 – Follow the steps to connect your DNR to your network, and power it on

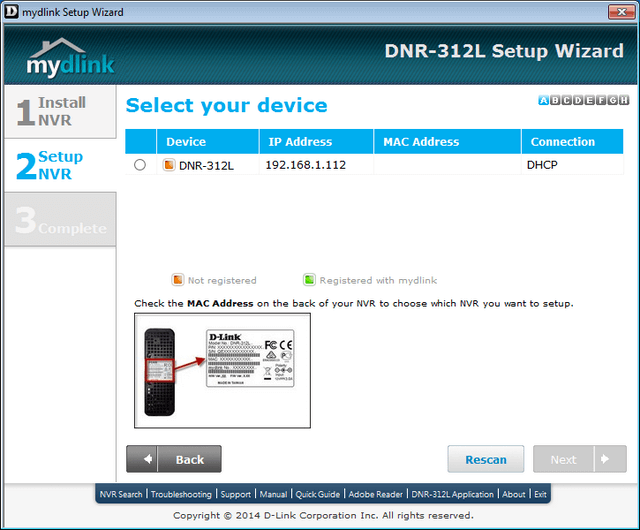
Step 4 – Once the wizard has searched your network, select your DNR and click “Next”.
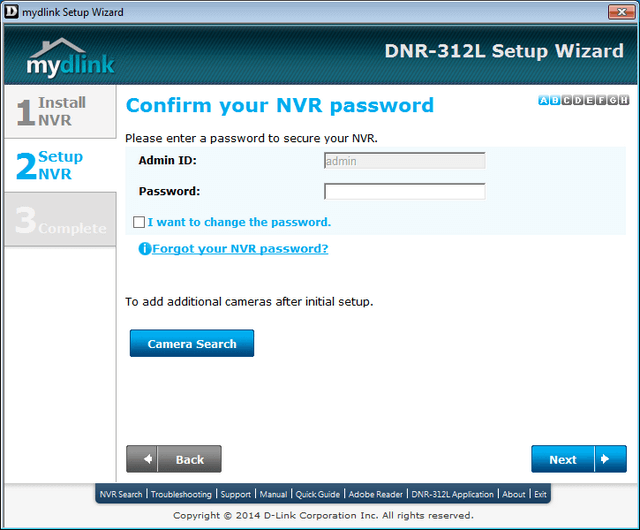
Step 5 – Set the admin password for your DNR, and click “Next”.
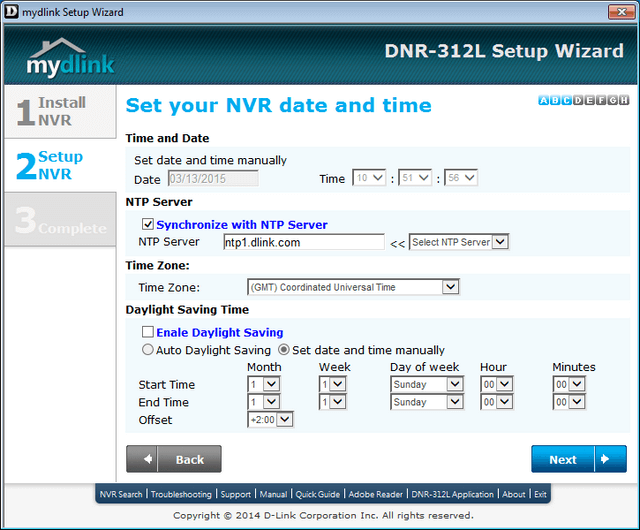
Step 6 – Set the time and date for your DNR.
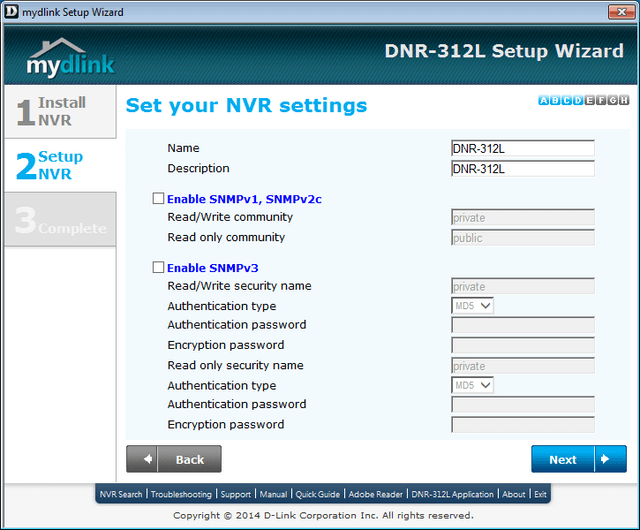
Step 7 – Here you can change the name and description of your DNR. (You can leave SNMP on the default values.)
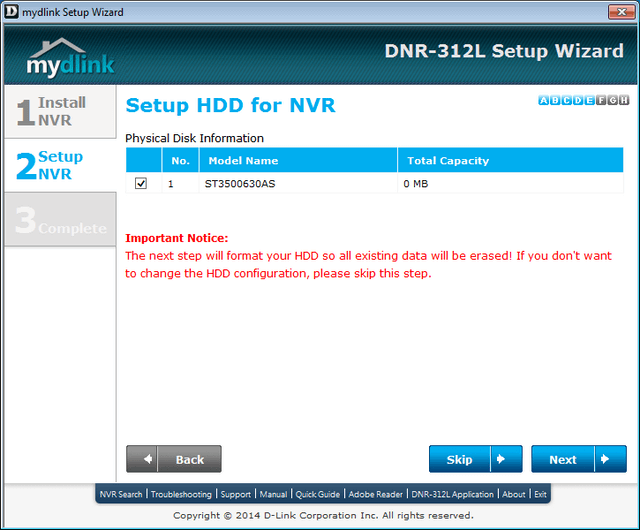
Step 8 – Format the hard disk. If you are simply running the wizard to reset the DNR, you can skip the format.
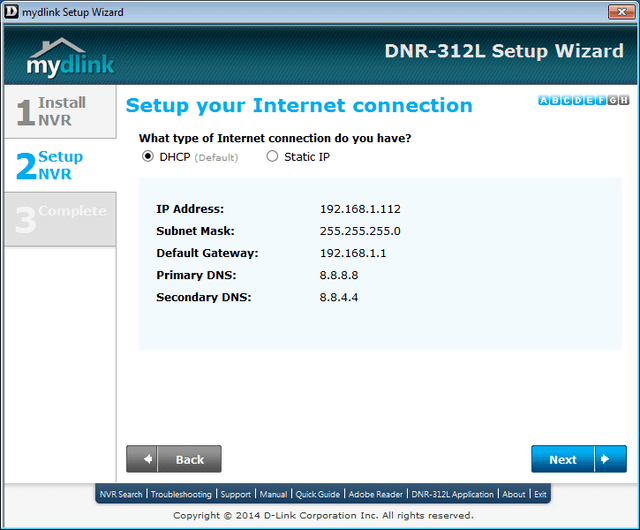
Step 9 – Set the DNR’s IP address.
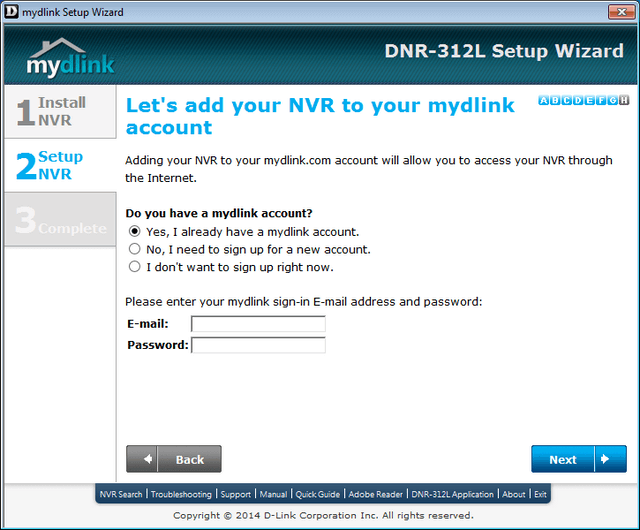
Step 10 – Add your DNR to a mydlink account.
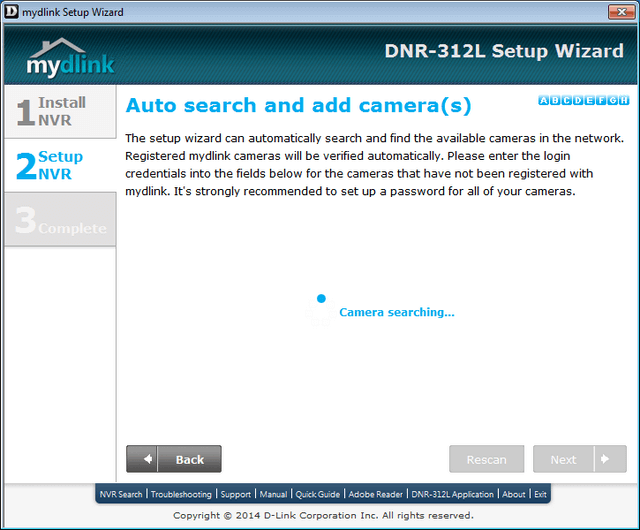
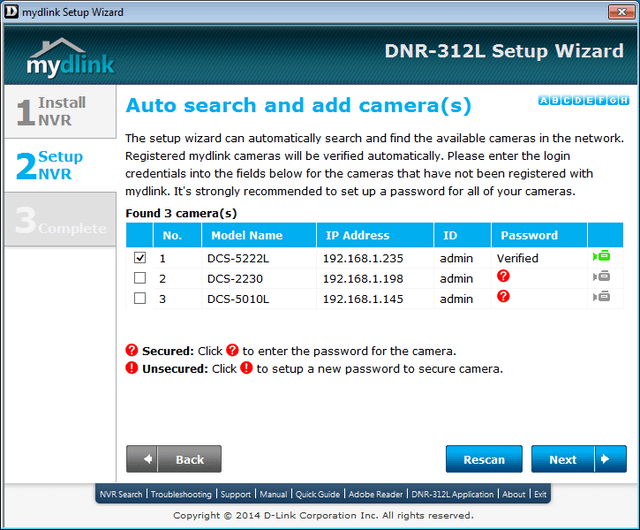
Step 11 – The wizard will now search for cameras on your network and attempt to add them to the DNR.
Step 12 – You may need to apply the camera’s admin password in order for the DNR to connect.
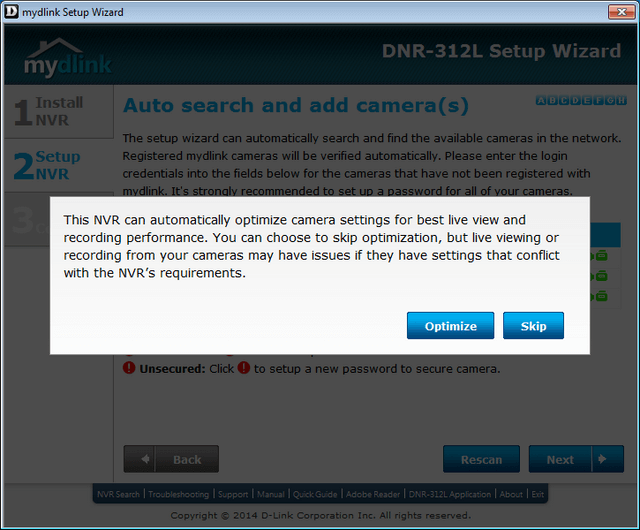
Step 13 – You are given the option to optimise camera settings.
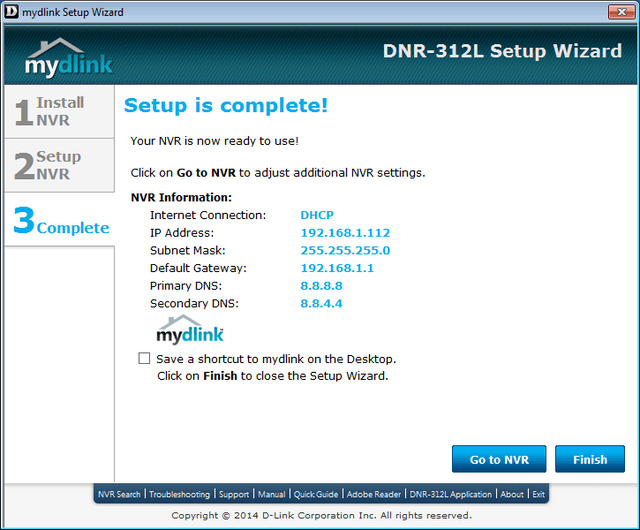
Step 14 – Setup is now complete.
These may also help:
- How do I add a camera to my DNR-312L? Read Answer
- How do I playback and export video on my DNR-312L Read Answer
- How do I remove a camera from my DNR-312L? Read Answer
- How do I setup motion detection in my cameras using my DNR-312L? Read Answer
- How do I setup a scheduled recording in my DNR-312L? Read Answer
- How do I backup video data from my DNR-312L? Read Answer