
How do I use the storage utility DNS?
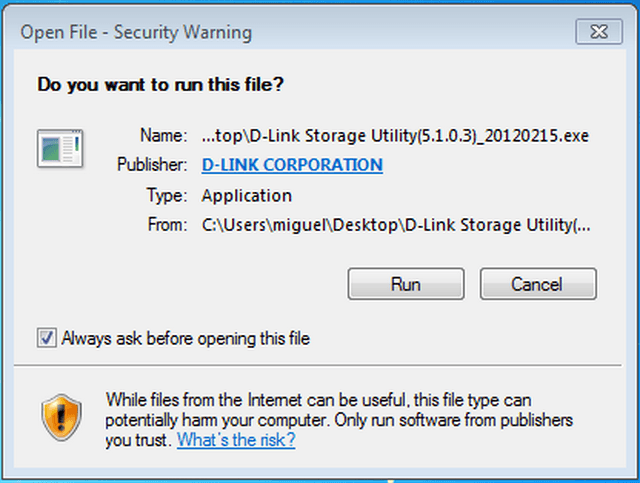
Step 1 - If this is the first time you are running this programme, and are using Windows, you will need to ensure you allow it to run.
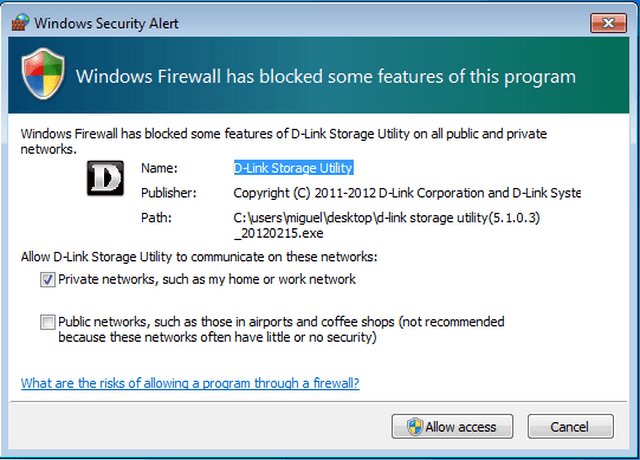
Step 2 - Once you have agreed to the above, you will be prompted to unblock the programme in Windows firewall (this is only applicable if you use the inbuilt Windows firewall). You should ensure you have the first option selected, and click OK.
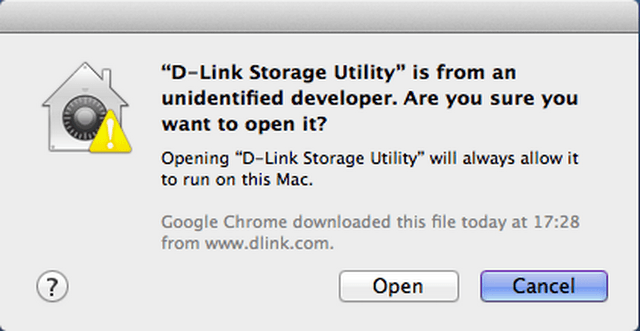
Step 3 – If this is the first time you are running this on a Mac, then you will see an error as below.
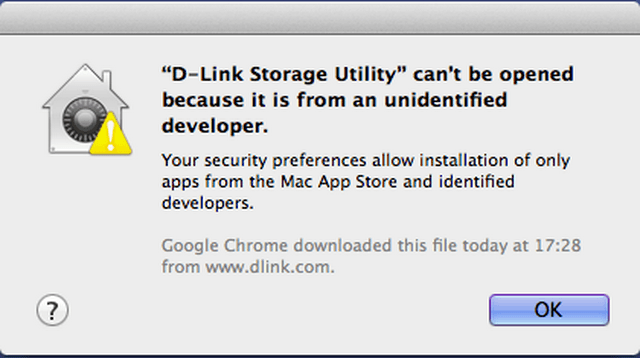
To get round this error you will need to hold the ctrl button whilst opening the app, or right click the app and choose Open.
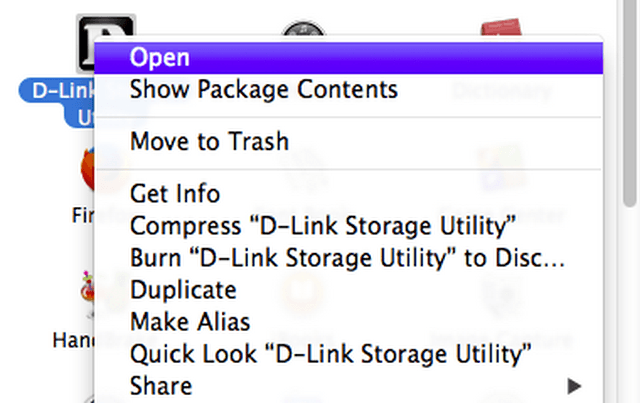
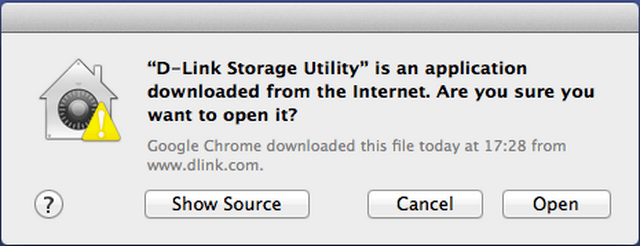
Step 4 – If you do not see the issue in Step 3, you will see a box such as below, simply click “Open” to open the app.
Step 5 – Once the app is open, it will search for all NAS devices on your local network.

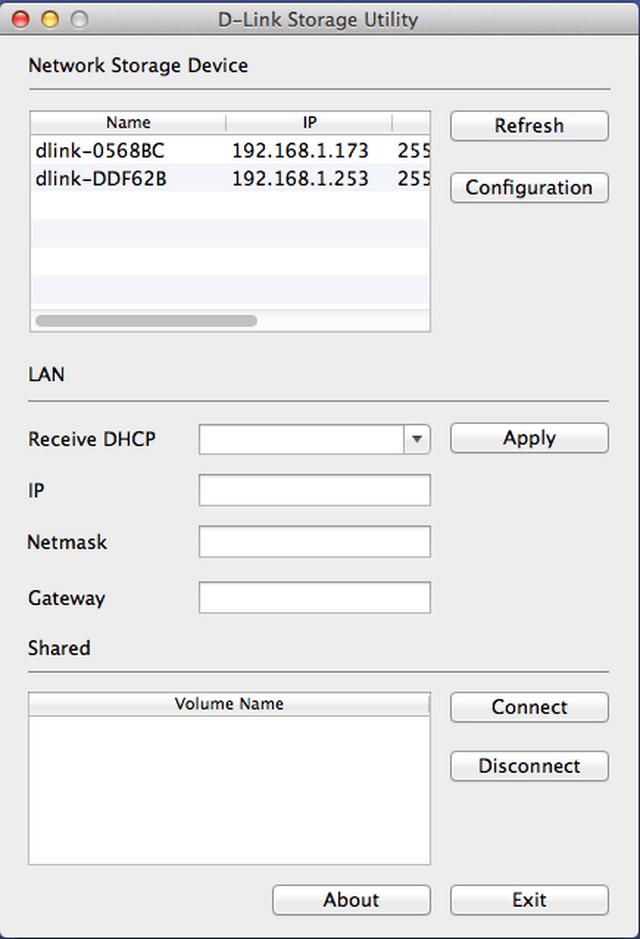
Setp 6 – Click on one of the devices that appears in the list to see further information about the device.
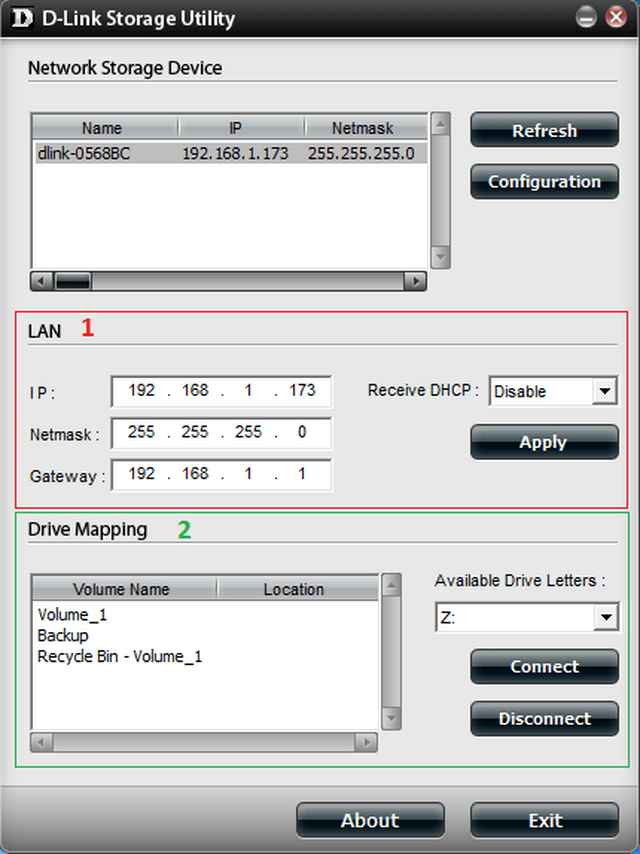
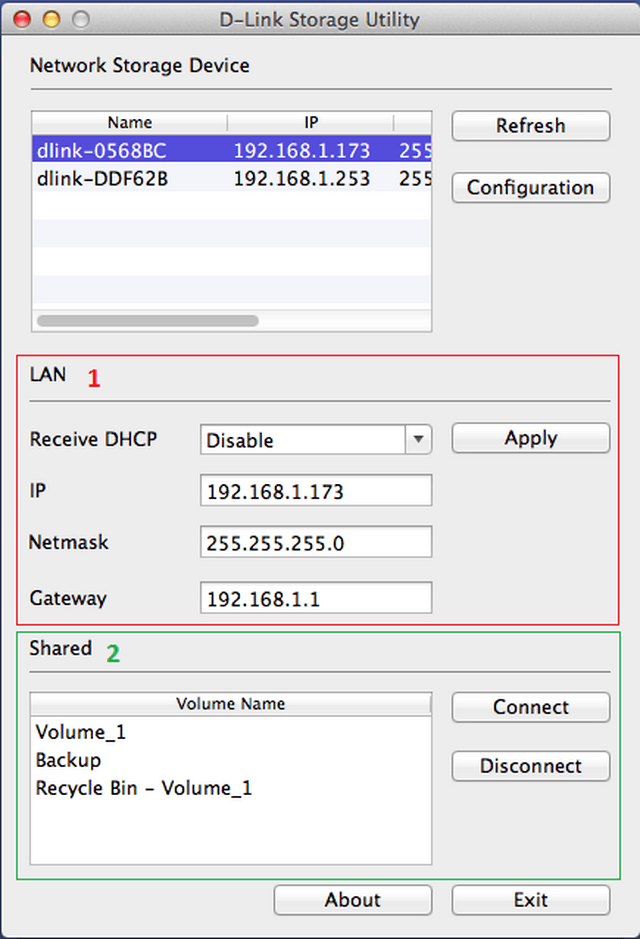
Step 7 – Box 1 allows you to see the IP address information for the device. From here you can enable/disable DHCP, and assign it a specific IP address.
Step 8 – Box 2 shows any shared folders that have already been created, and will alloow you to connect to them. In windows you will need to select a drive letter, as the programme will map the shared folder to a specific drive letter.