
How to recover the DNS-1550-04 Via a USB Flash Drive?

Requirements:
• USB Flash Drive
• HD monitor
• USB Keyboard
• SampleToMakeBootableUsb.7z (Extract files)
https://www.dropbox.com/s/5yfzo7u6pnzmskp/SampleToMakeBootableUsb.7z?dl=0
• Spare HDD
Additional Information:
• DNS-1550-04 - USB Recovery Process.avi
https://www.dropbox.com/s/vedf4kh81ezh4mt/DNS-1550-04%20-%20USB%20Recovery%20Process.avi?dl=0
Step 1 – Remove the HDDs from their SATA slot (Remember there corresponding slots)
Step 2 – Insert the USB Flash Drive into a PC and format to FAT32 (Select FULL format)
Step 3 – Copy ALL files from diagnostic01.00.0000.08 into the USB disk
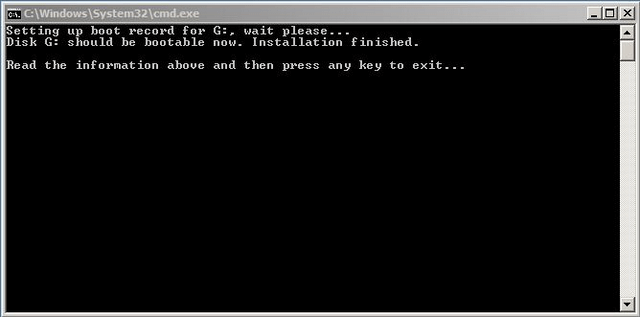
Step 4 – Make the USB bootable – Open the BOOTABLE USB folder and right-click on “bootinst.bat” – Run as Administrator
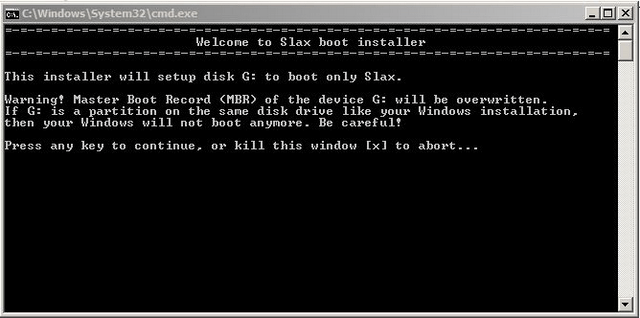
Press any key
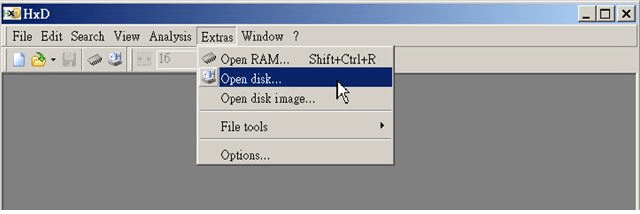
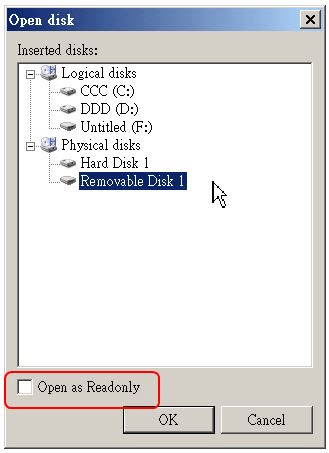
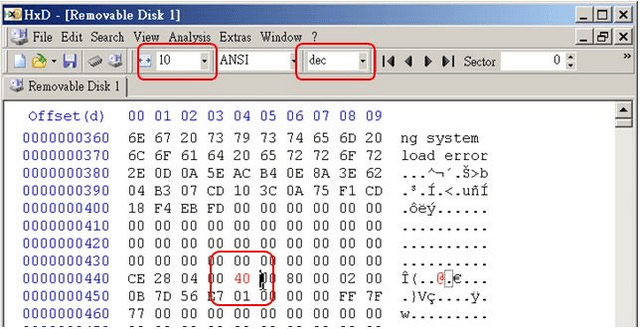
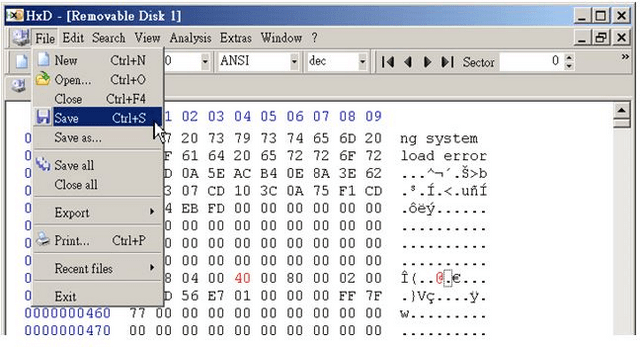
Step 5 – Modify the MBR with “Promise” signature
SampleToMakeBootableUsb > HxDen > HxD.exe
Step 6 – Copy files from the “image” folder into the folder “upgrade” of the USB stick
Step 7 - Insert USB into USB port on front panel and USB Keyboard into a USB port on back panel then power up the DNS-1550-04
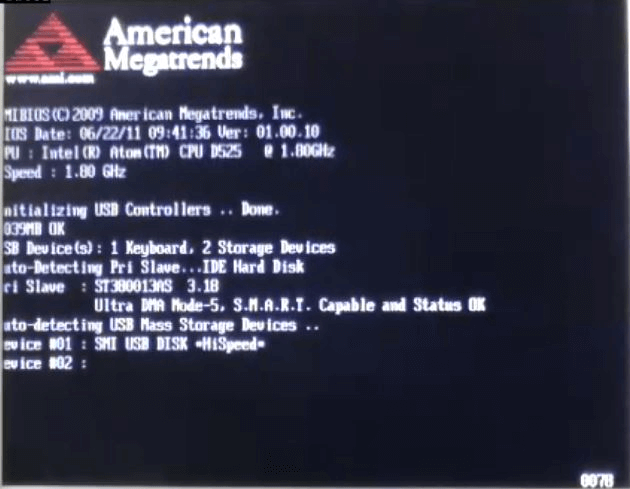
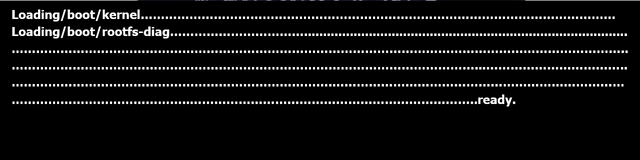
You will notice the above screen. You will need to leave this process to load until you see the login prompt.
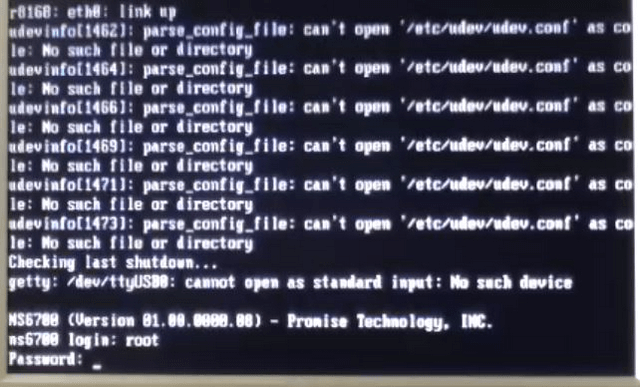
Step 8 – Login Details
Ns6700 (Version 01.00.0000.00) – Promise Technology, INC
Ns6700 login: root
Password: promise
Root is allowed to login
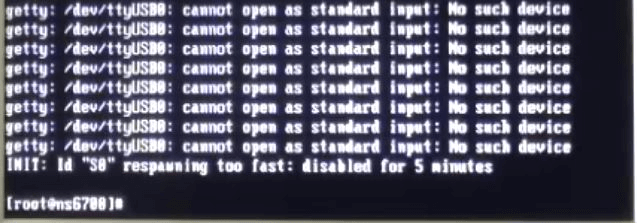
Step 9 - [root@ns6700]# /promise/util/transferusb.pl
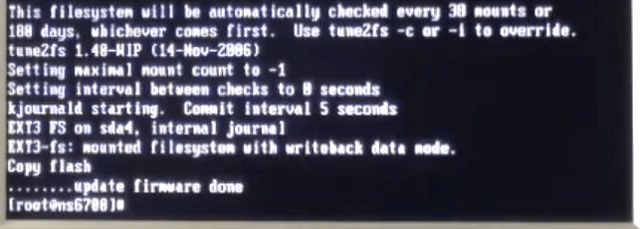
Step 10 - [root@ns6700]# /promise/util/makenasboot.pl

Step 11 - [root@ns6700]# /promise/util/upgradefw.pl

Step 12 - [root@ns6700]# init 0

Step 13 – Once powered down, remove the USB stick from the DNS-1550-04 and insert a spare HDD
Step 14 – Connect a RJ45 cable to LAN 1 of the DNS-1550-04 and a PC / Laptop and configure the network card as follows:
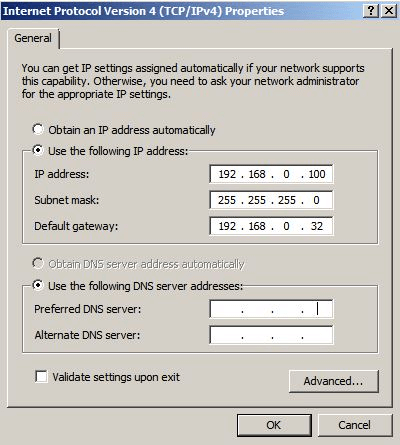
Step 15 – Enter the following IP into a web browser: 192.168.0.32
Step 16 – You should be presented with the login screen.
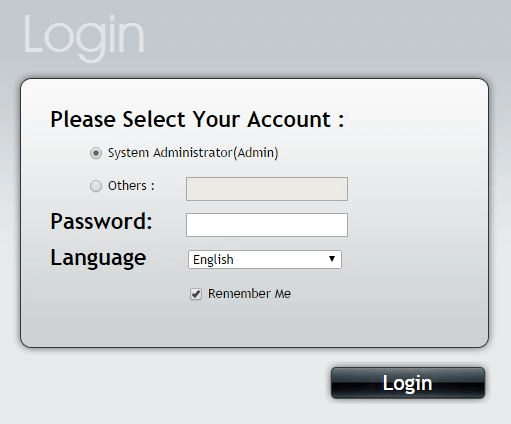
Step 17 – Create the “File System” then upgrade the DNS-1550-04 to the latest firmware. Once upgraded, you may insert ALL the original HDDs into their corresponding slots and power up. System restored.
End of Document.