
How to create IPSEC VPN Client Server – FW.2.x DSR-Series
The following example illustrates configuring a VPN tunnel between Router DSR IPSEC and IPSEC client, the client will use the Shrew free-ware software that can be downloaded from the following link:
https://www.shrew.net/download
Topology:

PC1: 192.168.0.10 DSR: WAN 213.27.250.22 PC2: 192.168.1.99
LAN 192.168.1.1
Step 1 - Enter the configuration by entering the IP address of the DSR in your browser (the default IP address is the 192.168.10.1).
The default user is admin: admin and the password: admin. In our example the DSR has IP address 192.168.1.1
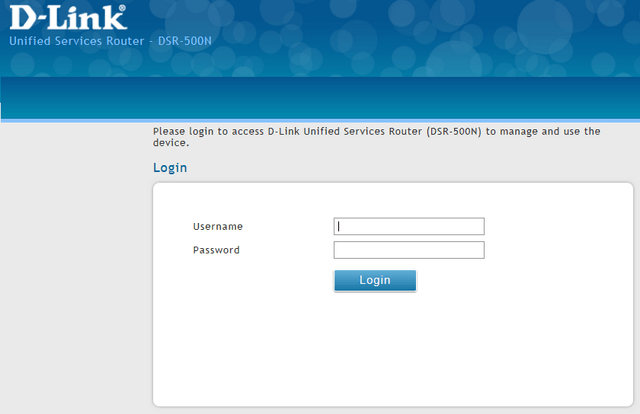
Once you have entered the username and password, click “Login”
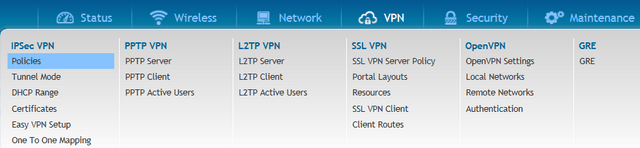
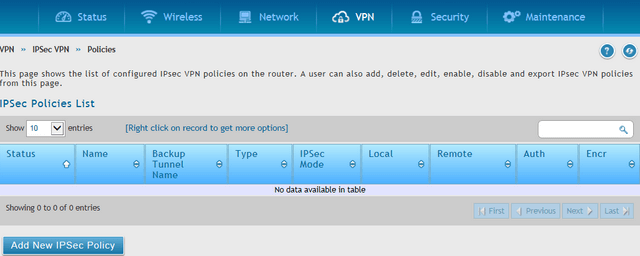
Step 2 - To create a new IPSEC tunnel go to IPSec VPN Policies
VPN > IPSec VPN> Policies
Click “Add New IPSec Policy” to create the new policy setting
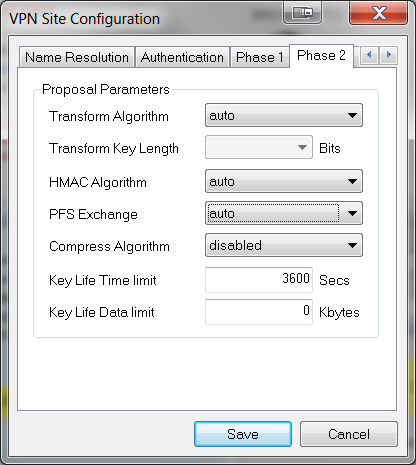
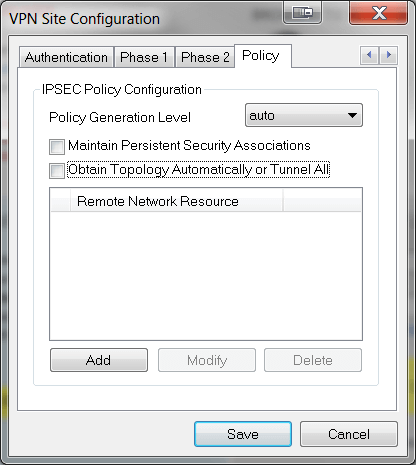
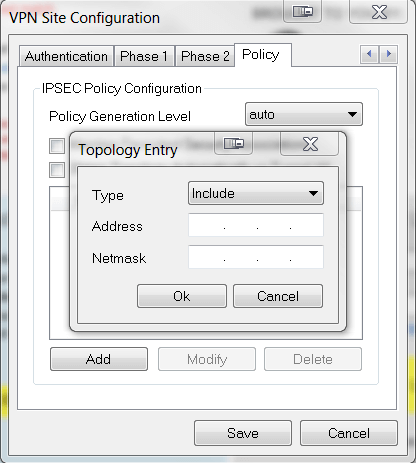
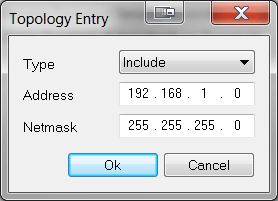
Step 3 - IPSec VPN configuration on the server end - DSR
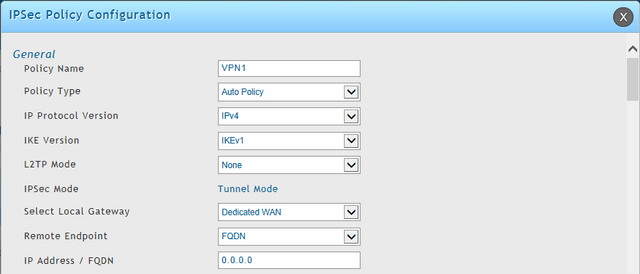
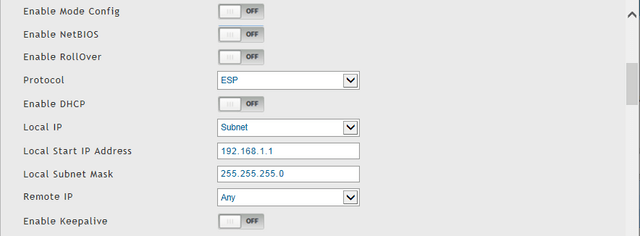
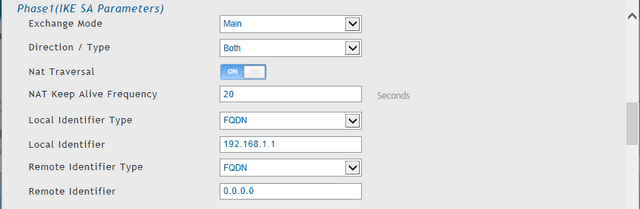
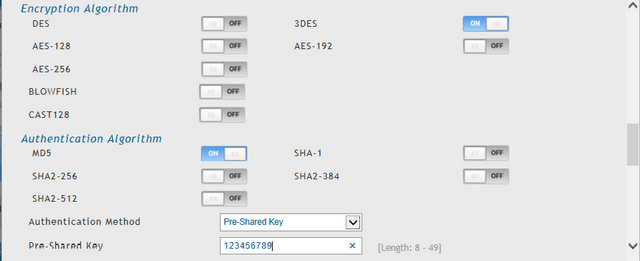
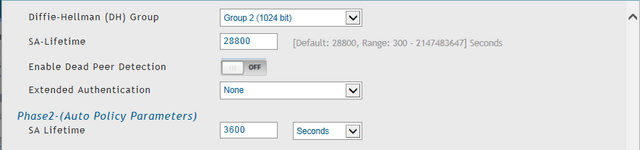
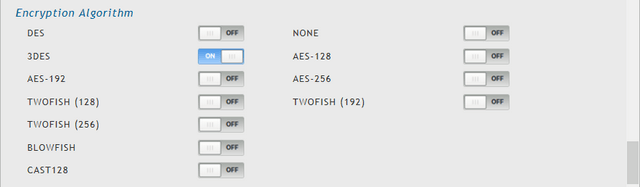
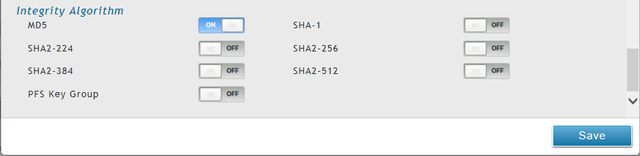
Click “Save”
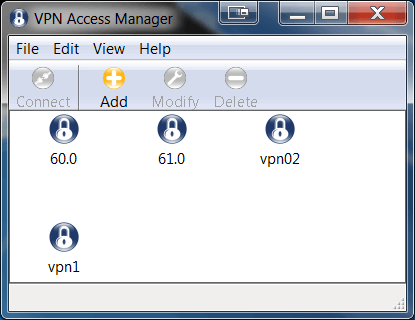
Step 4 - Once Shrew has been installed, run the VPN Access Manager and click “Add” to add a new VPN connection
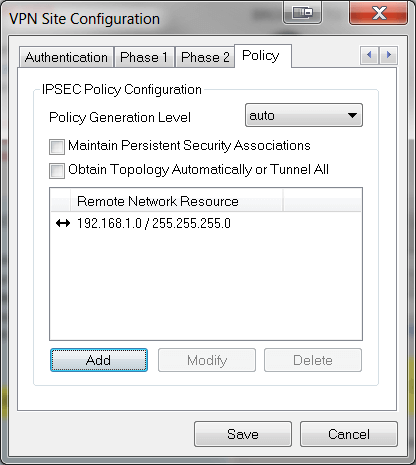
Assign the public address of the router DSR against the IPsec tunnel to be established.
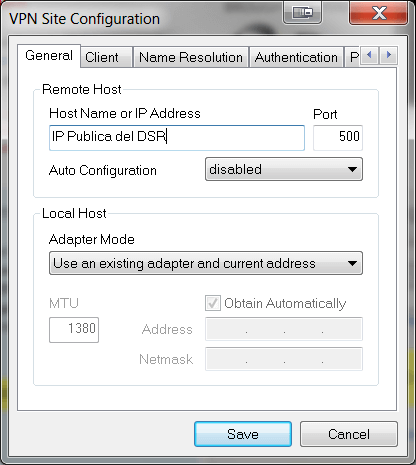
You can also enter the DDNS address of the router DSR against the IPsec tunnel to be established.
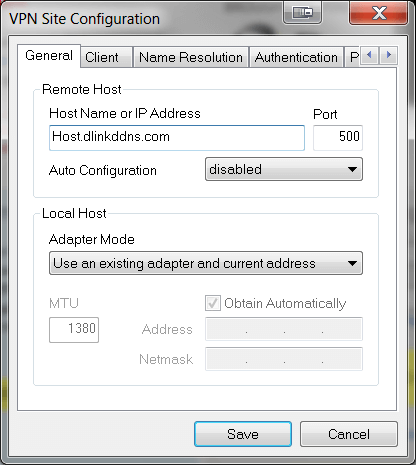
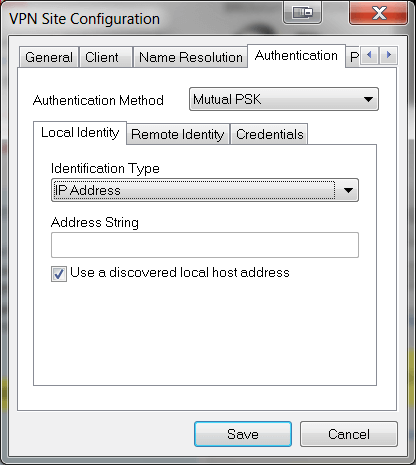
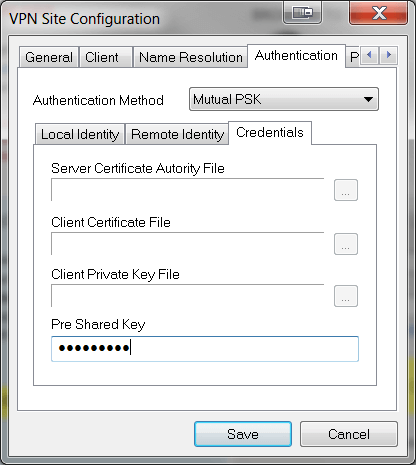
Indicate the shared key configured on the router DSR
To enable the tunnel, select the newly created connection and click “Connect”.
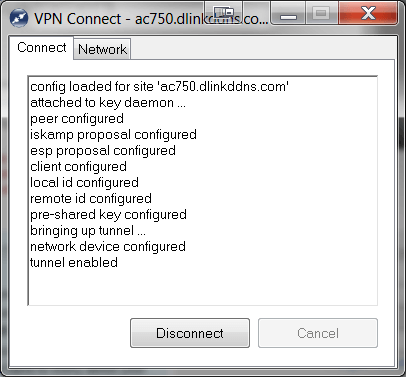
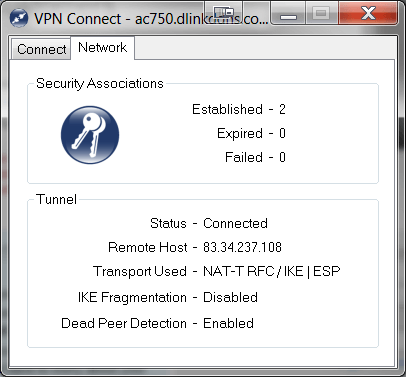
When the tunnel connects the resources on the DSR LAN router interface will be ac-cessible through it.
These may also help:
- How to Configure Protocol Bindings – Firmware 2.x DSR-Series Read Answer
- How to create IPSEC VPN Client Server – FW.2.x DSR-Series Read Answer