How to configure motion detection in DCS-935L using an Android device
Step 1 – Open the mydlink Home app.
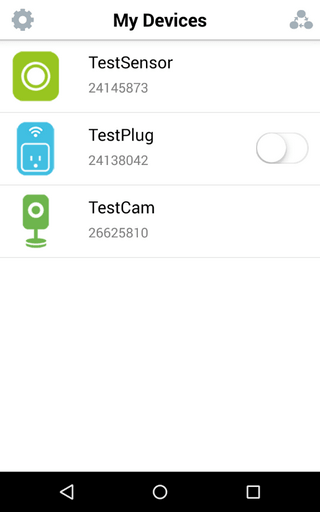
Step 2 – Tap on your camera, which will show the Live View. Tap again to see the different functions available.
The icon labelled as 1 below allows you to mute/unmute the sound from the camera. The icon labelled as 2 below takes a screenshot of the current Live View and saves it to your phone. The icon labelled as 3 below allows you to change between HD streaming and non-HD streaming. The icon labelled as 4 below shows the current day/night mode setting, Auto means the camera will automatically swap between the two modes. The icon labelled as 5 below shows information about the stream. The Settings icon allows you to configure the camera and see certain information about the camera.
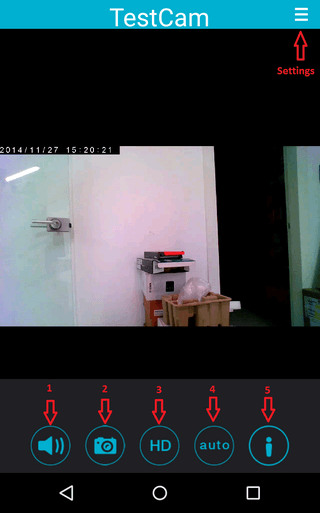
Step 3 – Tap on the Settings icon, to access the settings screen.
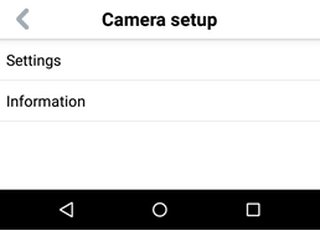
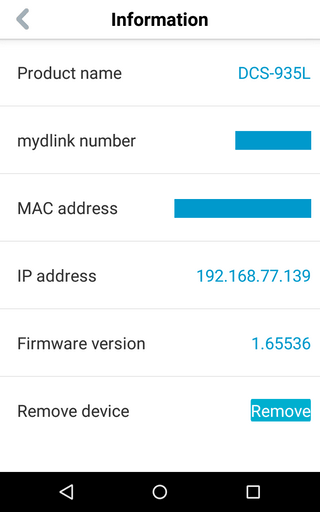
Step 4 – Tap on “Information” to get information about the camera, such as model number, mydlink number, MAC address, IP address, firmware version and to remove the camera from your mydlink account.
Step 5 – Tap the grey “<” icon to back a screen. Tap “Settings” to configure the camera’s motion detection and sound detection.
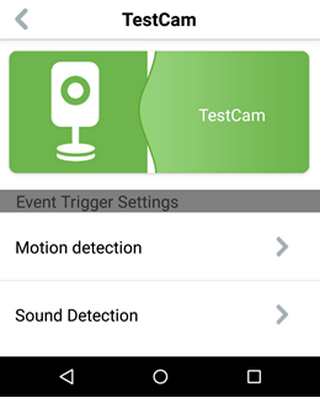
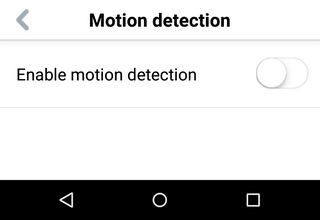
Step 6 – Tap “Motion detection” to configure the motion detection settings.
Step 7 – Tap “Apply” to save the setting.
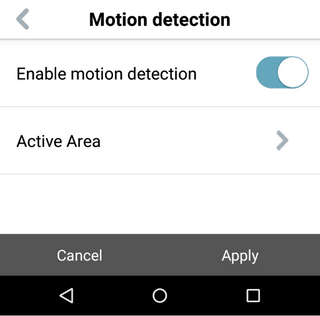
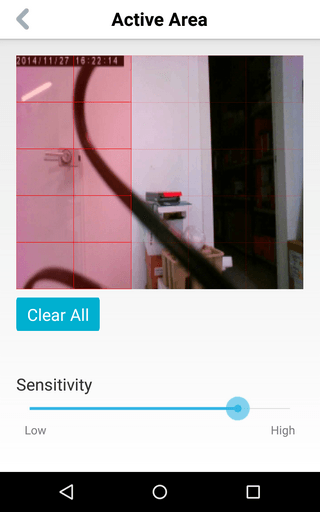
Step 8 – Tap “Active Area” to set the area you want to monitor and set the sensitivity.
Step 9 – Tapping each of the squares will activate that area for motion detection, and will highlight that square in red. You can also alter the sensitivity by swiping the sensitivity bar to the left or right. Tap the grey “<” once you have set the area and sensitivity.