How do I add a second disk to my DNS and convert from standard volume to RAID 1?
Pre-requisites:
- A second compatible disk for your NAS, preferably the same size as the existing disk
- The NAS already setup with the primary disk set as a standard volume (and not part of a previous RAID array)
- As with any procedure dealing with disks, ensure you have a backup before starting
Step 1 - Power off your NAS, and insert the second hard disk. Once inserted, power on your NAS, login and navigate to the Disk Management page (Management -> Disk Management -> Hard Drive Configuration.
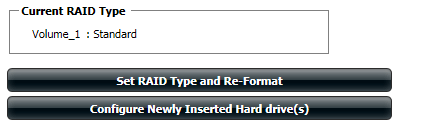
Step 2 – Click the button “Configure Newly Inserted Hard drive(s)”. You will then see the hard drive configuration wizard. Click “Next”.

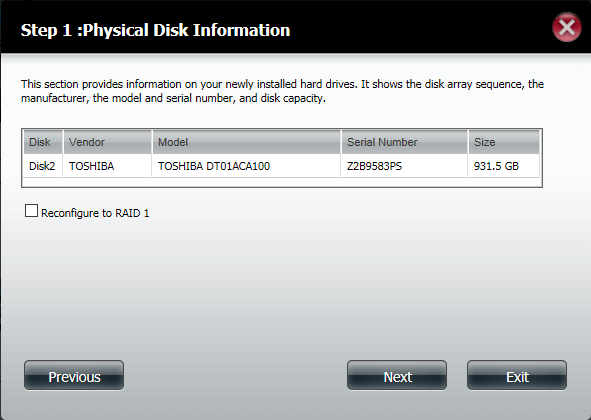
Step 3 – Confirm that the NAS is reporting the correct hard drive make, model and size.
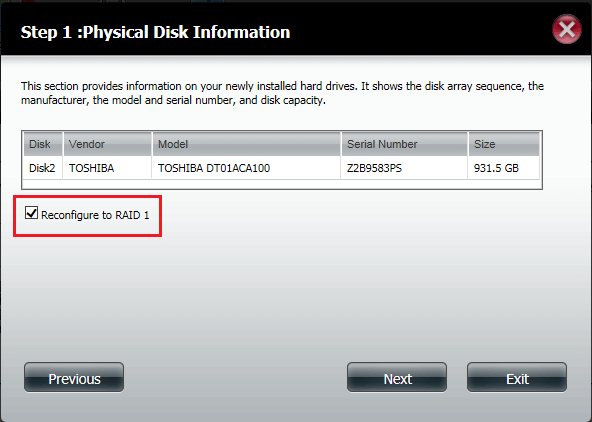
Step 4 – Put a tick in the box for “Reconfigure to RAID 1”, then click “Next”.
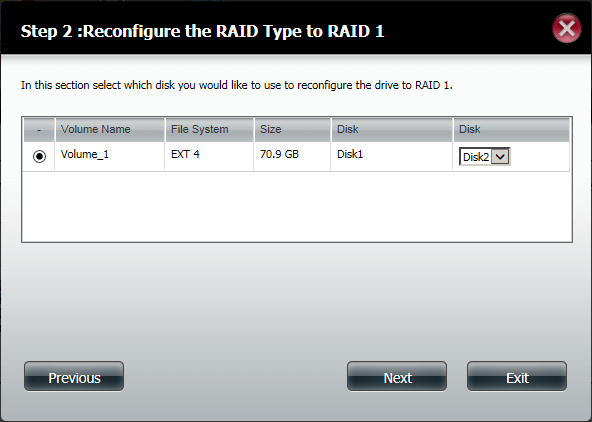
Step 5 – This shows it will use the existing disk to setup the RAID array. Click “Next”.
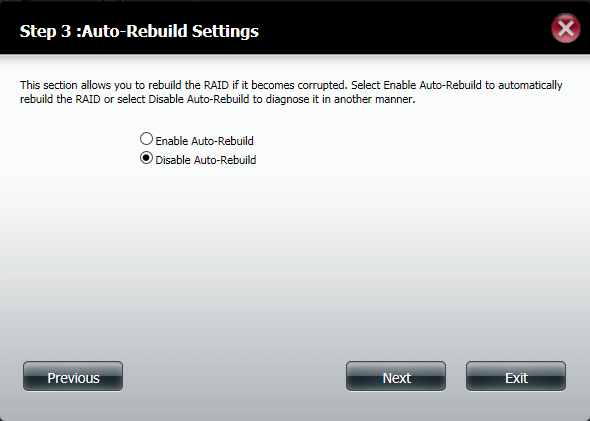
Step 6 – This page allows you to enable or disable automatic rebuilding of the RAID array if it becomes corrupt. Click “Next”.
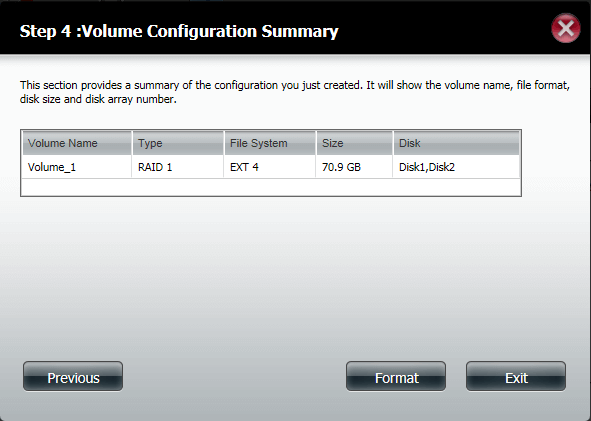
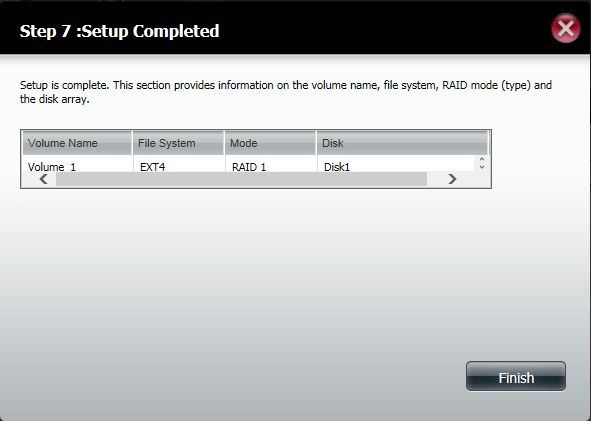
Step 7 – This page shows a summary of the changes. To continue click “Format”.
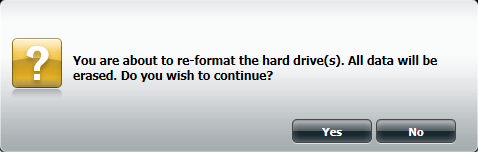
Step 8 – Click “Yes” to continue. Only the new disk will be formatted.
Step 9 – The NAS will format the new disk and then configure the RAID array. Once completed, you will see a confirmation. Click “Finish” to close the wizard.
Step 10 – If you did not enable auto-rebuild in step 6, you will need to manually rebuild the array now. To do so, navigate back to the “Hard Drive Configuration” page (Management -> Disk Management -> Hard Drive Configuration). Click “Manually Rebuild Now”
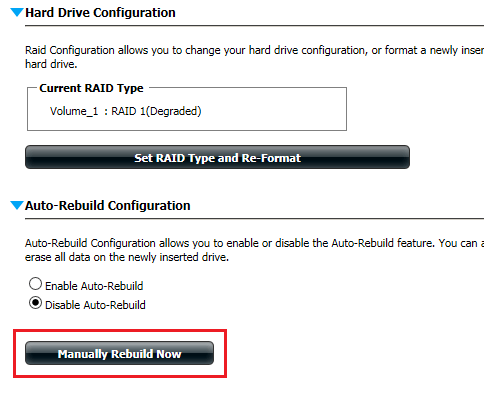
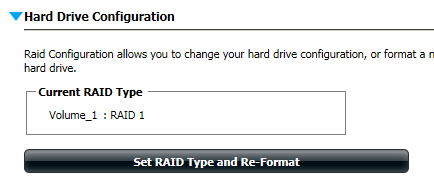
Step 11 – The NAS will correctly rebuild the array. Once complete, you will see the current volume is RAID 1.