
How to Setup Captive Portal - DWC-2000 Wireless Controller
Network Configuration:
This example will use the following devices and setup:
DWC-2000 – Unified Wireless Controller
DWL-6600AP - Unified Wireless N Simultaneous Dual-Band PoE Access Point
Step 1 – Enter the web GUI interface of the DSR using its IP address in a web browser. In our example we have used the IP address of 192.168.10.1

Accept any certificate warnings you may see, this is perfectly normal and safe
Step 2 – We first now need add a new group for Captive Portal
Security > User Database > Groups
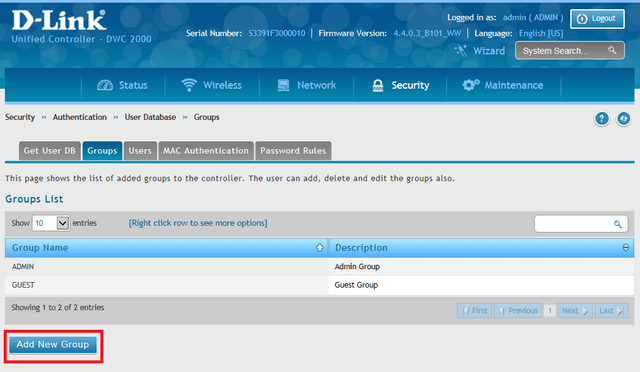
Click “Add New Group”
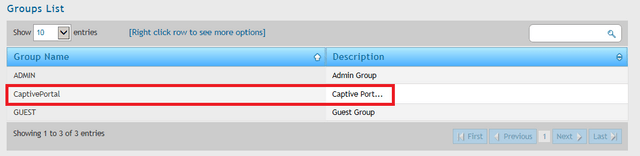
Step 3 – Enter “Group Configuration”, please refer to our example below
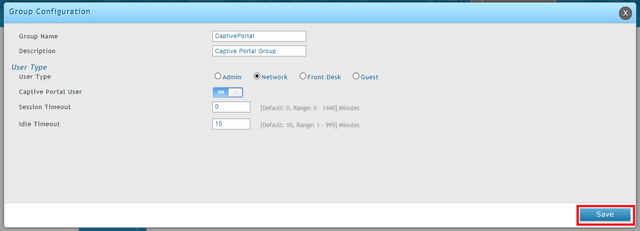
Group Name: CaptivePortal
Description: Captive Portal Group
User Type: Network
Captive Portal User: On
Session Timeout: 0
Idle Timeout: 10
Once complete, click “Save”
Step 4 – We now need add a new user for Captive Portal
Security > User Database > Users
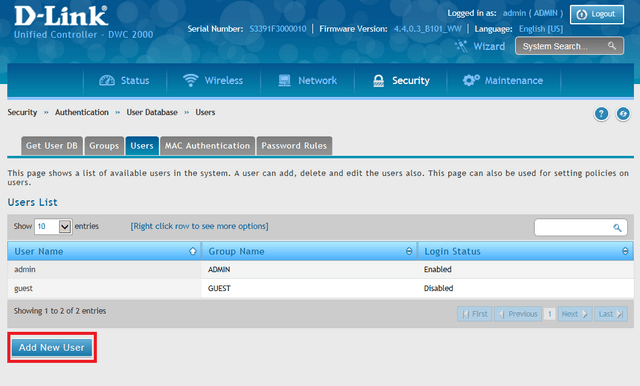
Click “Add New User”
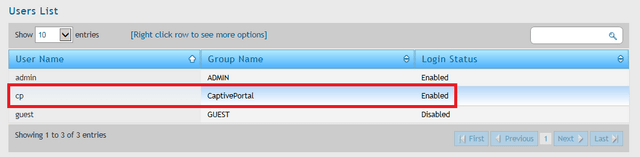
Step 5 – Enter “User Configuration”, please refer to our example below
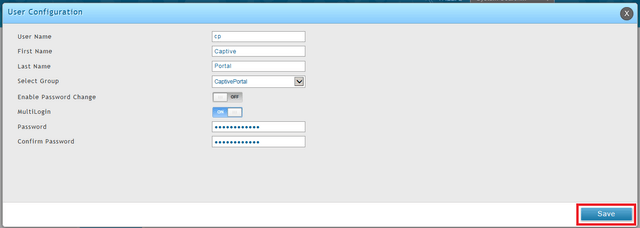
User Name: cp
First Name: Captive
Last Name: Portal
Select Group: CaptivePortal (This was created in Step 3)
Enable Password Change: Off (Optional)
MultiLogin: On
Passoword: Enter your password
Confirm Password: Re-enter the above password
Once complete, click “Save”
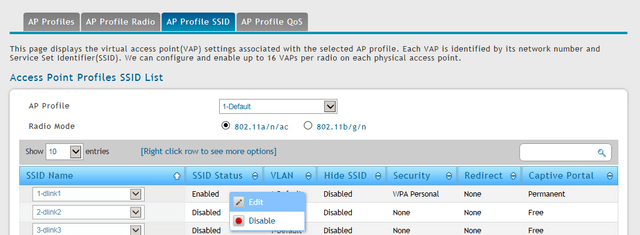
Step 6 – We now need edit the AP Profile and SSID
Wireless > Access Point > AP Profile > AP Profile SSID
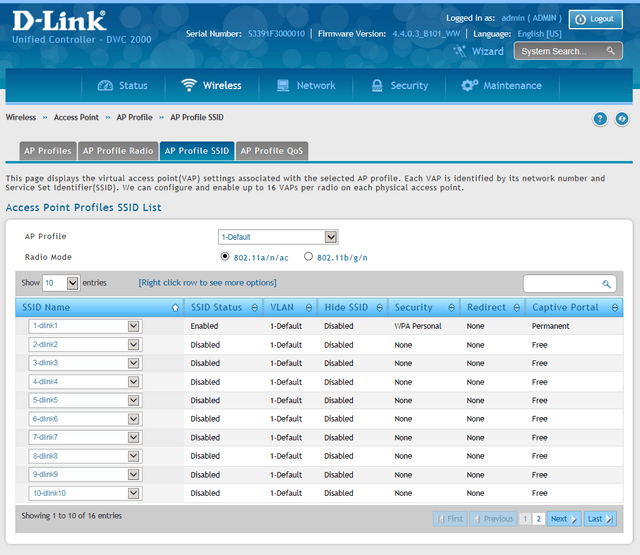
Right-click over 1-dlink1 and click “Edit”
Step 7 – Enter a SSID, in out example we have configured as follows:
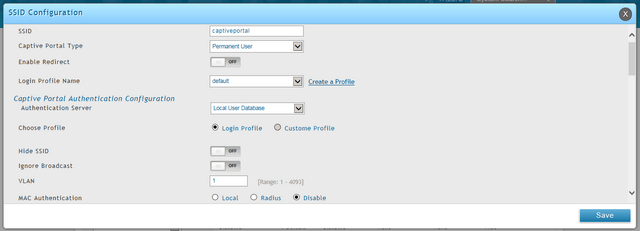
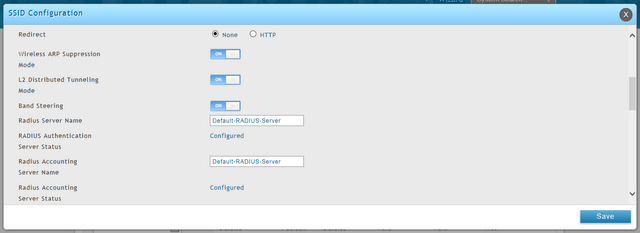
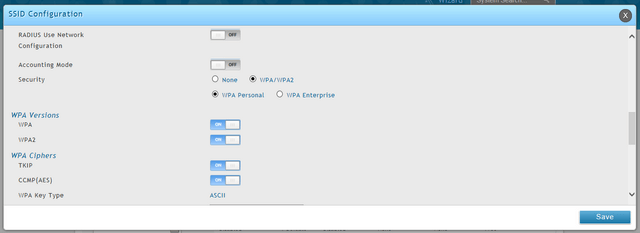
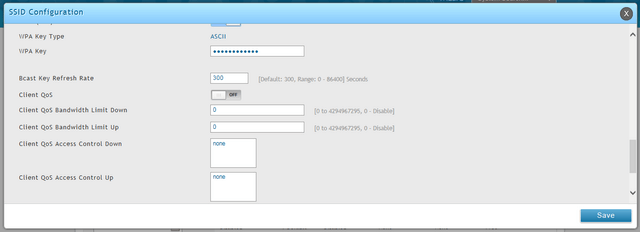

Once complete, click “Save”
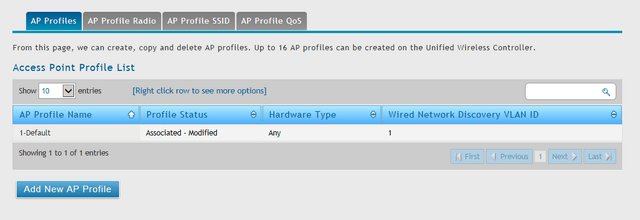
Step 8 – Click on “AP Profiles” and you should notice the default profile has a status of “Associated-Modified”
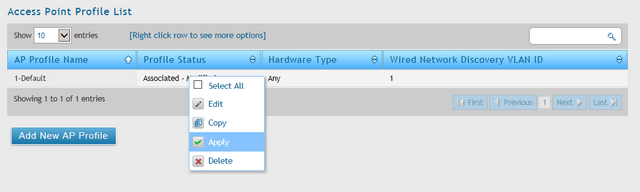
Right-click over the default profile and select “Apply”
Step 9 – Once applied the status should show “Apply Requested”

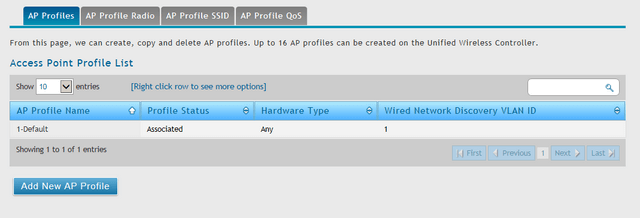
Step 10 – When your changes have been successfully applied you should see “Associated”
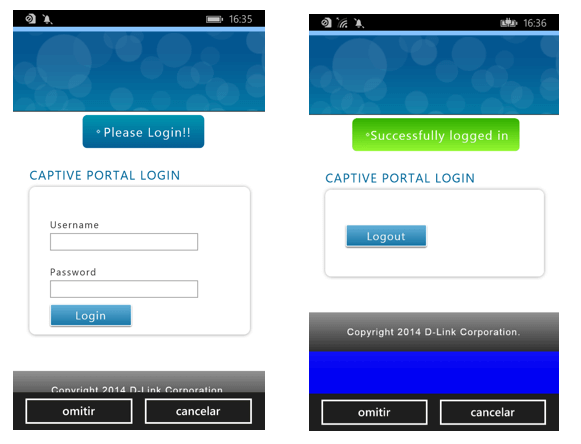
Step 11 – Once you have completed the above, you are now able to test the “Captive Portal” as follows:
The following was tested with a Nokia Lumia 920 Phone. Once you authenticate against the SSID created in Step 7 you will be automatically re-directed to the following login screen
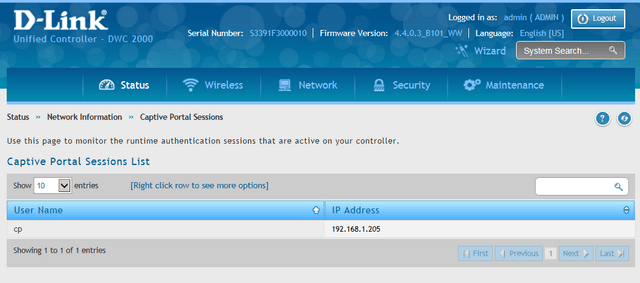
Step 12 – When a user is successfully authenticated and connected to the SSID, you are able to monitor and see the users connected by going to the following:
Status > Network Information > Captive Portal Sessions
Step 13 – You are permitted to complete the following actions based upon your decisions:
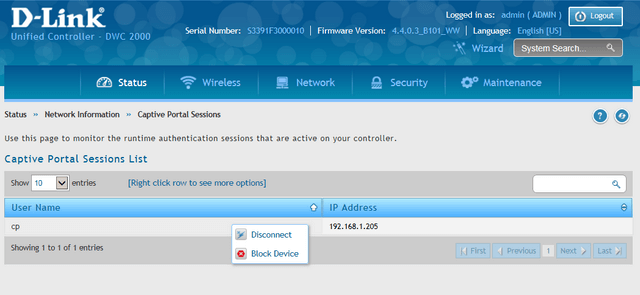
Right-click over the current user to reveal the following options:
Disconnect – This will disconnect the user from the WLAN
Block Device – This will be remembered and will no-longer be able to connect again (unless you allow)
Step 14 – If you do block a device by accident or you need to unblock, then go to the following menu to un-block device
Security > Firewall > Blocked Clients
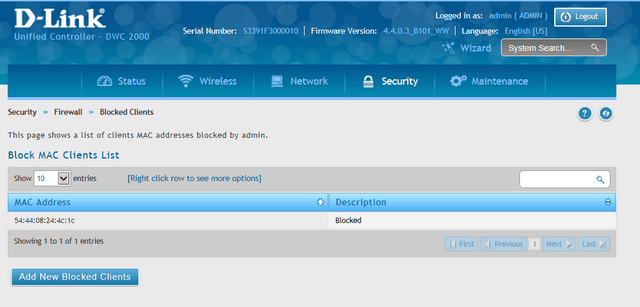
Right-click over blocked device and select “Delete”
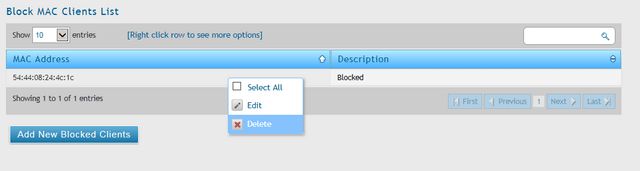
Once done, this device will be able to re-join the wireless network and login via the Captive Portal.