
How to Setup SNMP – DXS-3600-Series – D-View 7
Device and Software Used:
- DXS-3600-32S – FW: 2.40.046
- D-View7 – Version: 1.0.3.9
Note: Please always check our website for updates for firmware
Before commencing this setup, please check the following for D-View7 compatibility:
http://dview.dlink.com/models.php
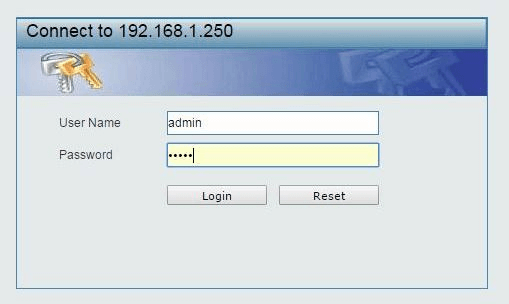
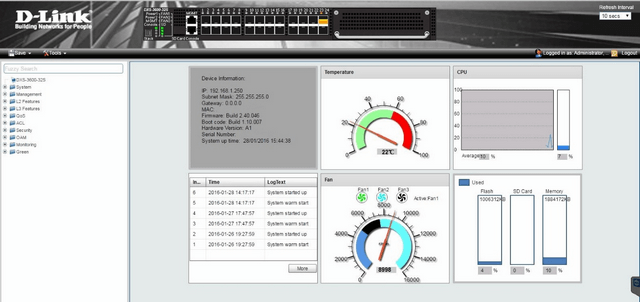
Step 1 – Login to DXS-3600-32S
Step 2 – Enable SNMP Global Settings
DXS-3600-32S > Management > SNMP > SNMP Global Settings
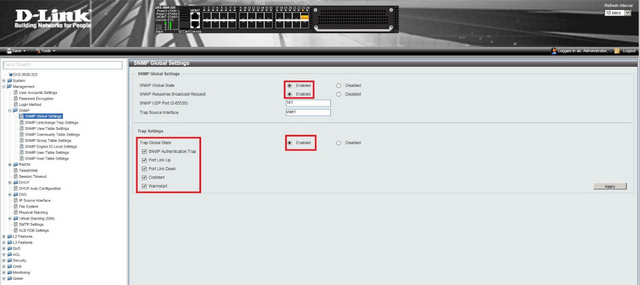
Select the “Trap Settings” then click “Apply”
Step 3 – Enable SNMP Linkchange Trap Settings
DXS-3600-32S > Management > SNMP > SNMP Linkchange Trap Settings
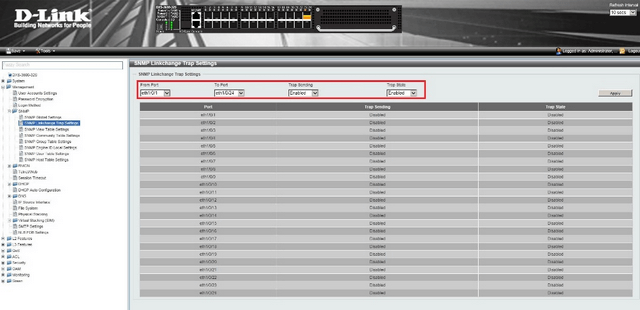
Click “Apply”
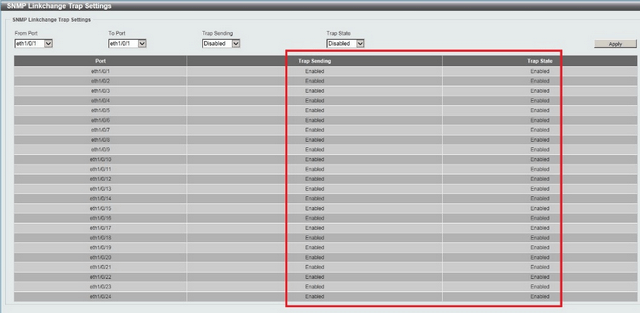
You should see the above ports and “Traps” are “Enabled” – This will also depend on what ports you want to enable
Step 4 – Save configuration
Save > Save Configuration

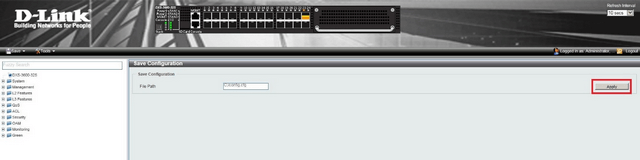
Click “Apply”
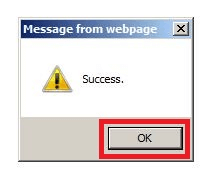
Click “OK”
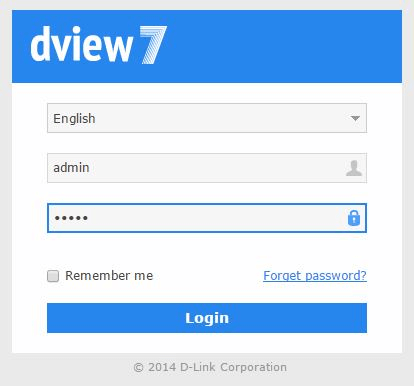
Step 5 – Login to D-View7
Step 6 – Once you login, you may be presented with the following.
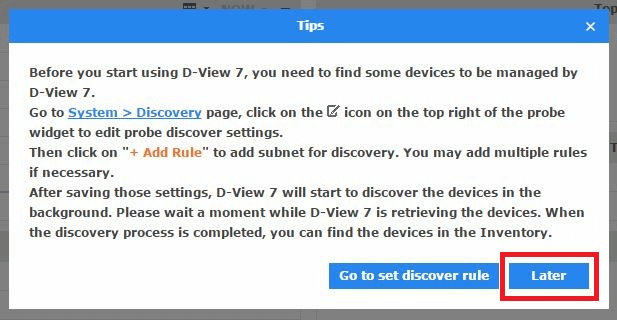
Click “Later”
Step 7 – You should now be in “Dashboard” view – At the moment there will not be any “Managed Devices”
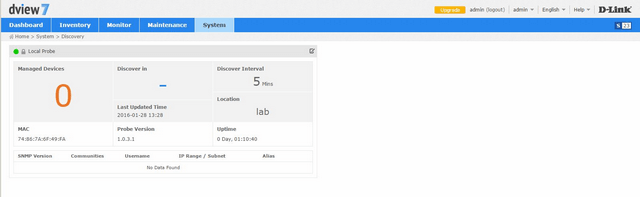
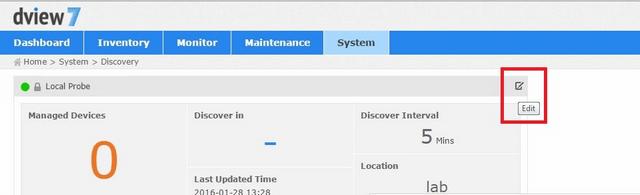
To add a rule – Click on “Edit”
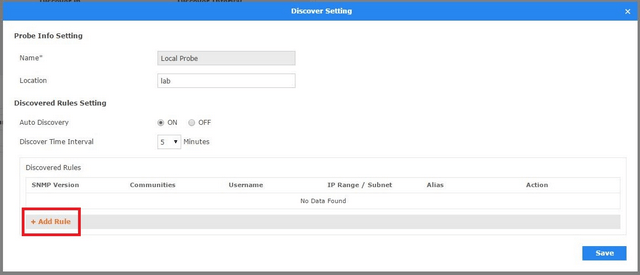
Click “Add Rule”
Step 8 – Enter the probe settings for the device – In our example we are using the DXS-3600-32S (IP: 192.168.1.250). Note: You may also include a wide coverage of the network, for example: 192.168.1.1 – 192.168.1.254
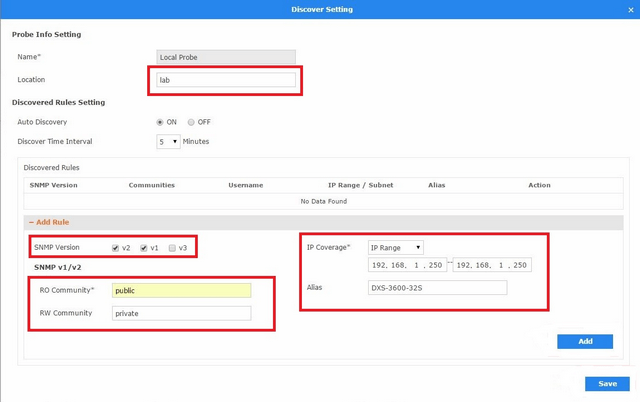
Click “Add” then “Save”
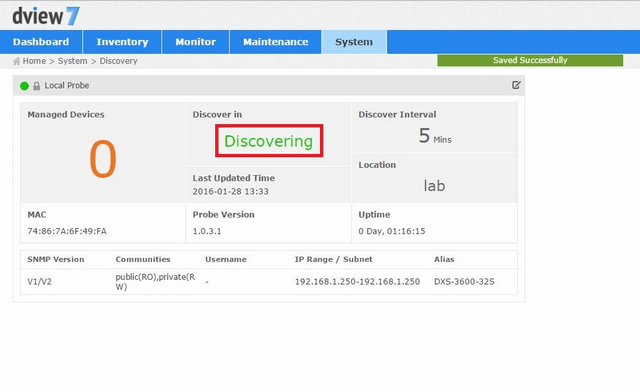
D-View 7 will now search for the device that was added in Step 7 – “Discovering”
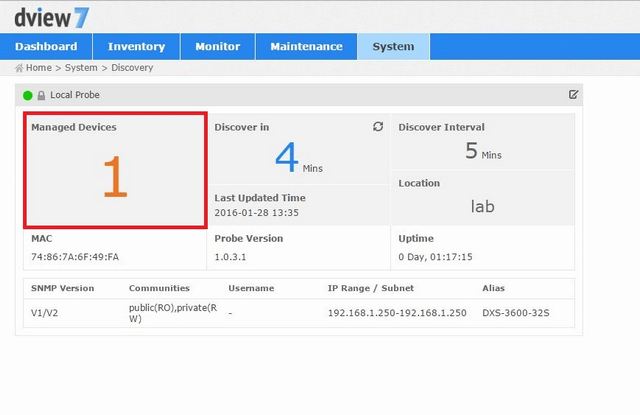
Step 9 – You should notice that the device added in Step 7 has been added to “Managed Devices”
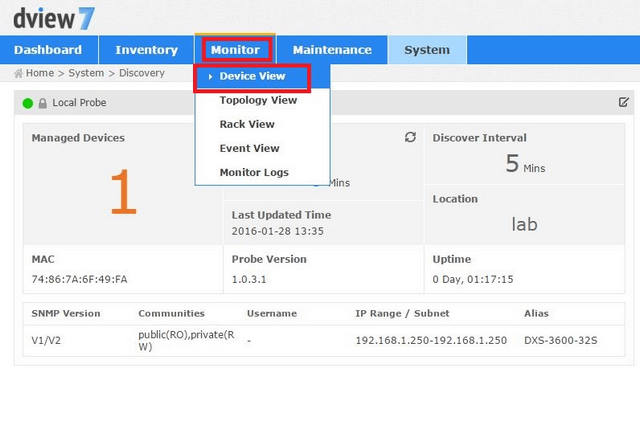
Step 10 – To manage and connect to the device – go to “Device View”
Monitor > Device View
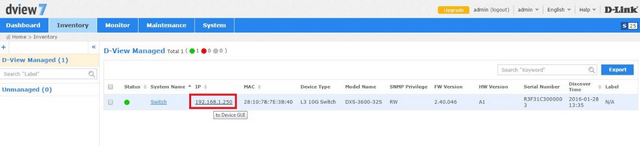
Click on the link – In our example the IP was: 192.168.1.250 – This should open another tab and you may login

- DXS-3600-32S – FW: 2.40.046
- D-View7 – Version: 1.0.3.9
Note: Please always check our website for updates for firmware
Before commencing this setup, please check the following for D-View7 compatibility:
http://dview.dlink.com/models.php
Step 1 – Login to DXS-3600-32S
Step 2 – Enable SNMP Global Settings
DXS-3600-32S > Management > SNMP > SNMP Global Settings
Select the “Trap Settings” then click “Apply”
Step 3 – Enable SNMP Linkchange Trap Settings
DXS-3600-32S > Management > SNMP > SNMP Linkchange Trap Settings
Click “Apply”
You should see the above ports and “Traps” are “Enabled” – This will also depend on what ports you want to enable
Step 4 – Save configuration
Save > Save Configuration
Click “Apply”
Click “OK”
Step 5 – Login to D-View7
Step 6 – Once you login, you may be presented with the following.
Click “Later”
Step 7 – You should now be in “Dashboard” view – At the moment there will not be any “Managed Devices”
To add a rule – Click on “Edit”
Click “Add Rule”
Step 8 – Enter the probe settings for the device – In our example we are using the DXS-3600-32S (IP: 192.168.1.250). Note: You may also include a wide coverage of the network, for example: 192.168.1.1 – 192.168.1.254
Click “Add” then “Save”
D-View 7 will now search for the device that was added in Step 7 – “Discovering”
Step 9 – You should notice that the device added in Step 7 has been added to “Managed Devices”
Step 10 – To manage and connect to the device – go to “Device View”
Monitor > Device View
Click on the link – In our example the IP was: 192.168.1.250 – This should open another tab and you may login
7 Други потребители намират това за полезно.
Беше ли това полезно за Вас?7 Други потребители намират това за полезно.
Благодарим Ви за обратната връзка.
Съжаляваме, че не успяхме да помогнем! Натиснете тук за повече Въпроси и отговори или за да отидете в секция Поддръжка.
Това също може да Ви помогне:
- DHCP Relay with VLANs on DXS-3600 Series via CLI Прочети отговорите
- How to Change the Time and Date Zone Via CLI - DXS-3600-Series Прочети отговорите